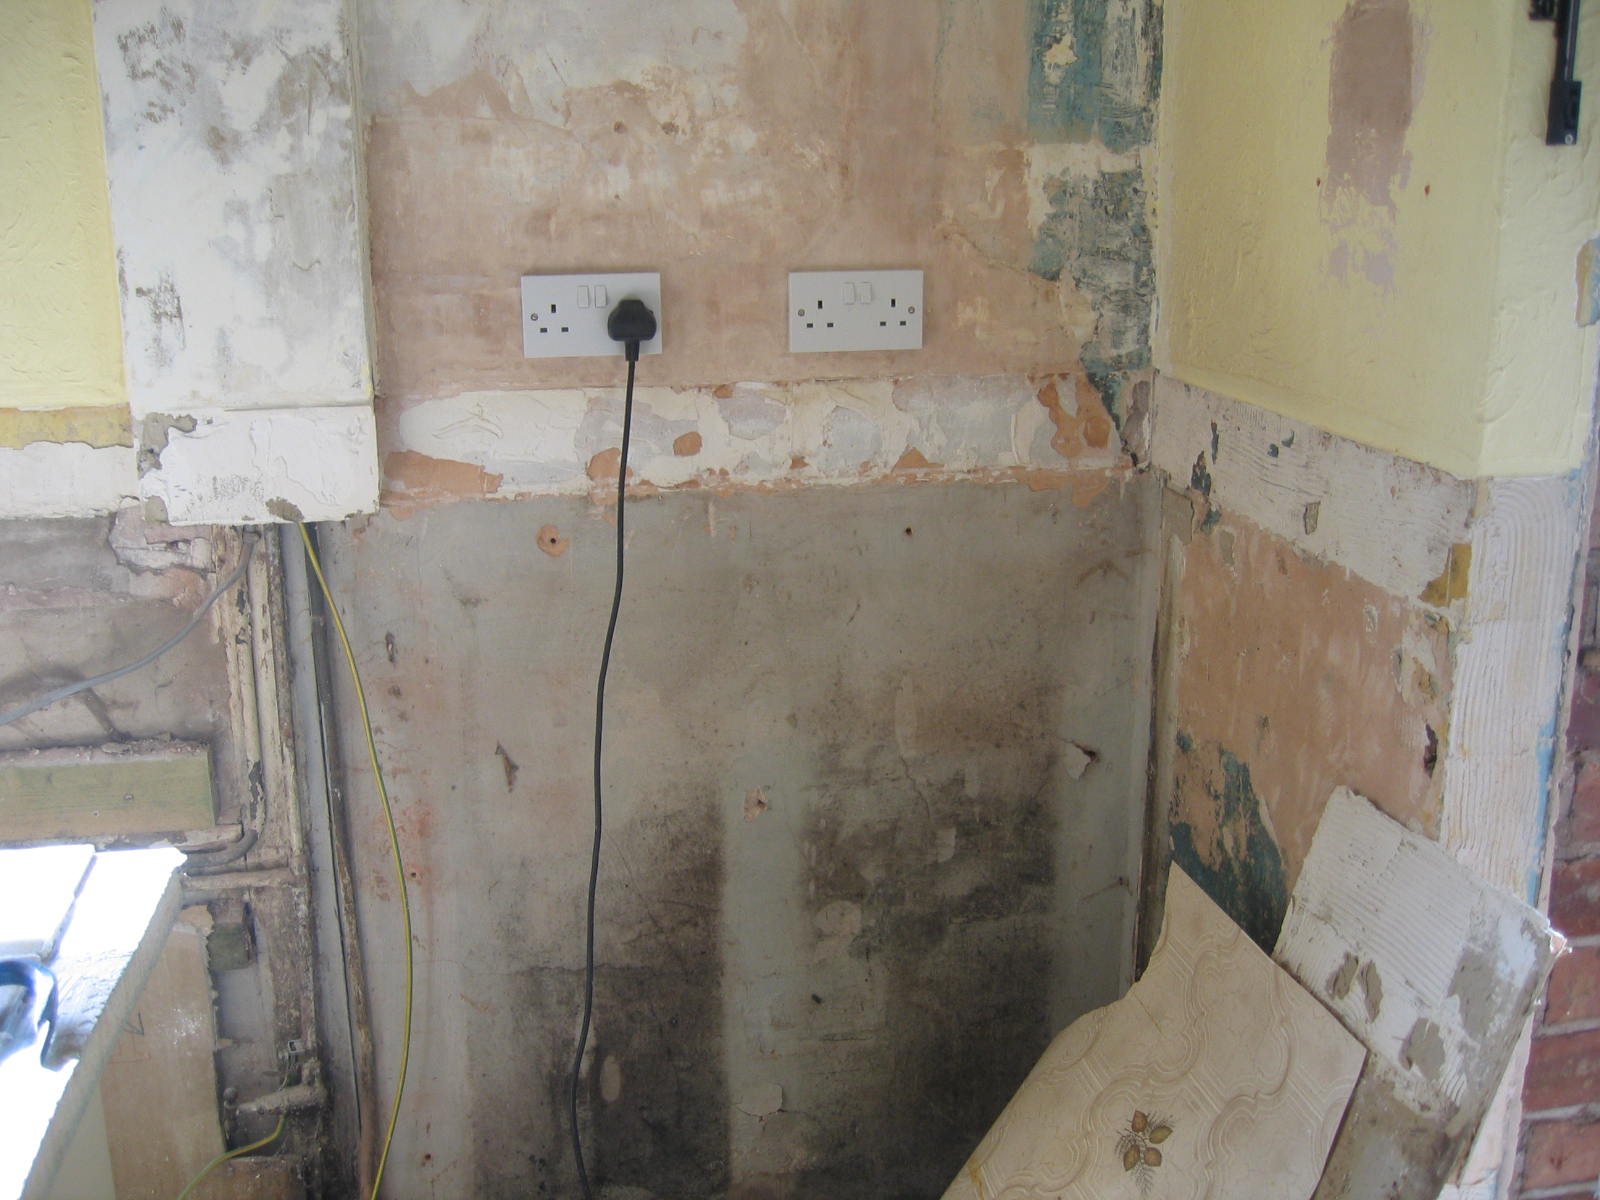
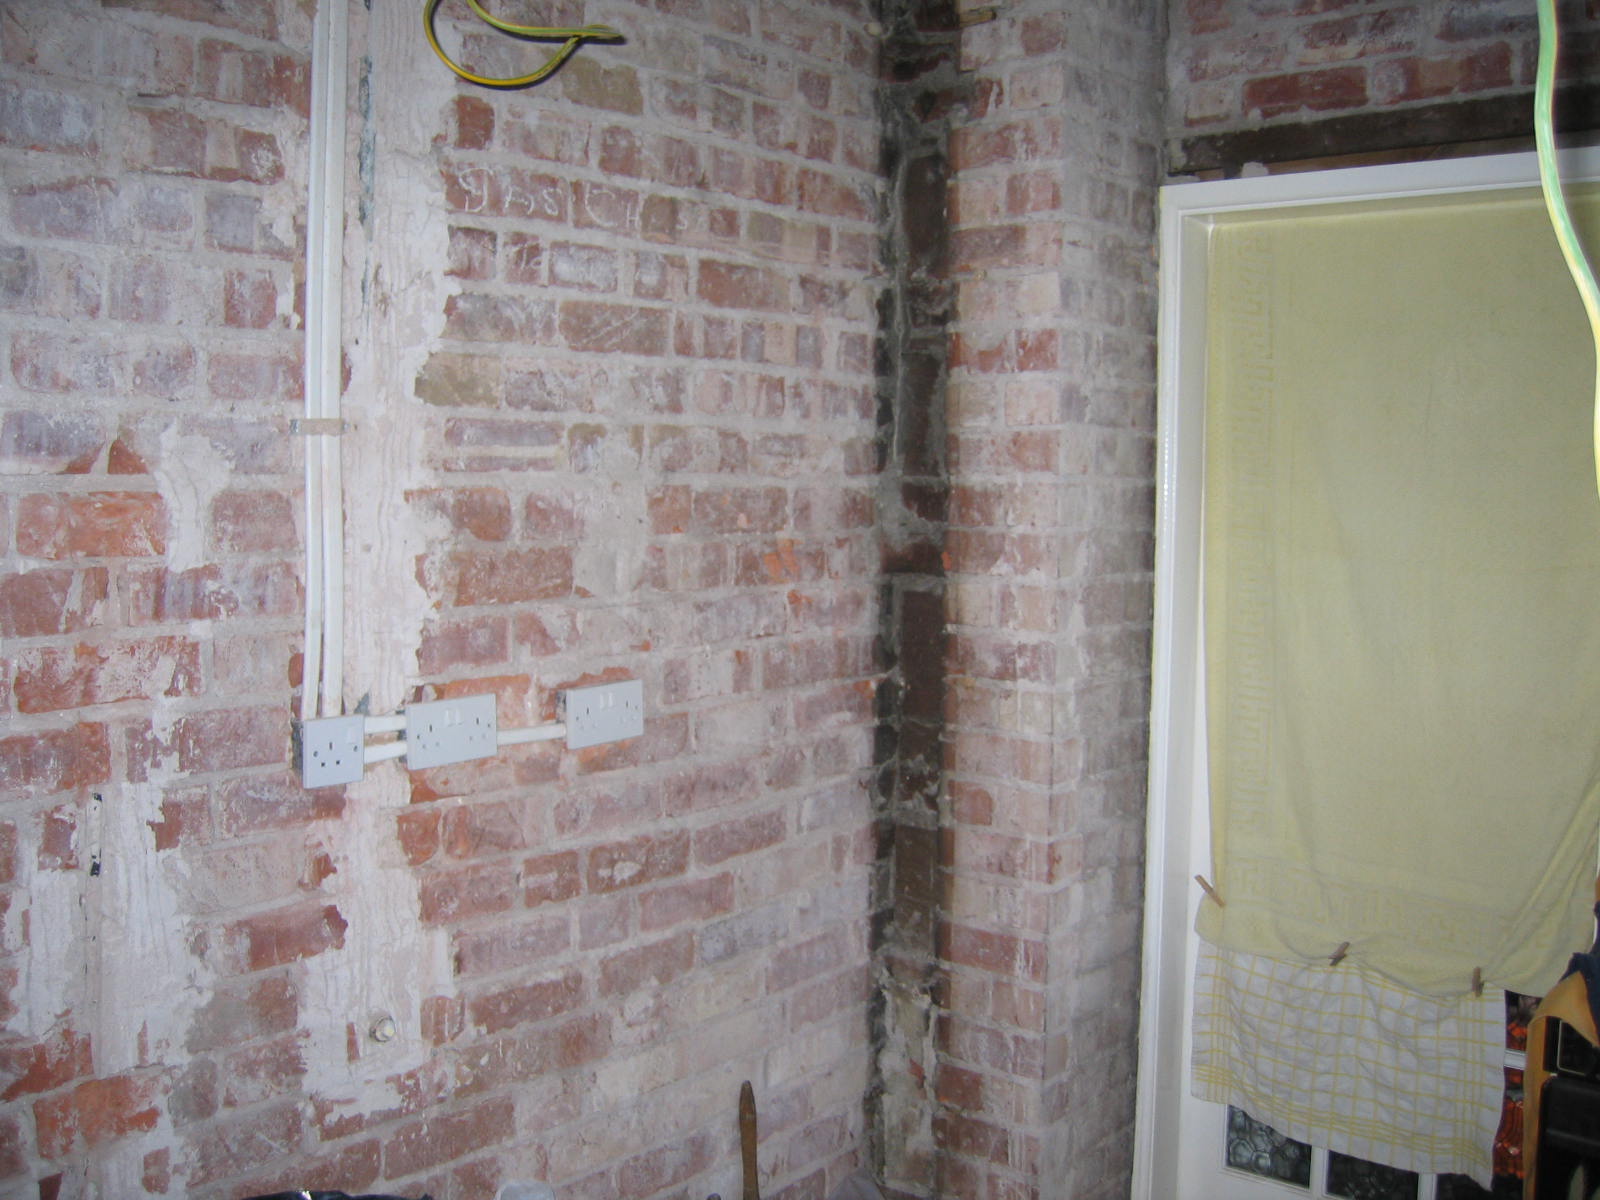
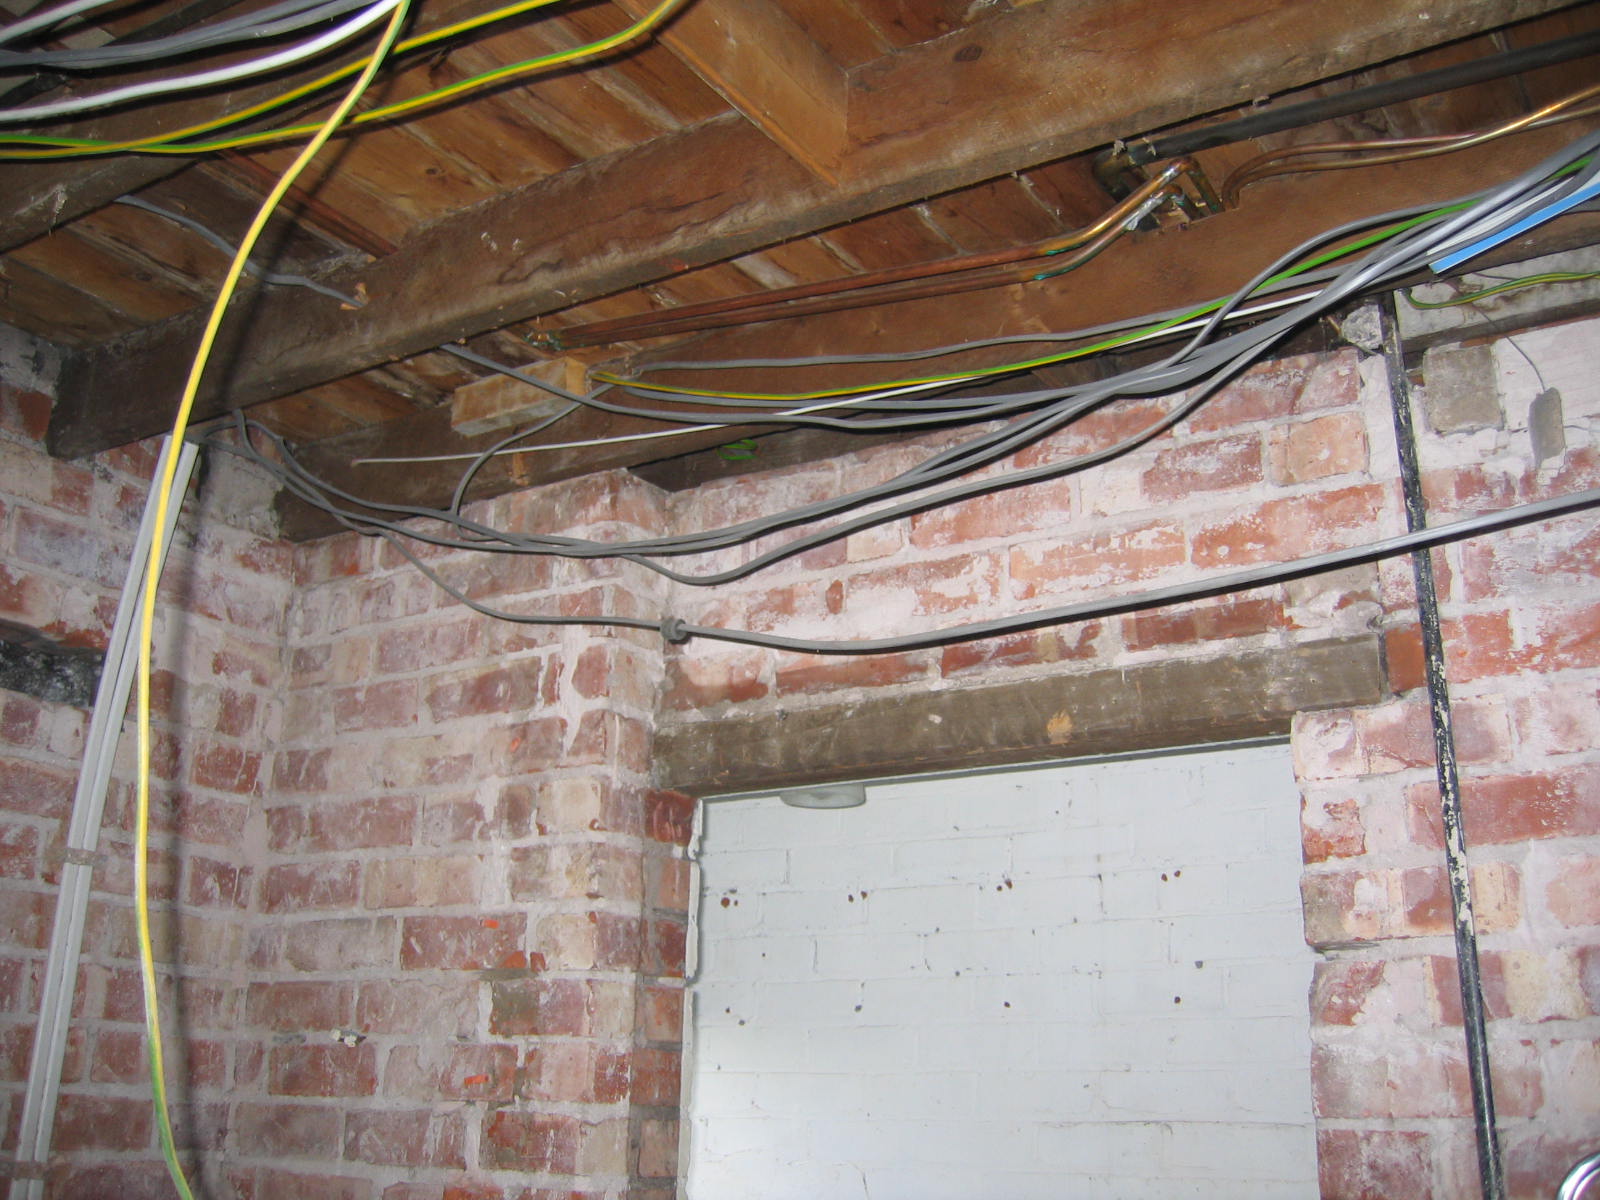
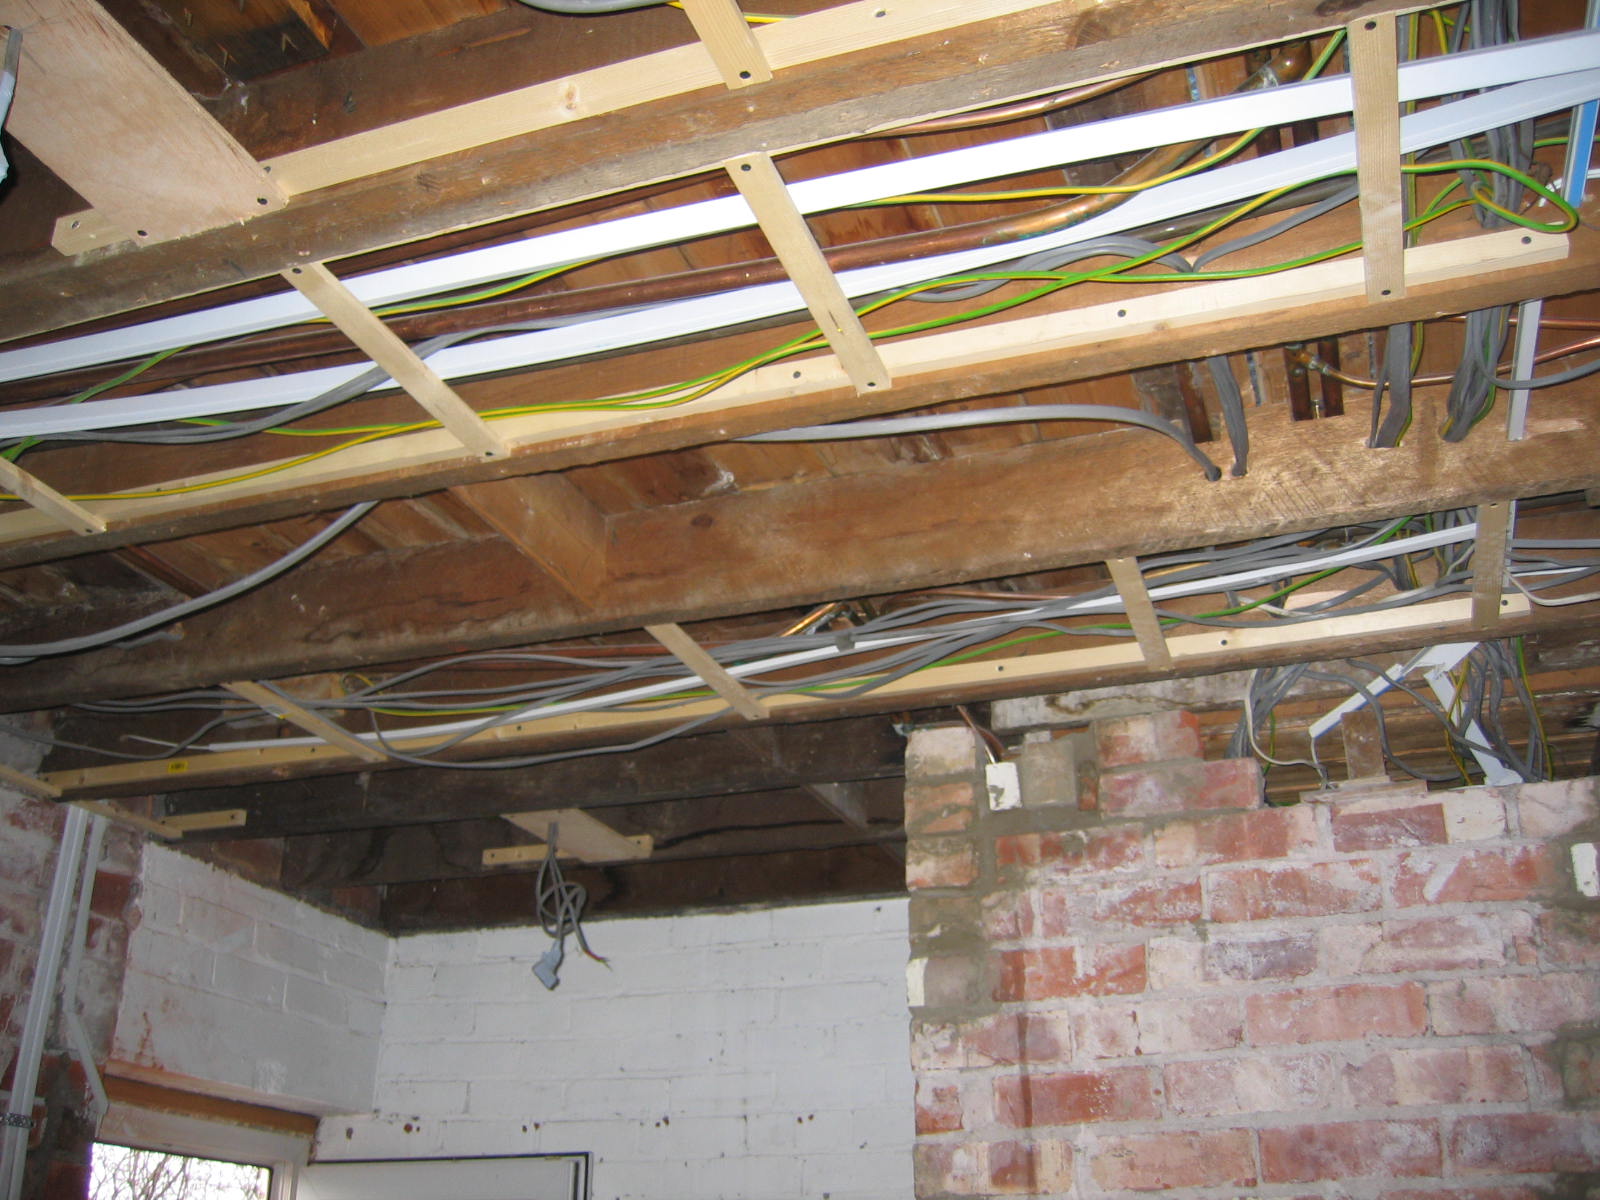
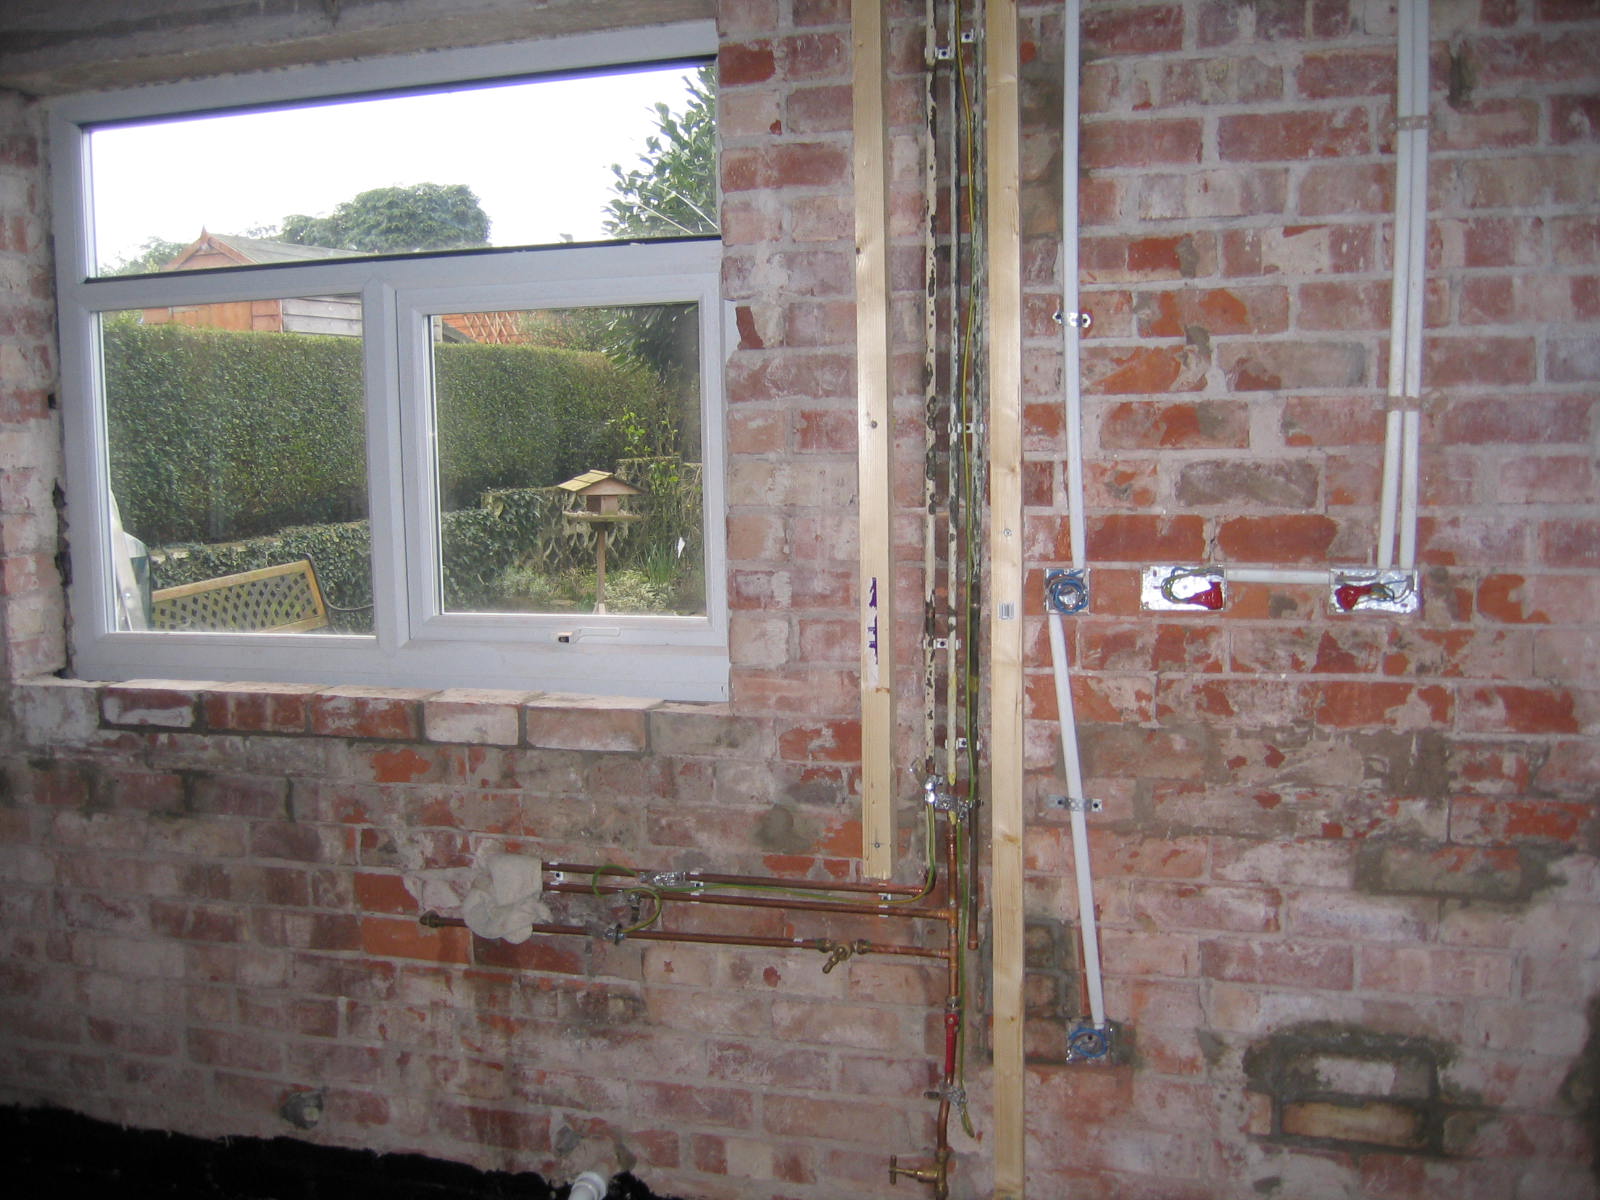
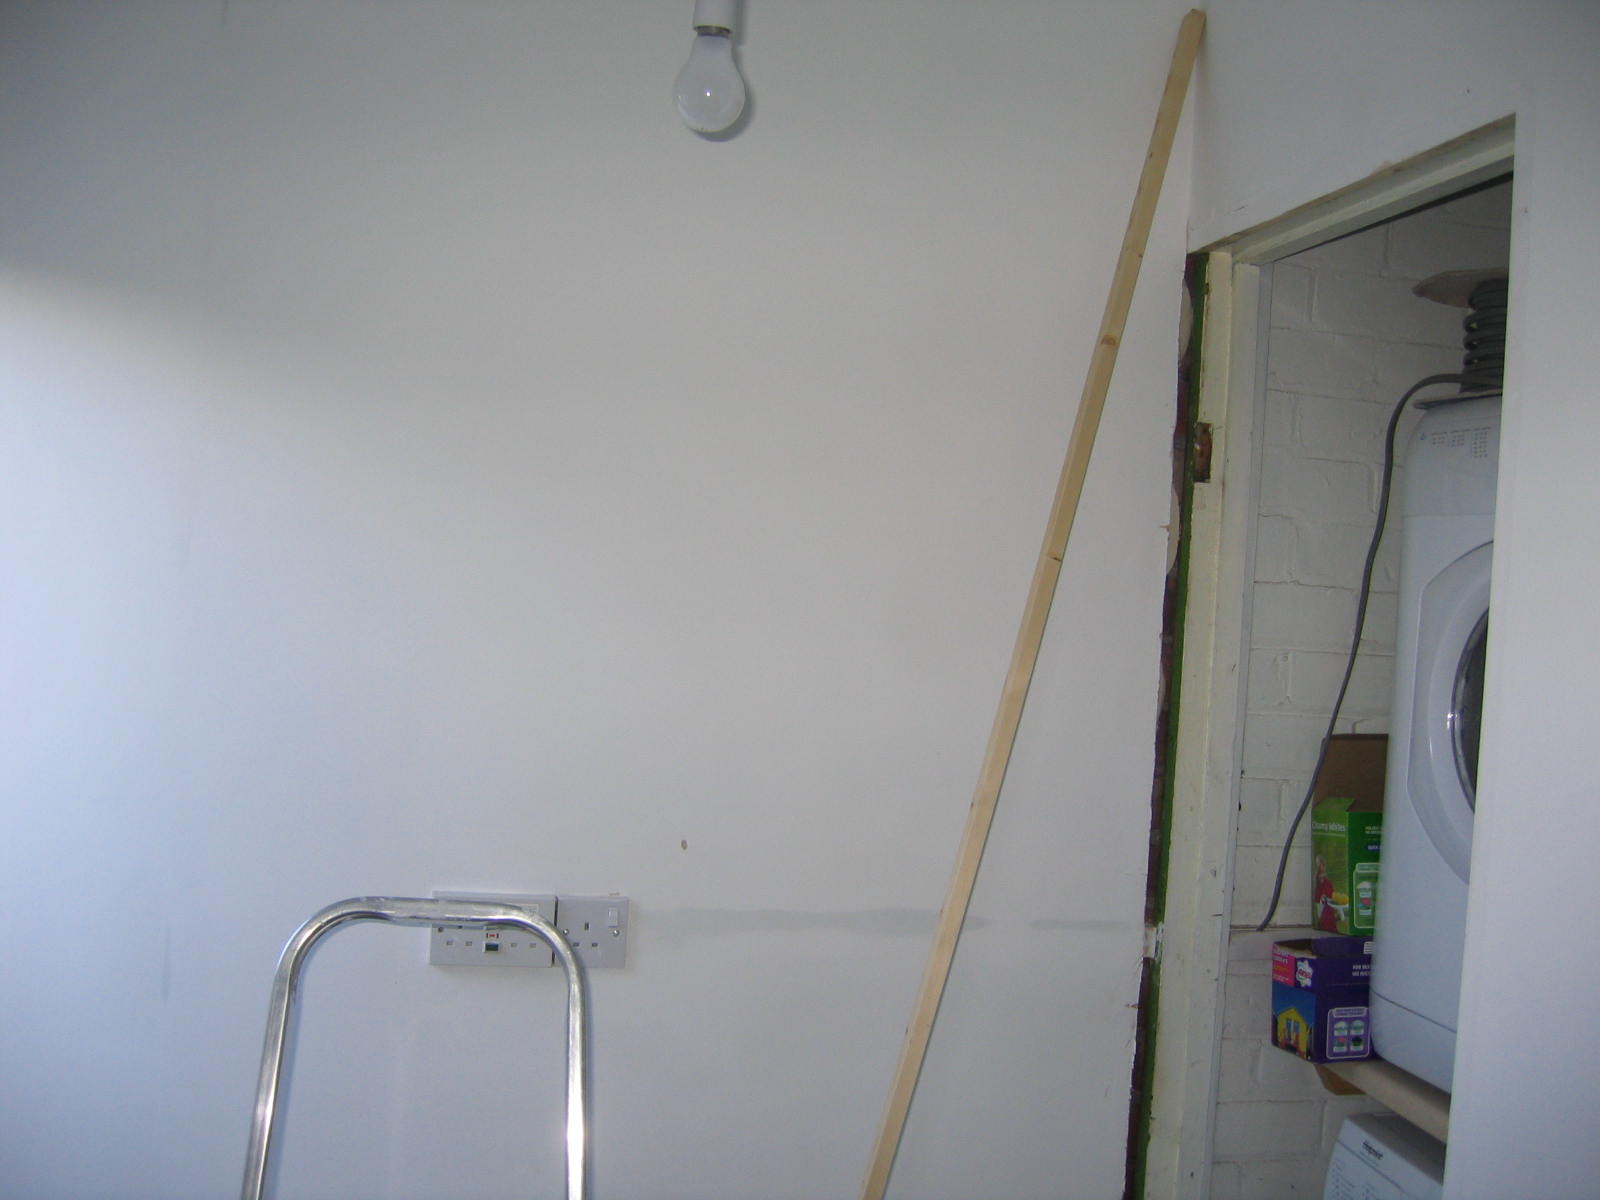
(After the re-wiring had been done.)
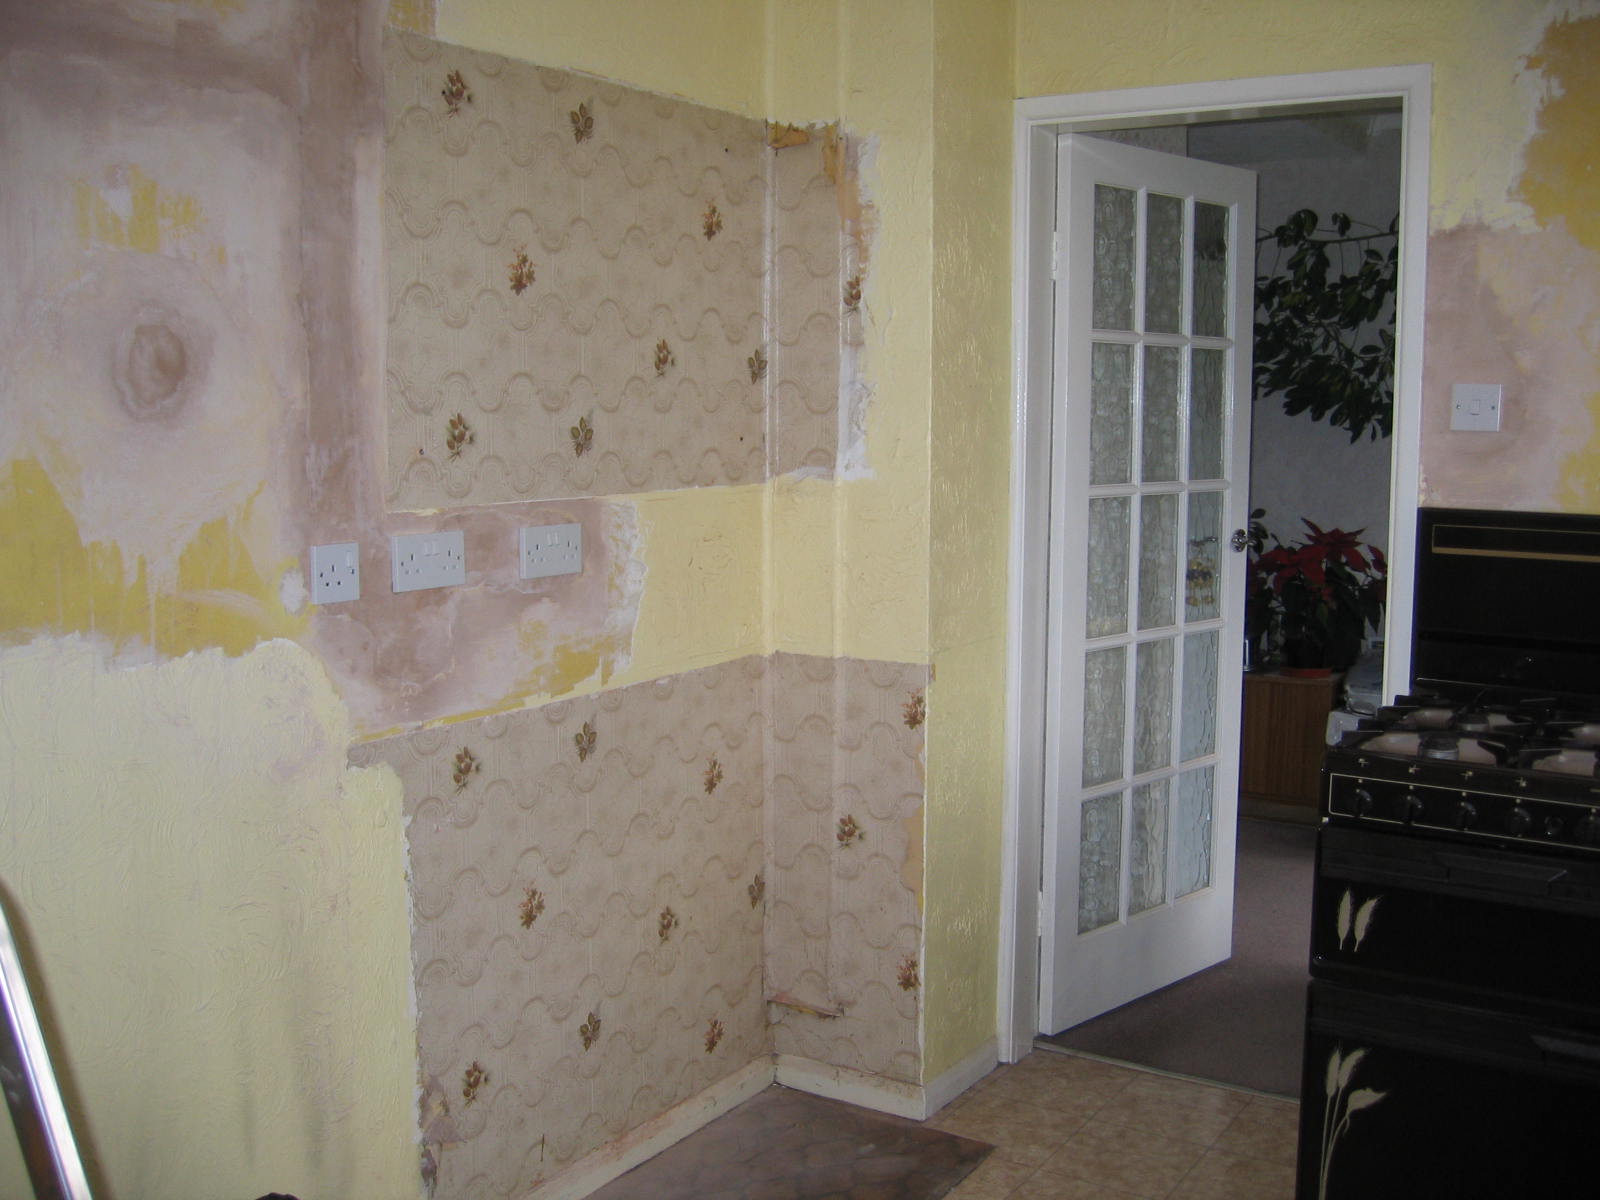
(We discovered that the Artex had been put on after the cupboards had been fitted.)
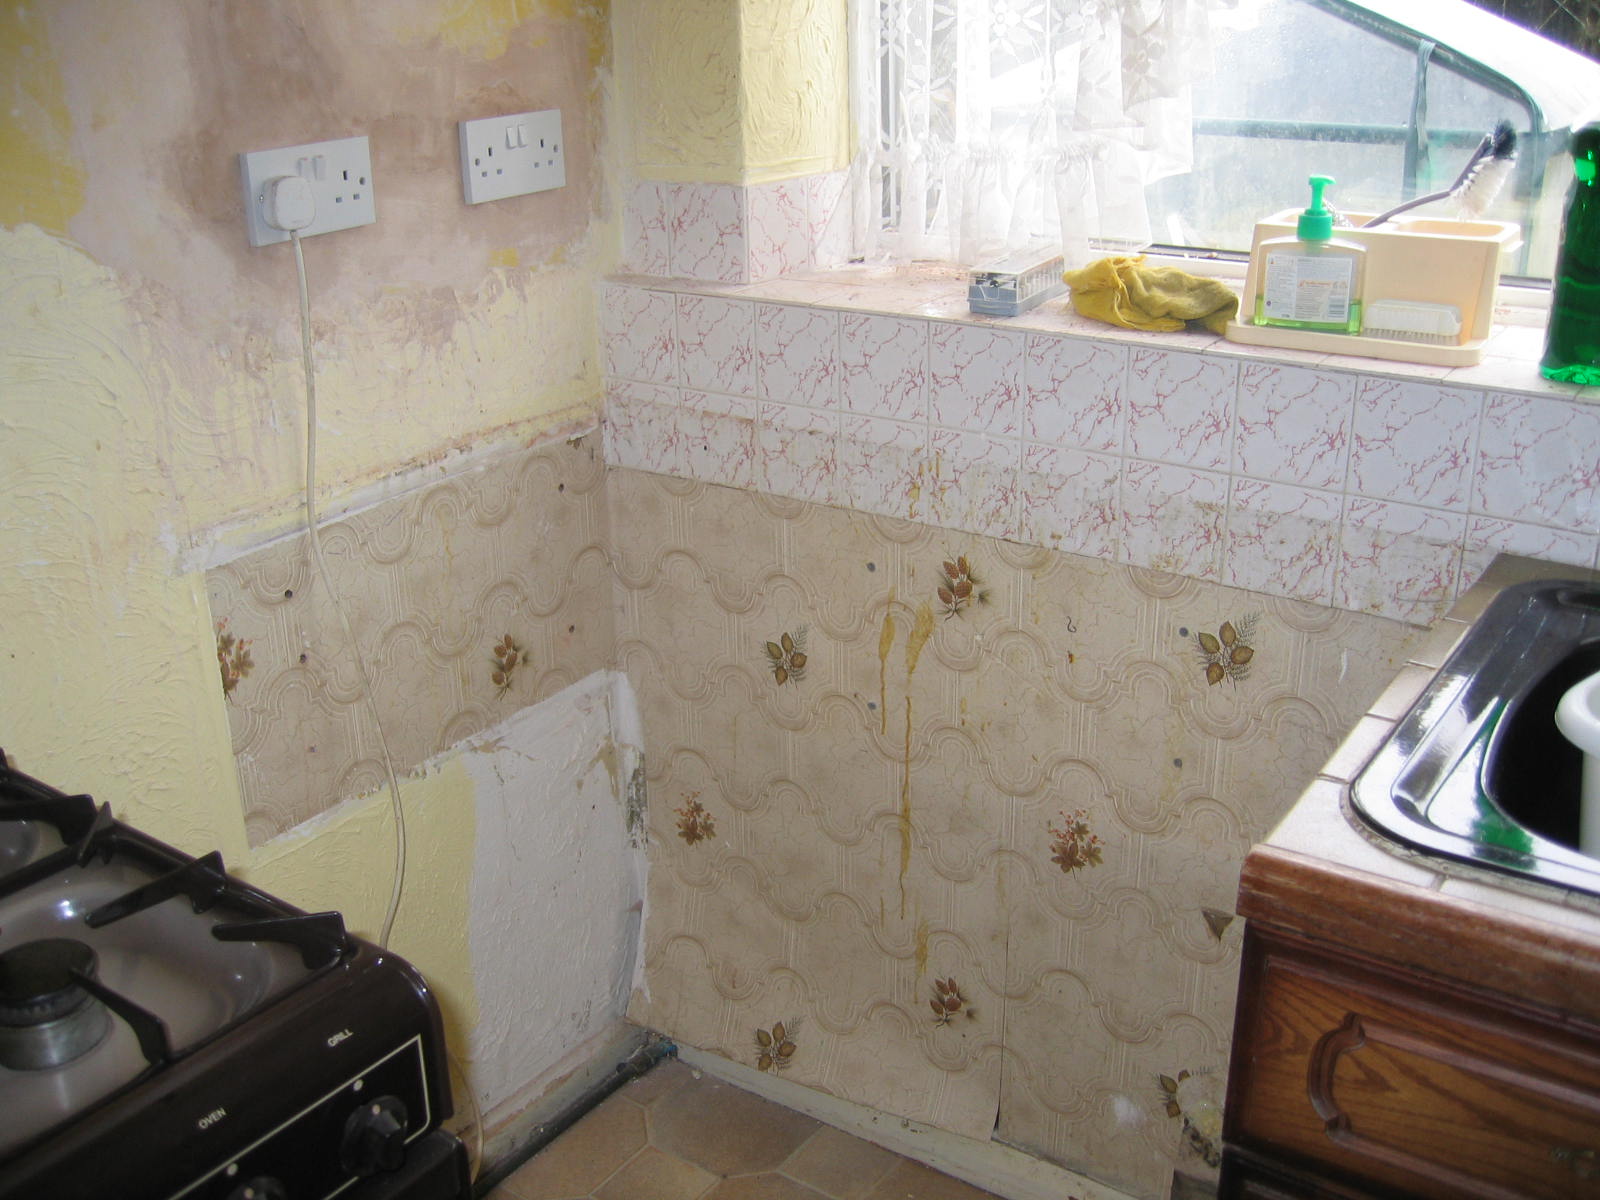
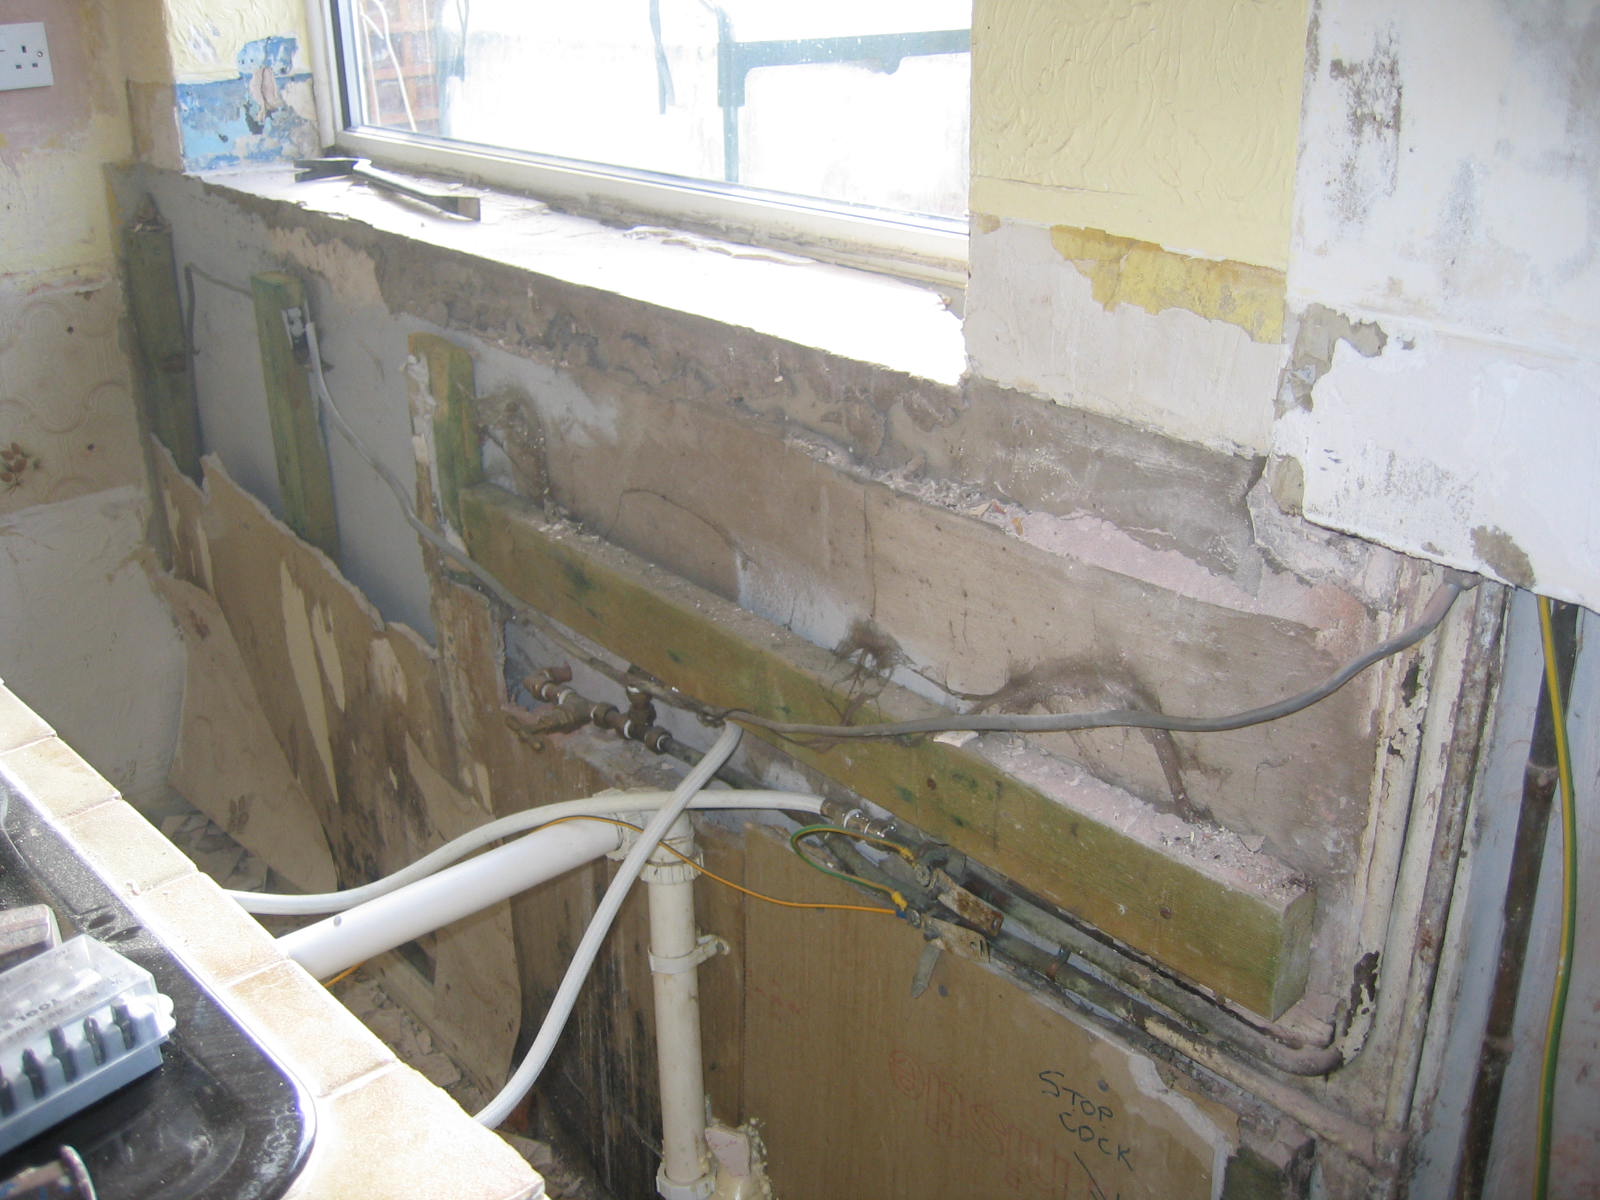
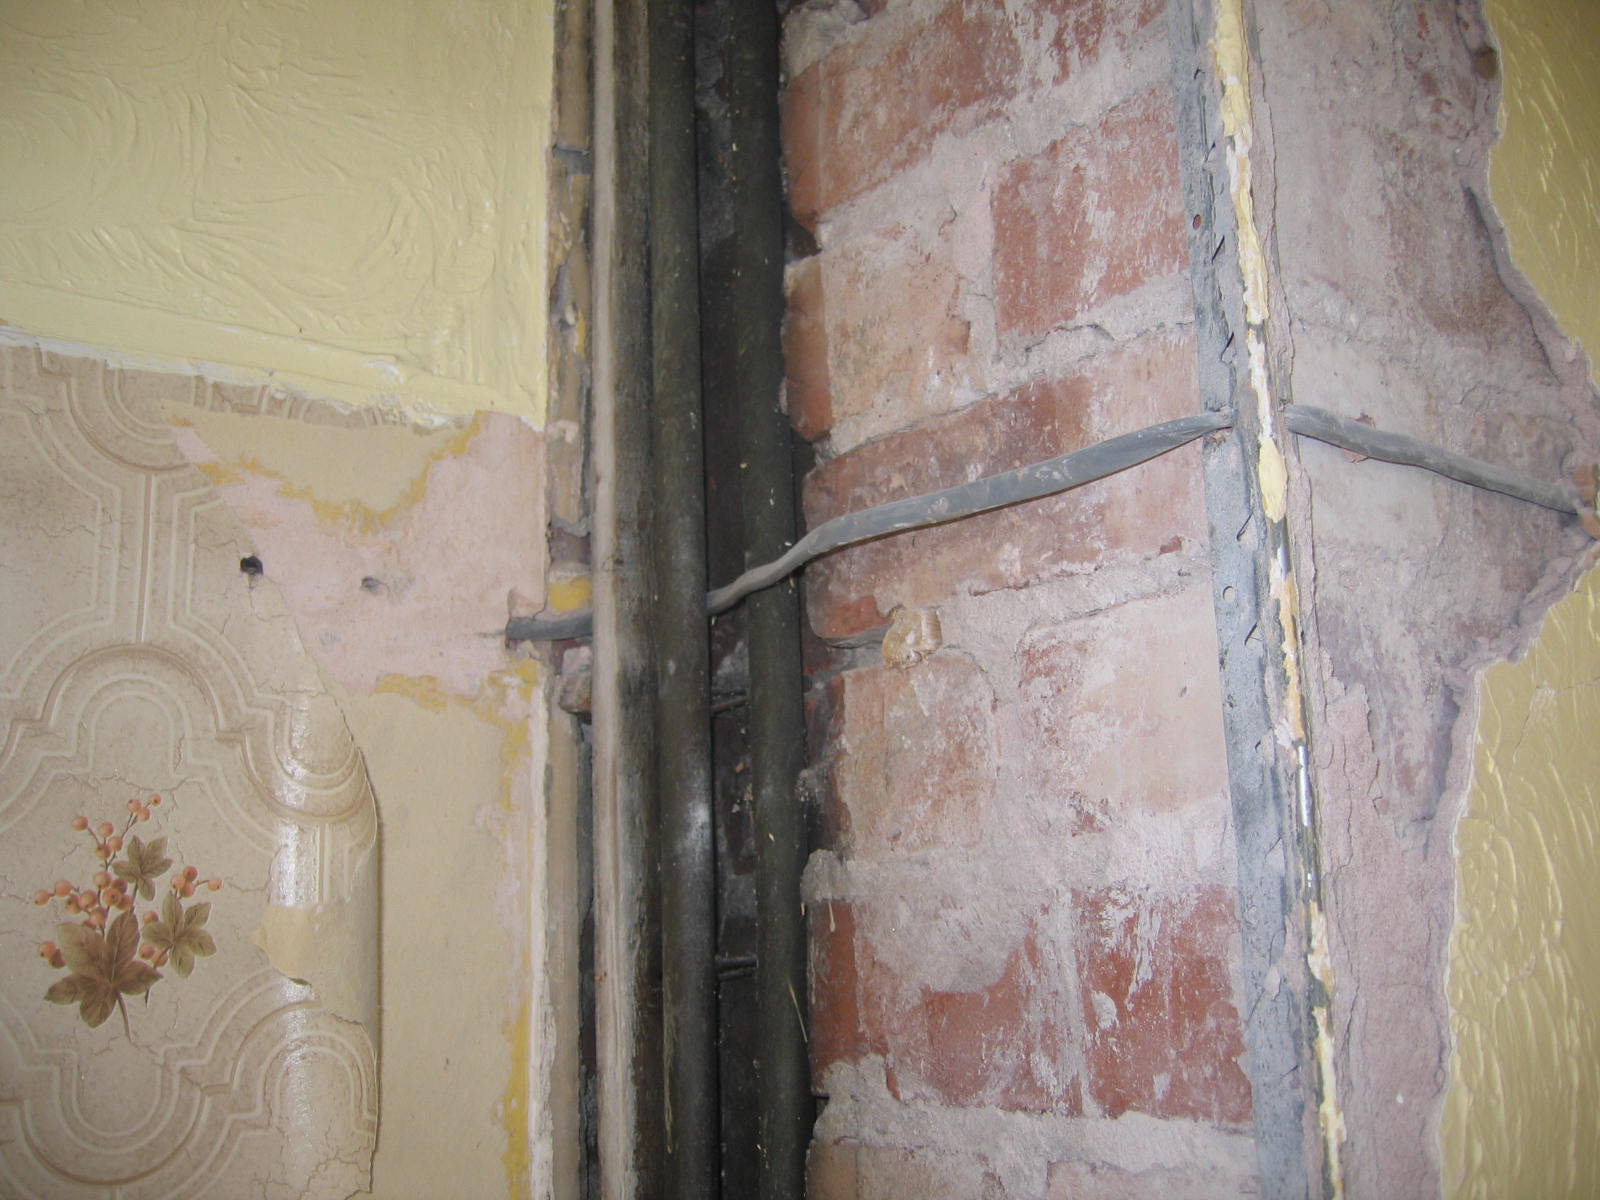
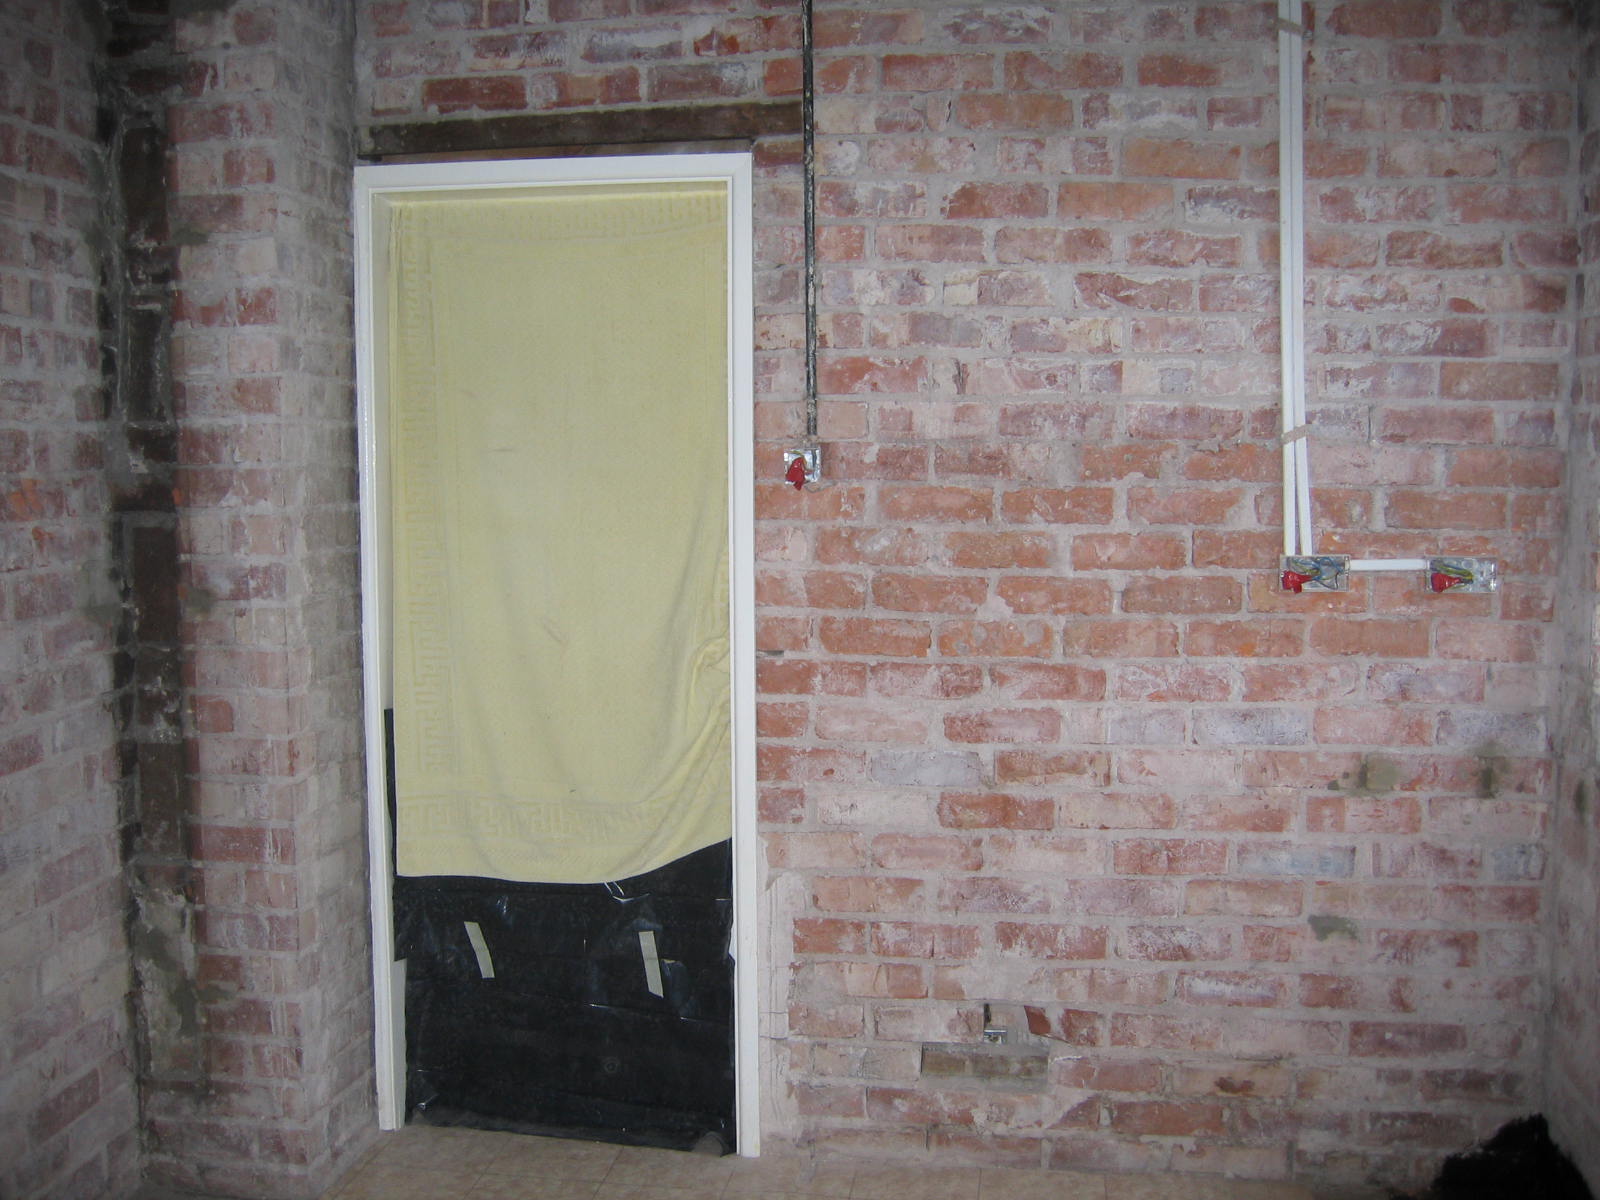
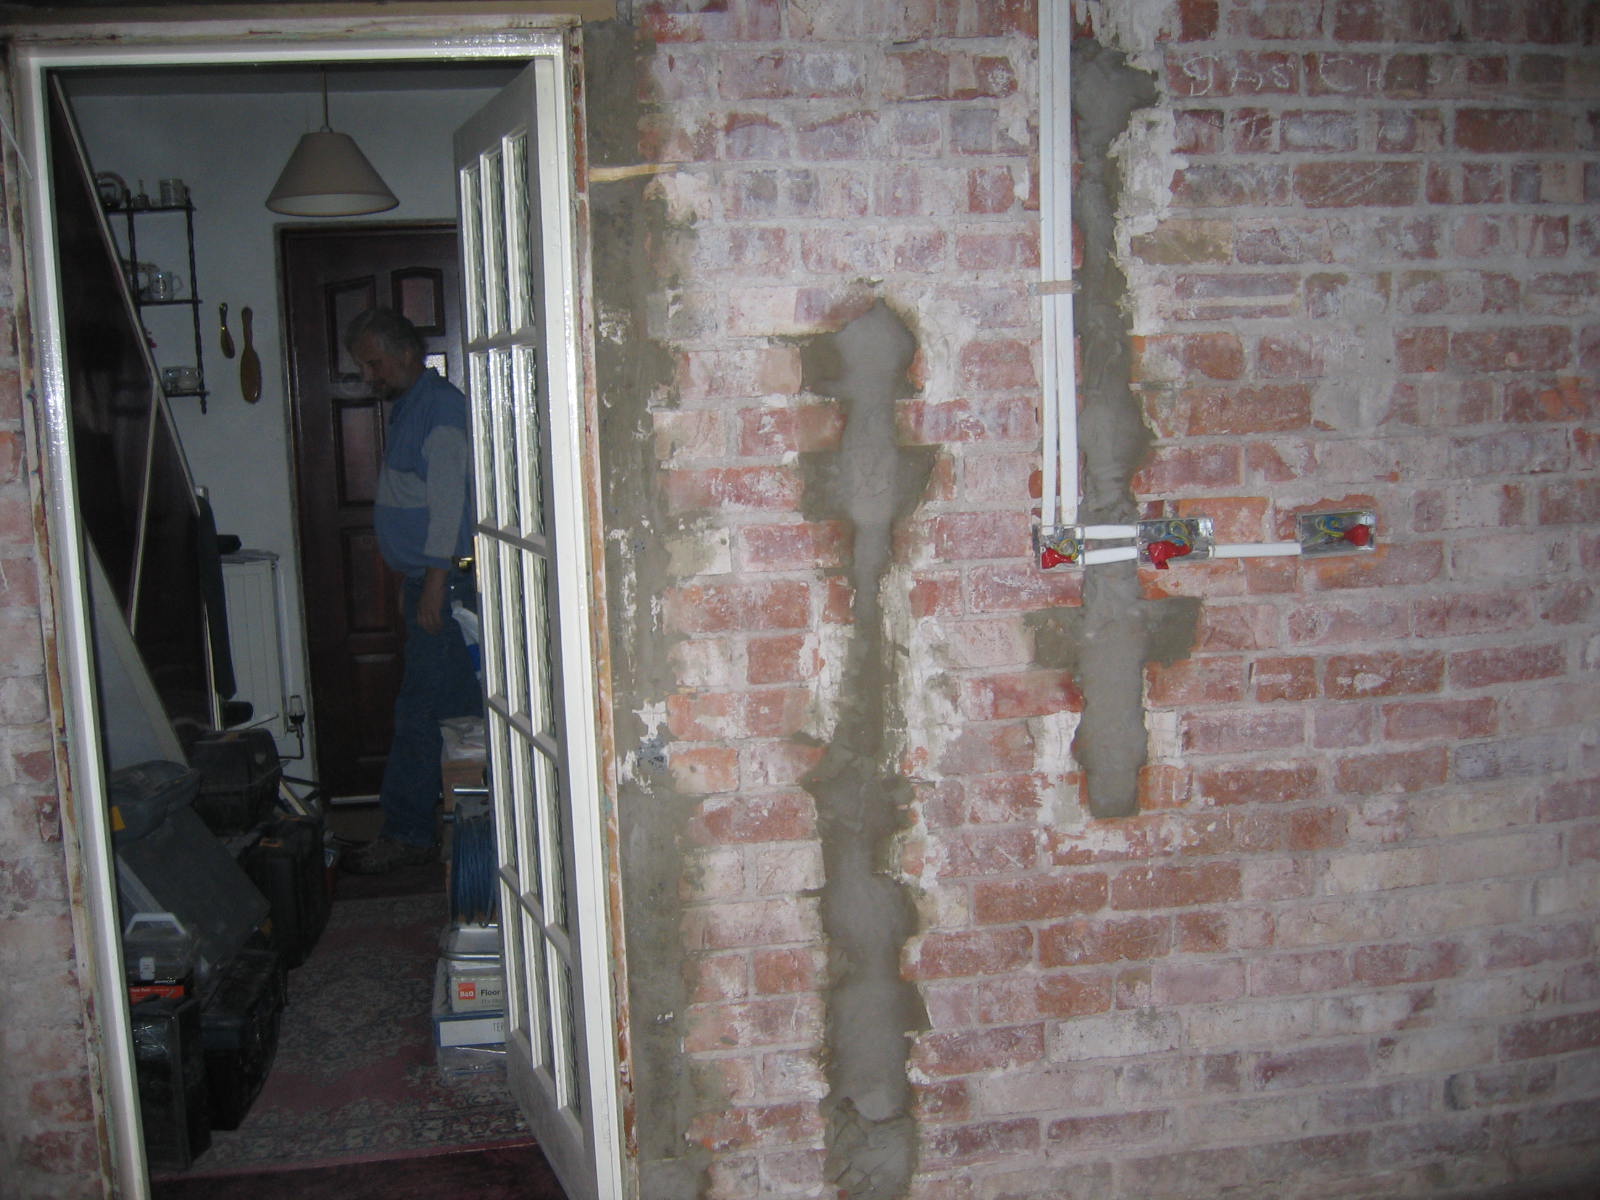
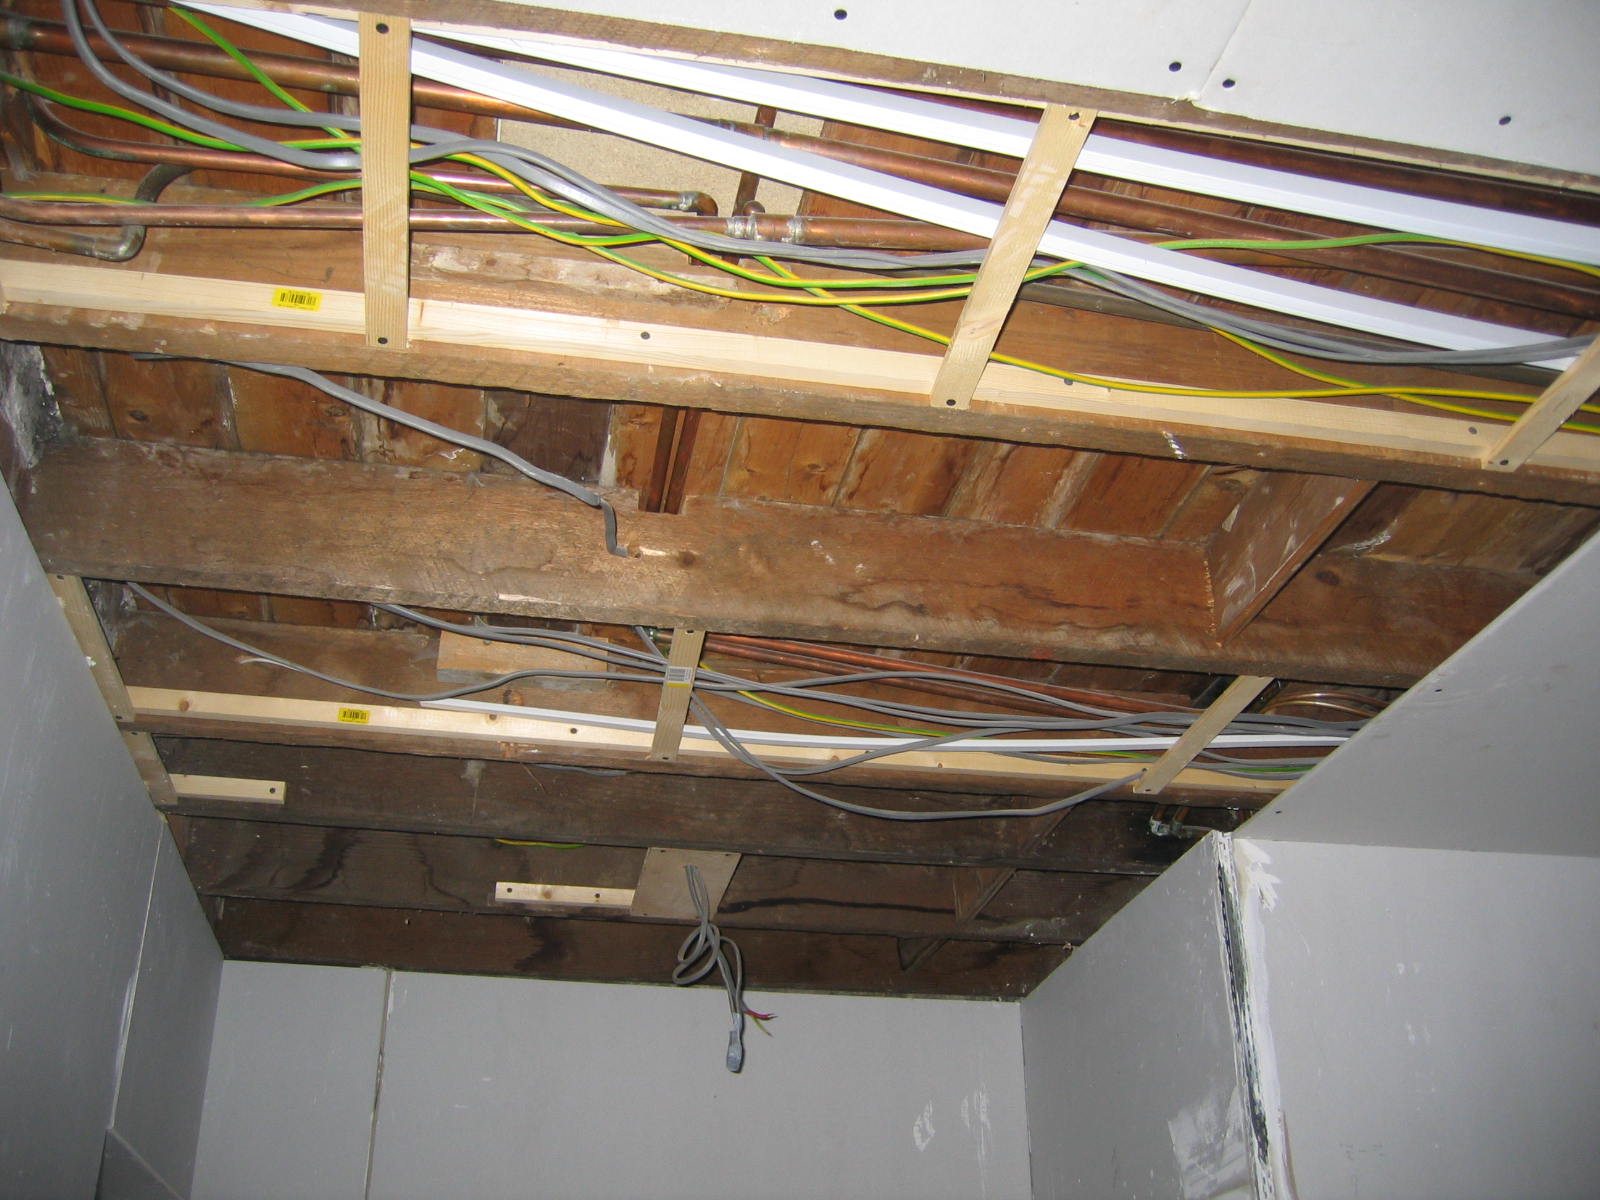
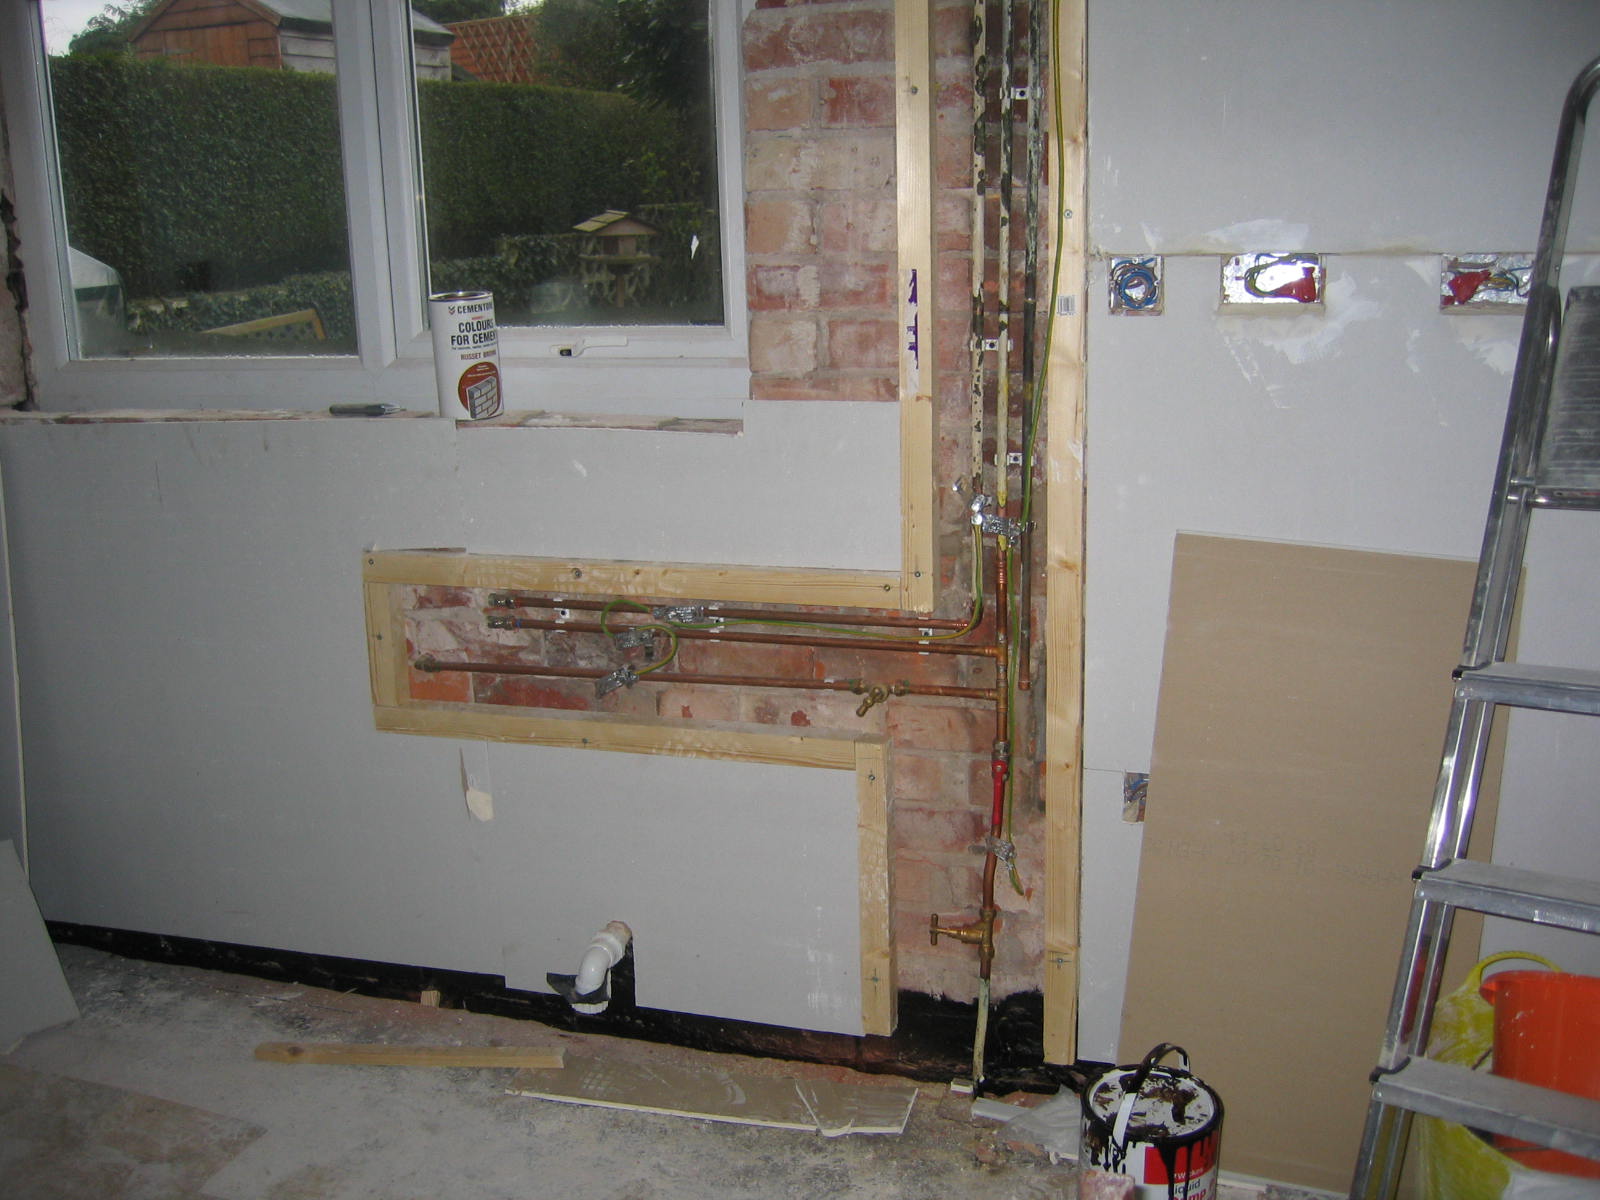
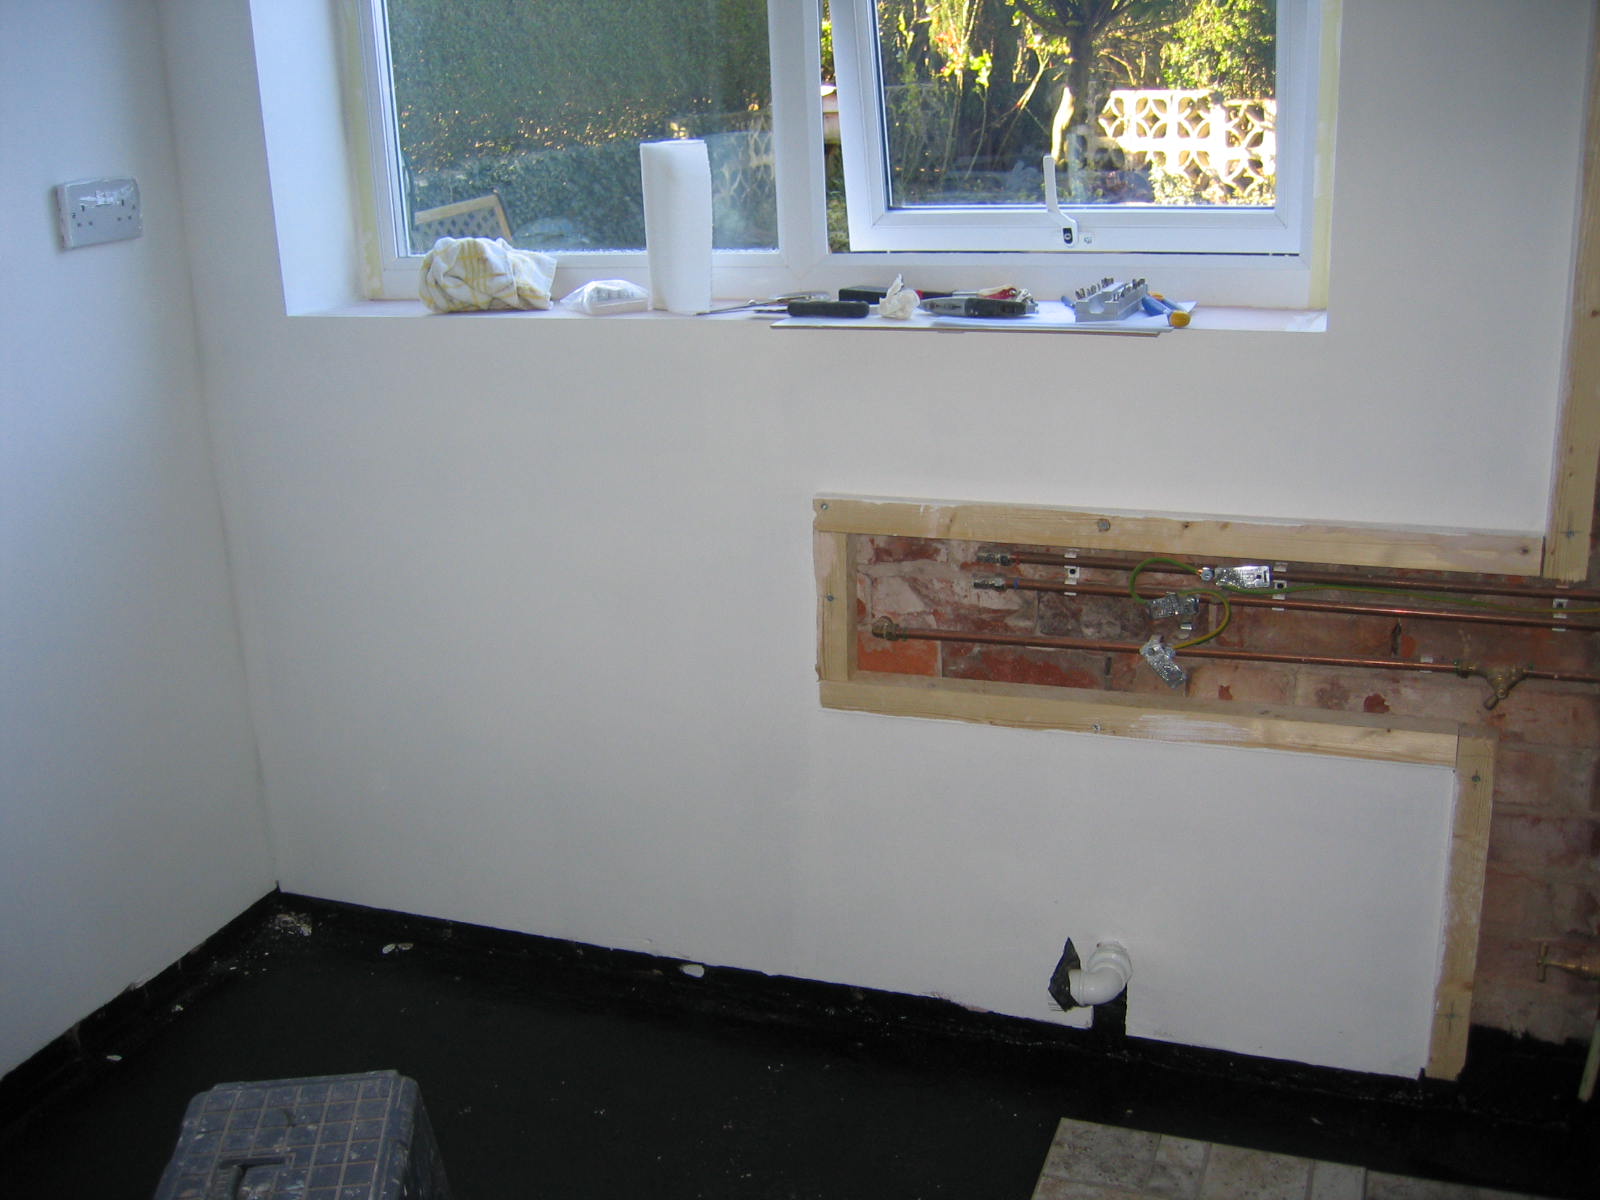
(We finally get to see the whole mess behind the sink walls...shudder..)
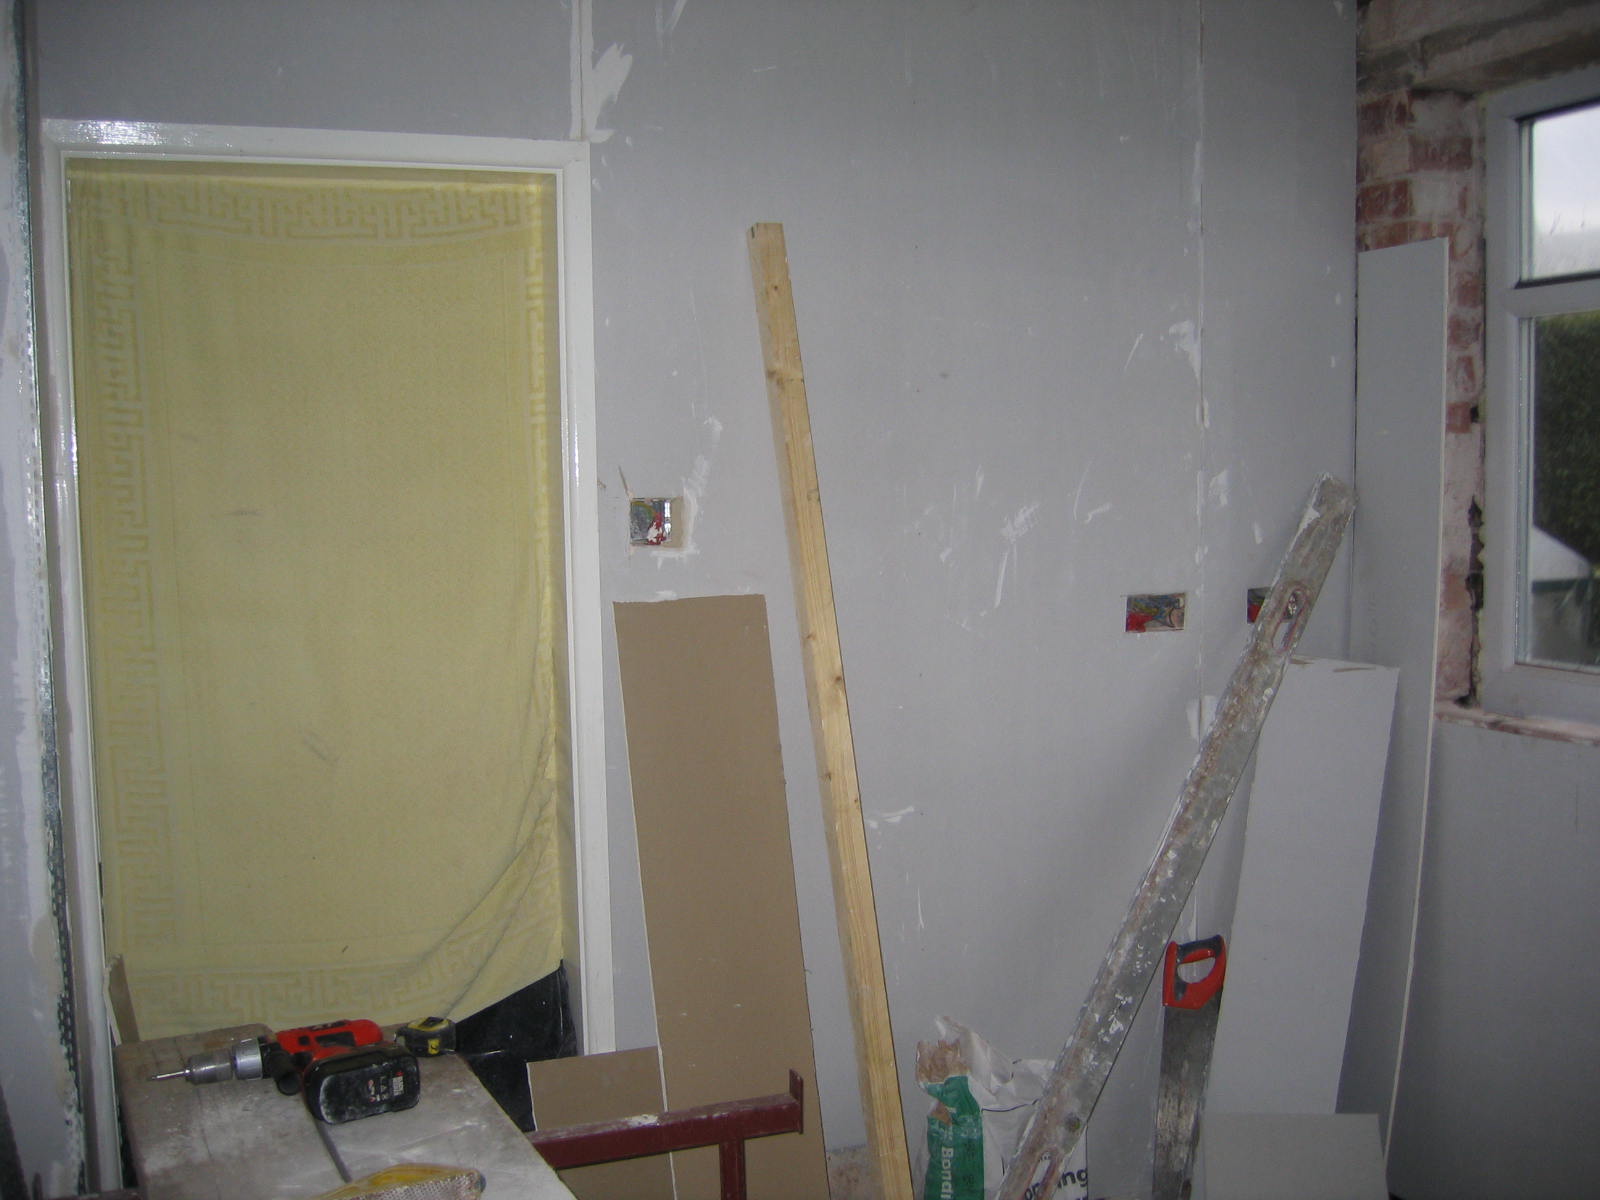
(After barricading the doors with towels and plastic in an effort to prevent some of the dust reaching the rest of the house.)
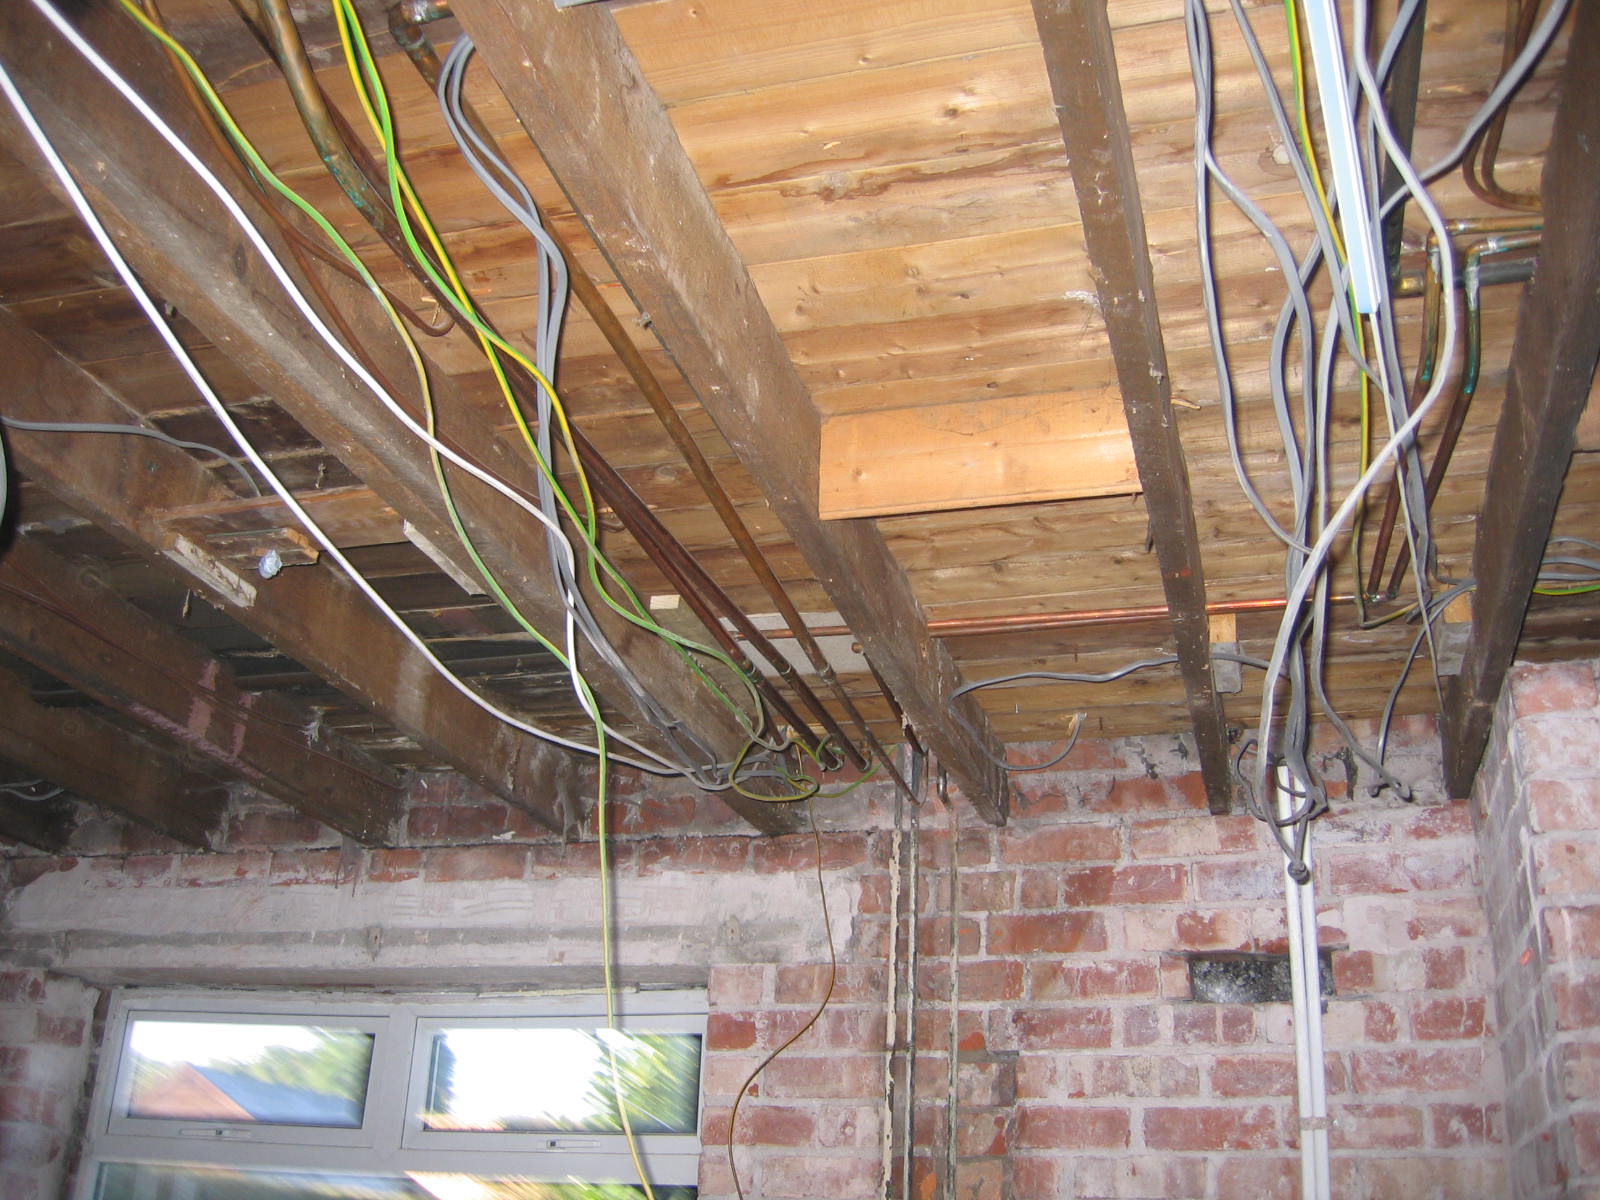
(It is amazing how much wire and how many pipes one can get out of one wall!)
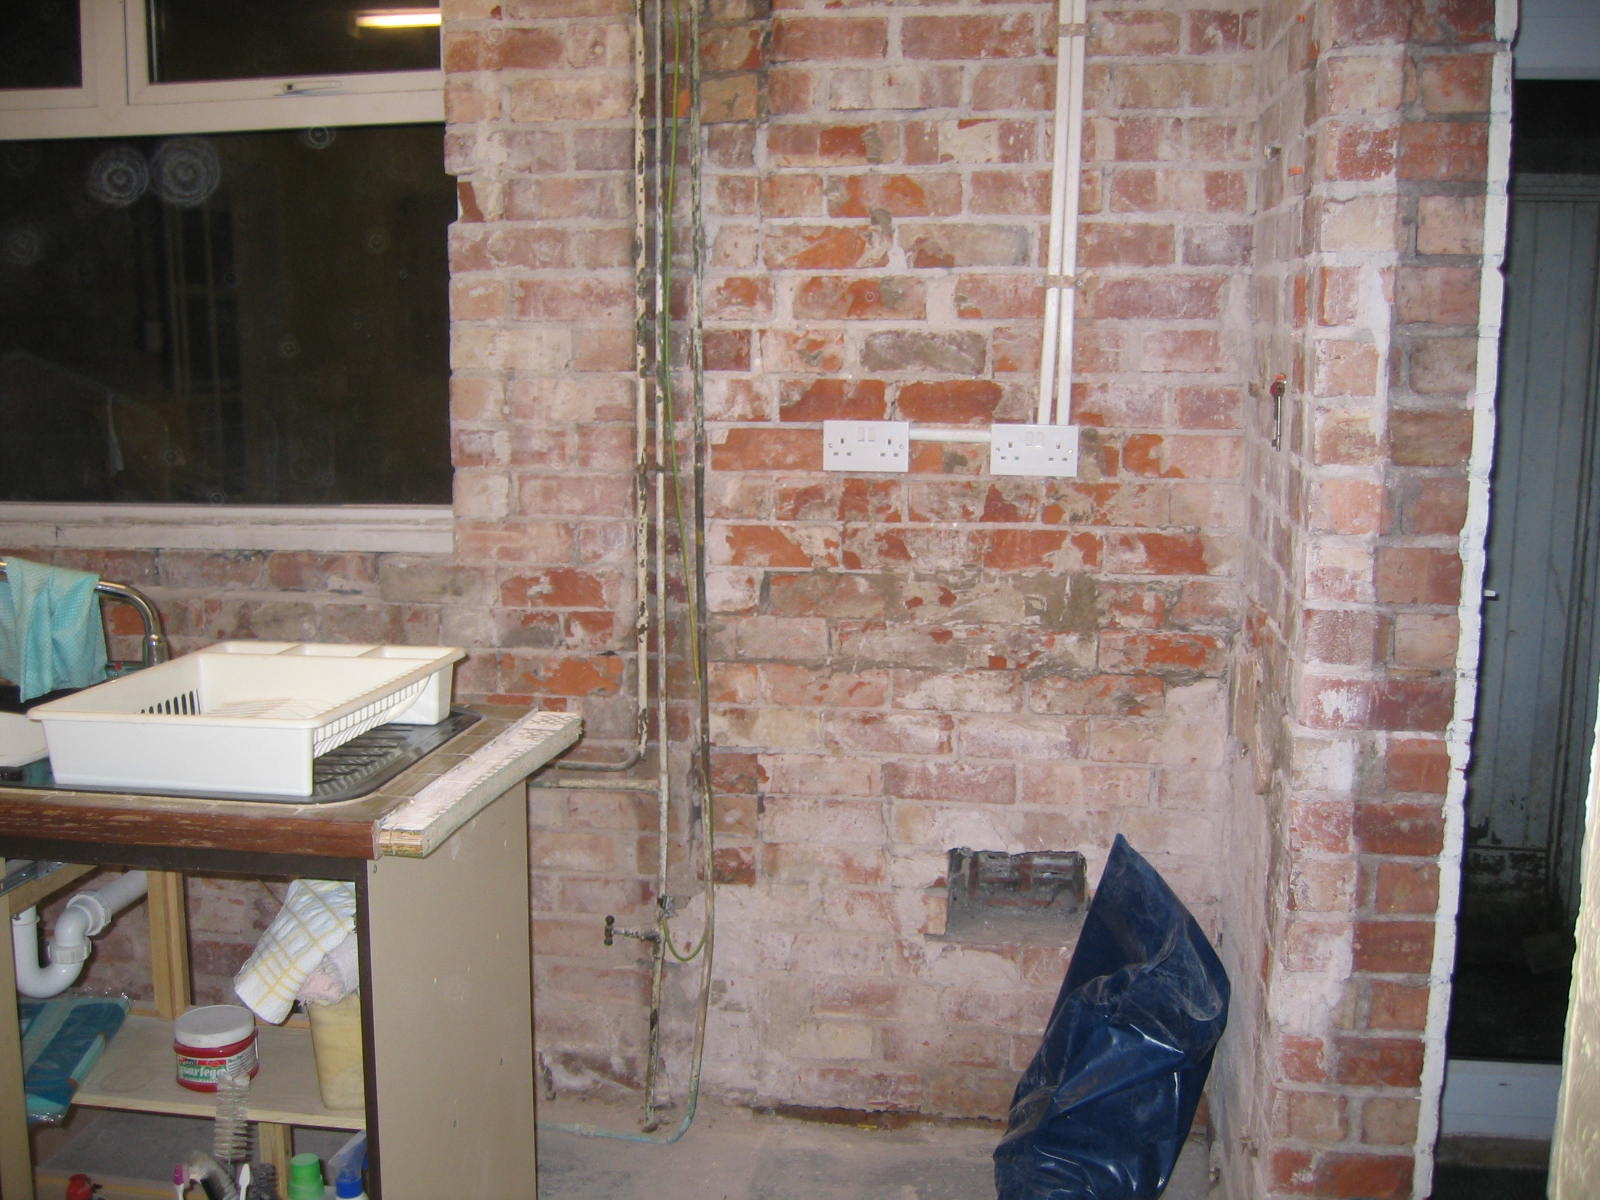
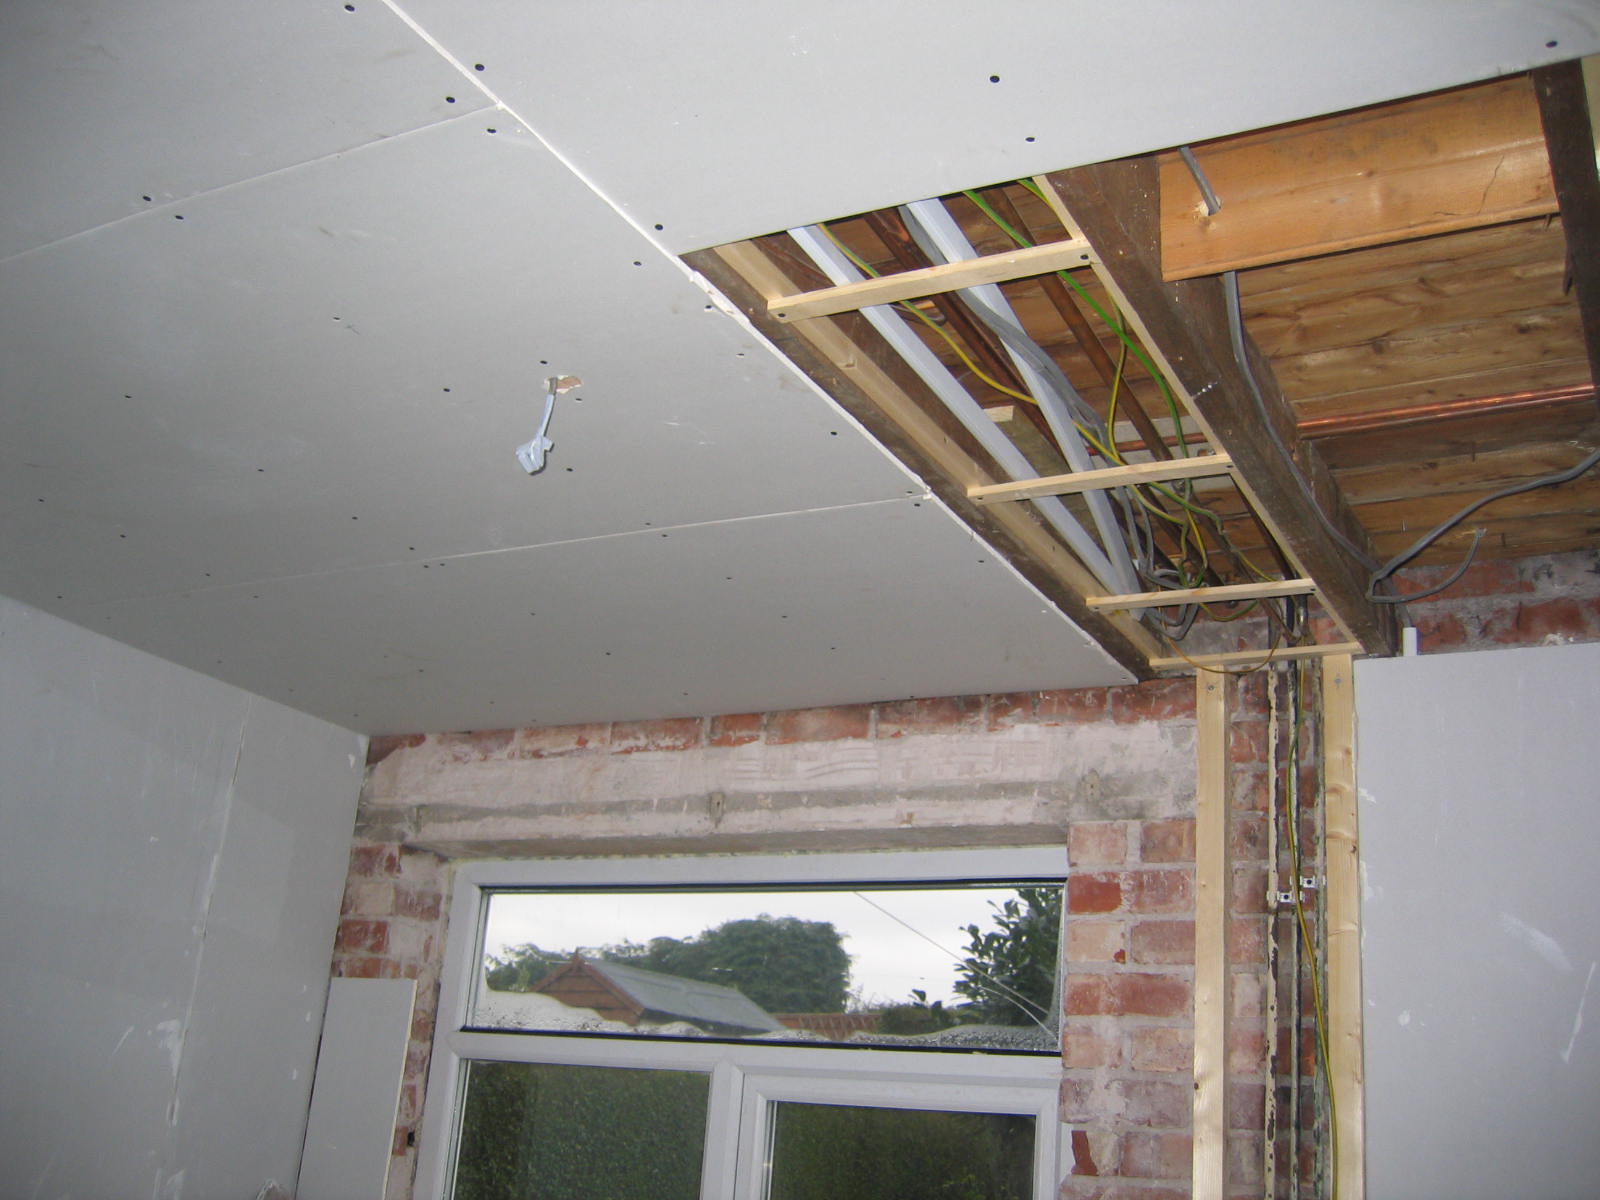
(As well as all the cobwebs and other rubbish that came into sight with the removal of the ceiling and plaster.)
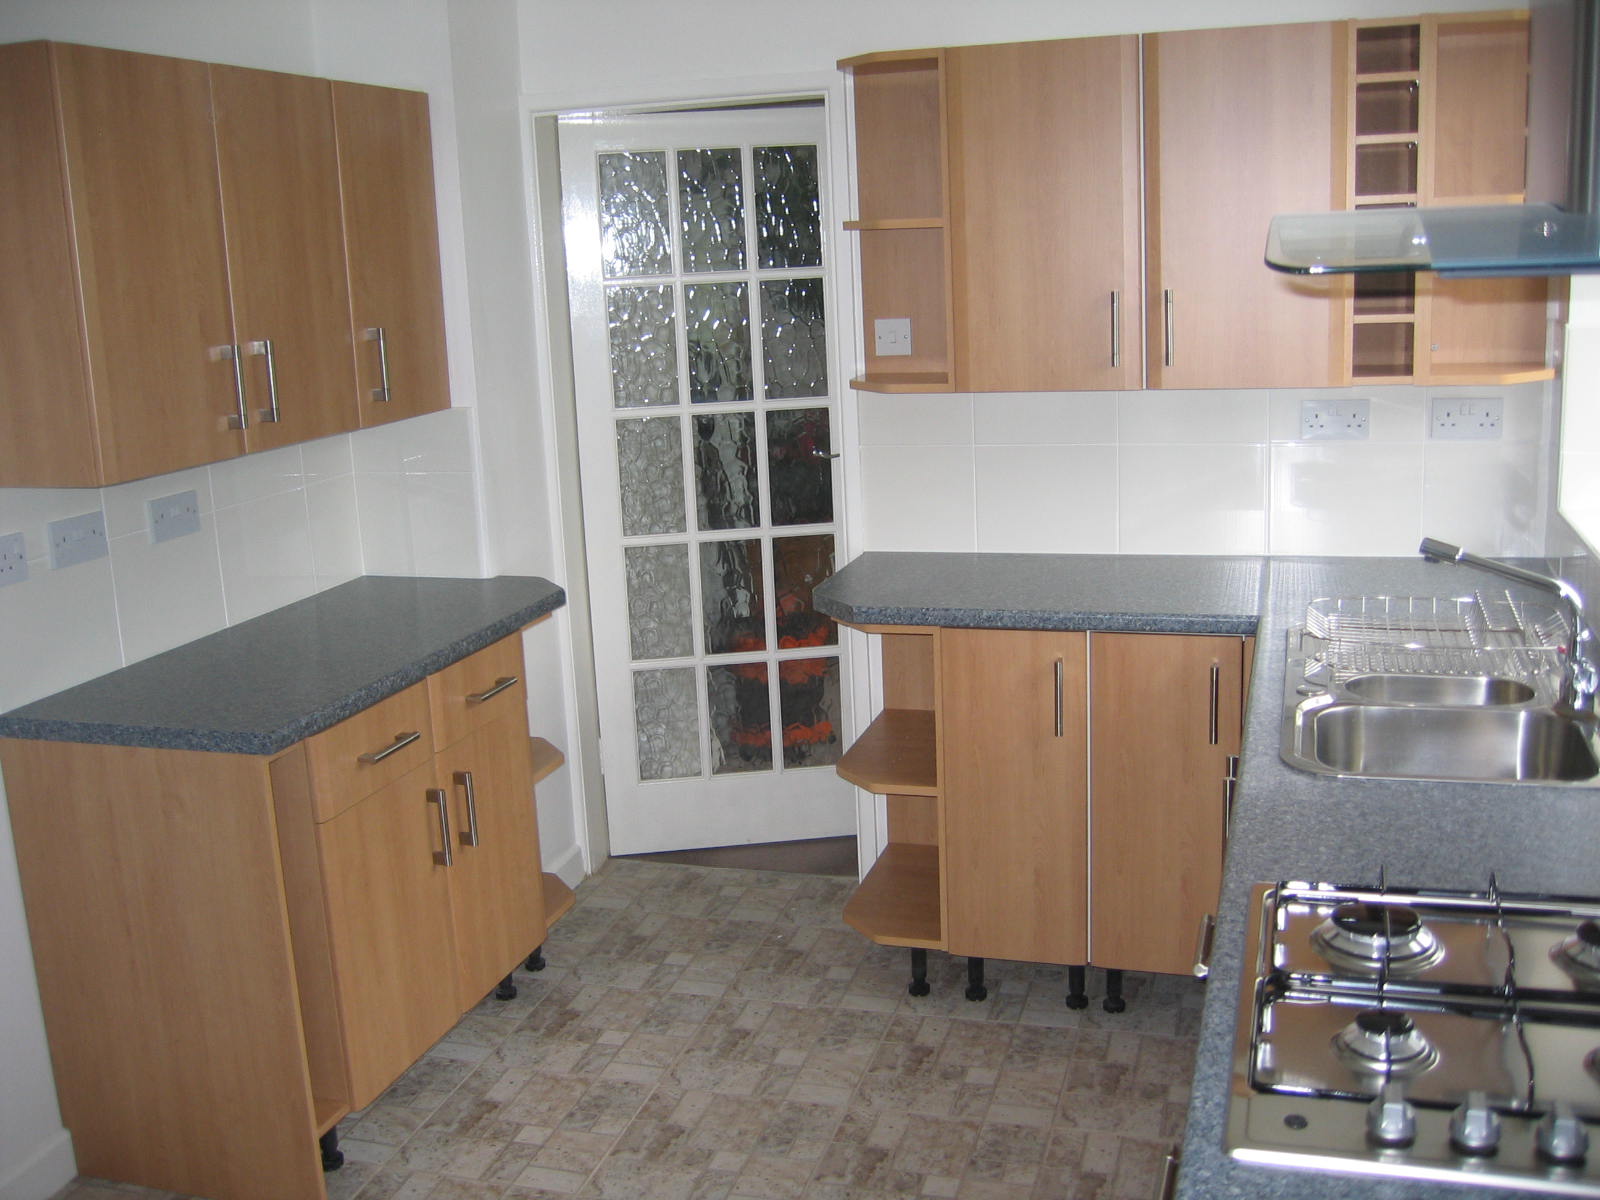
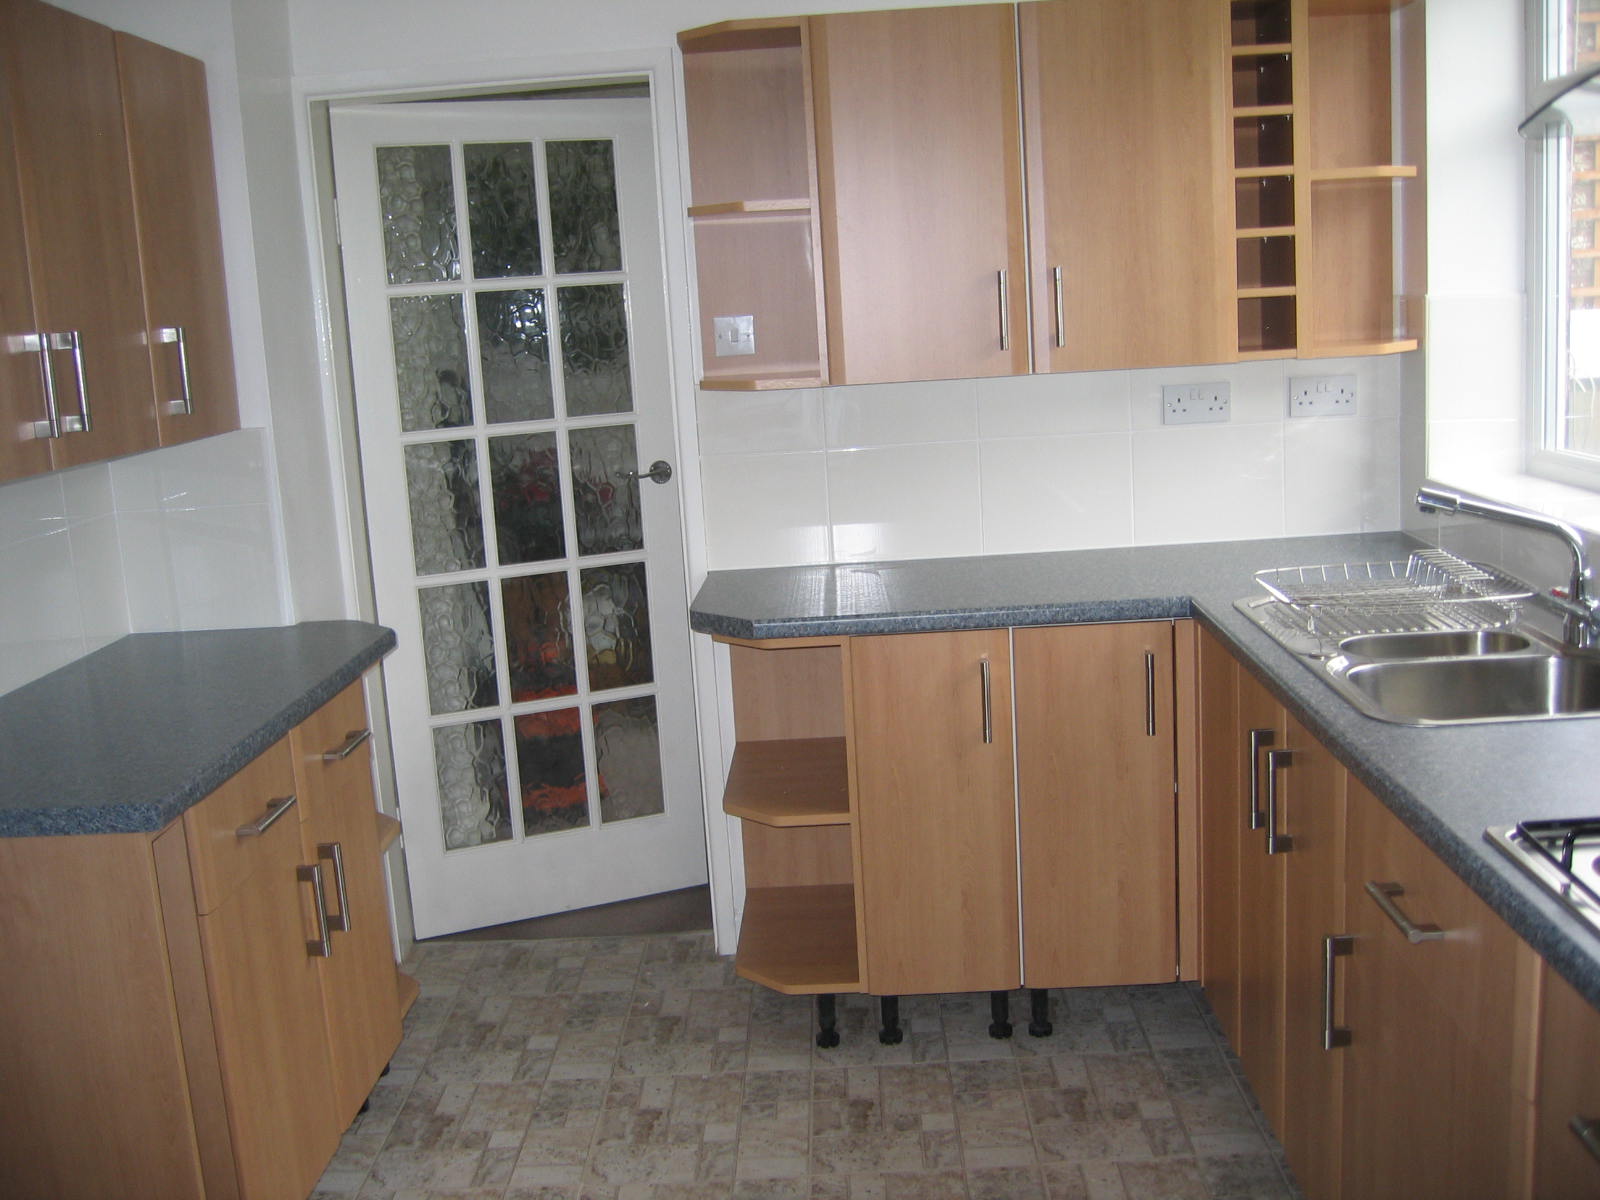
Before and after
(Anyone want a skipload of bricks?)
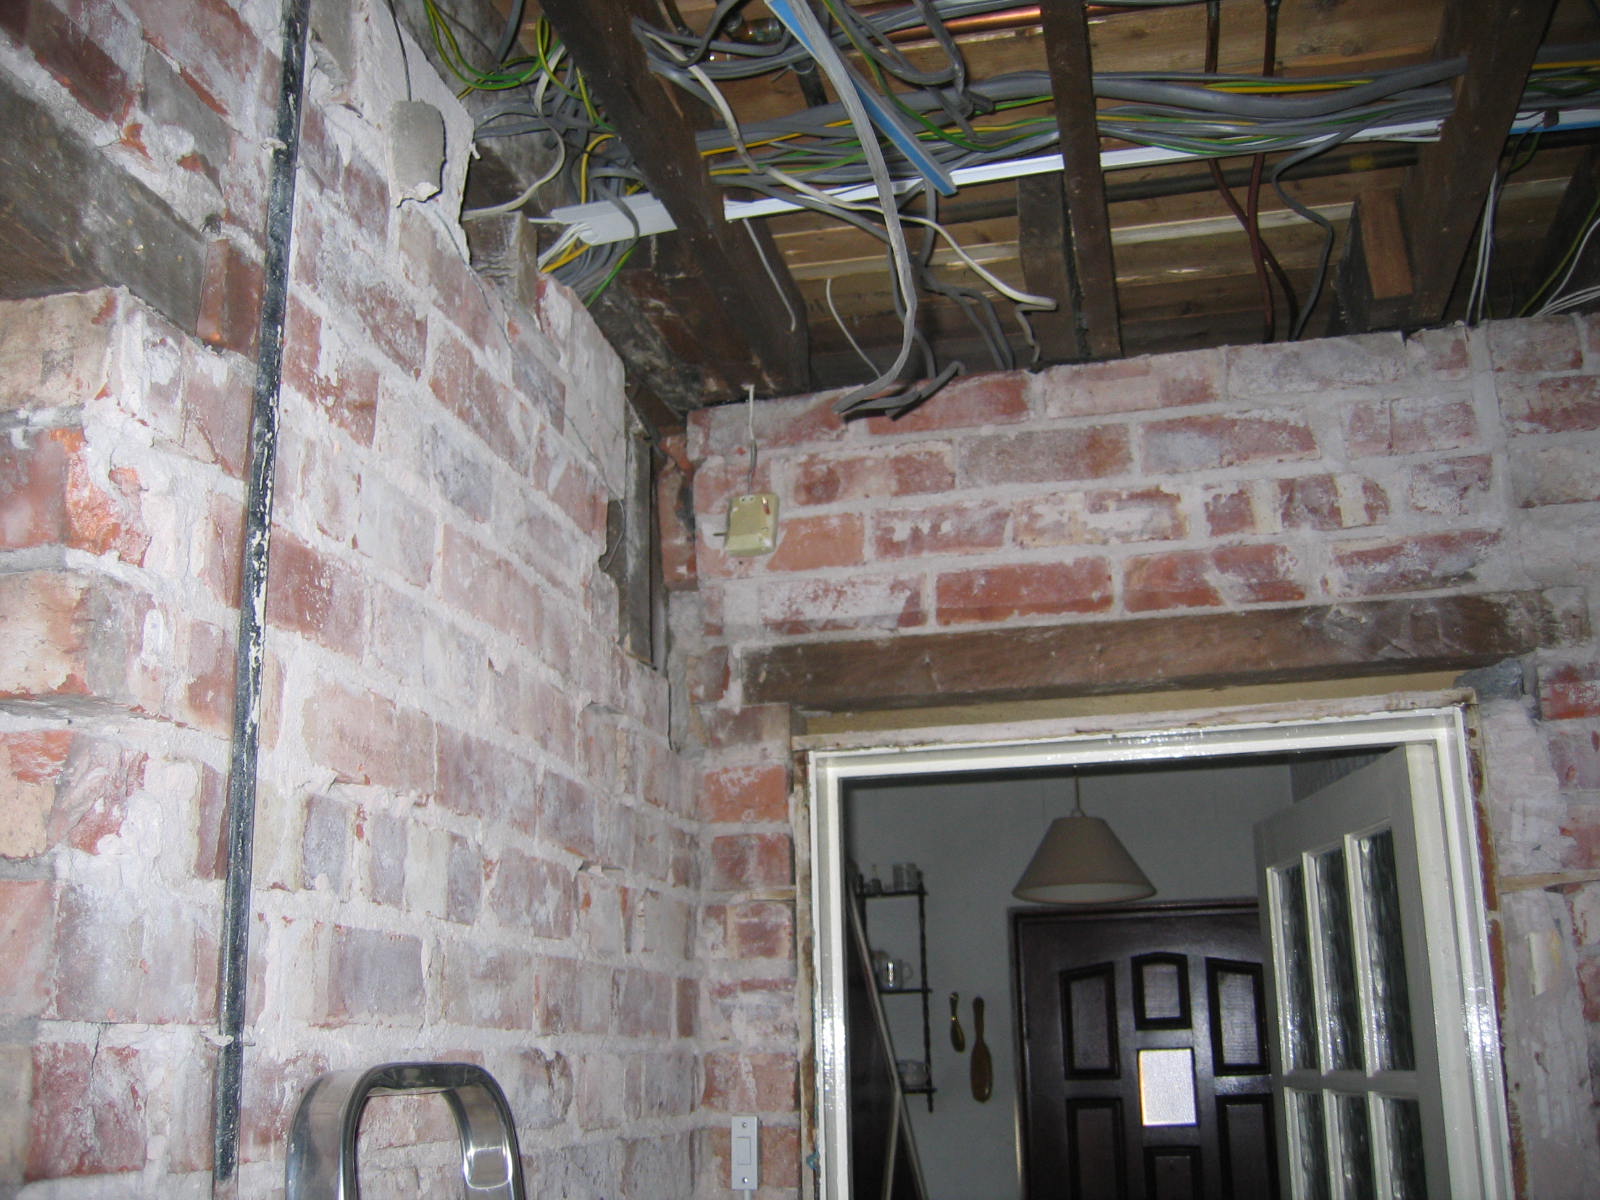
(Shoka is lurking in the hall amongst the piles of tools)
Before and after
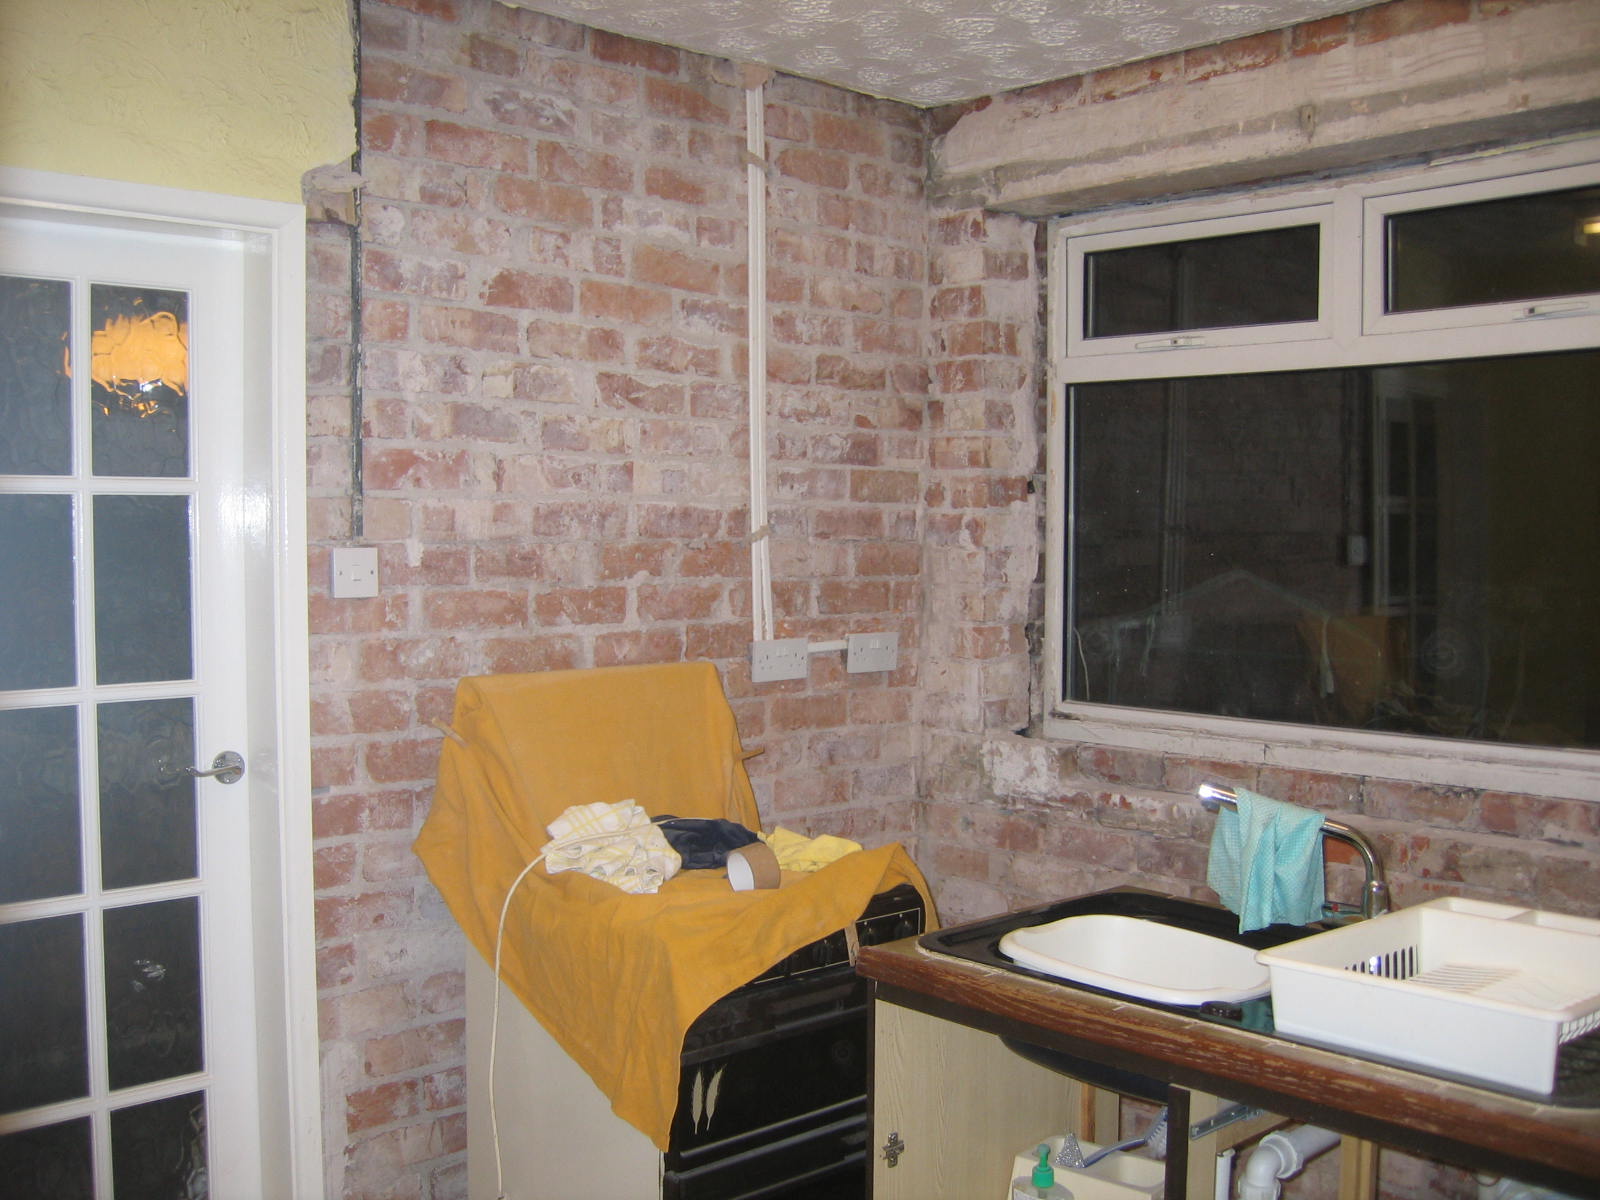
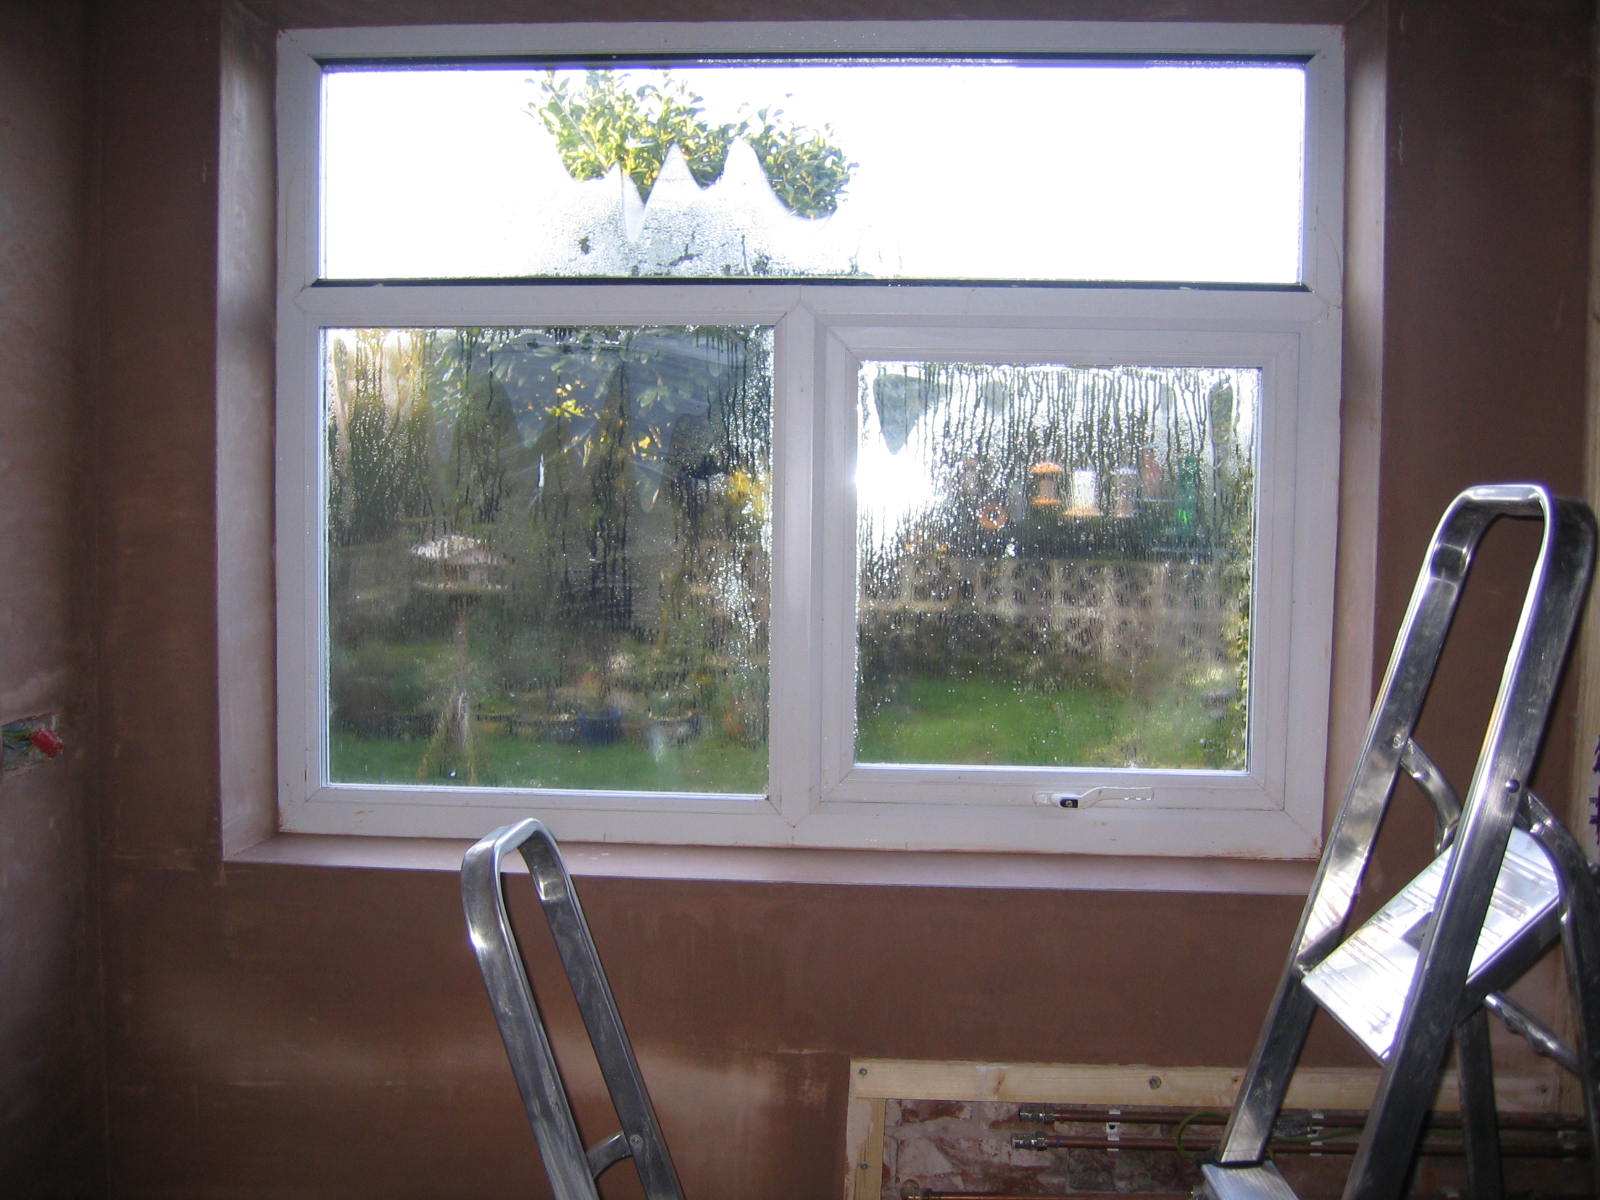
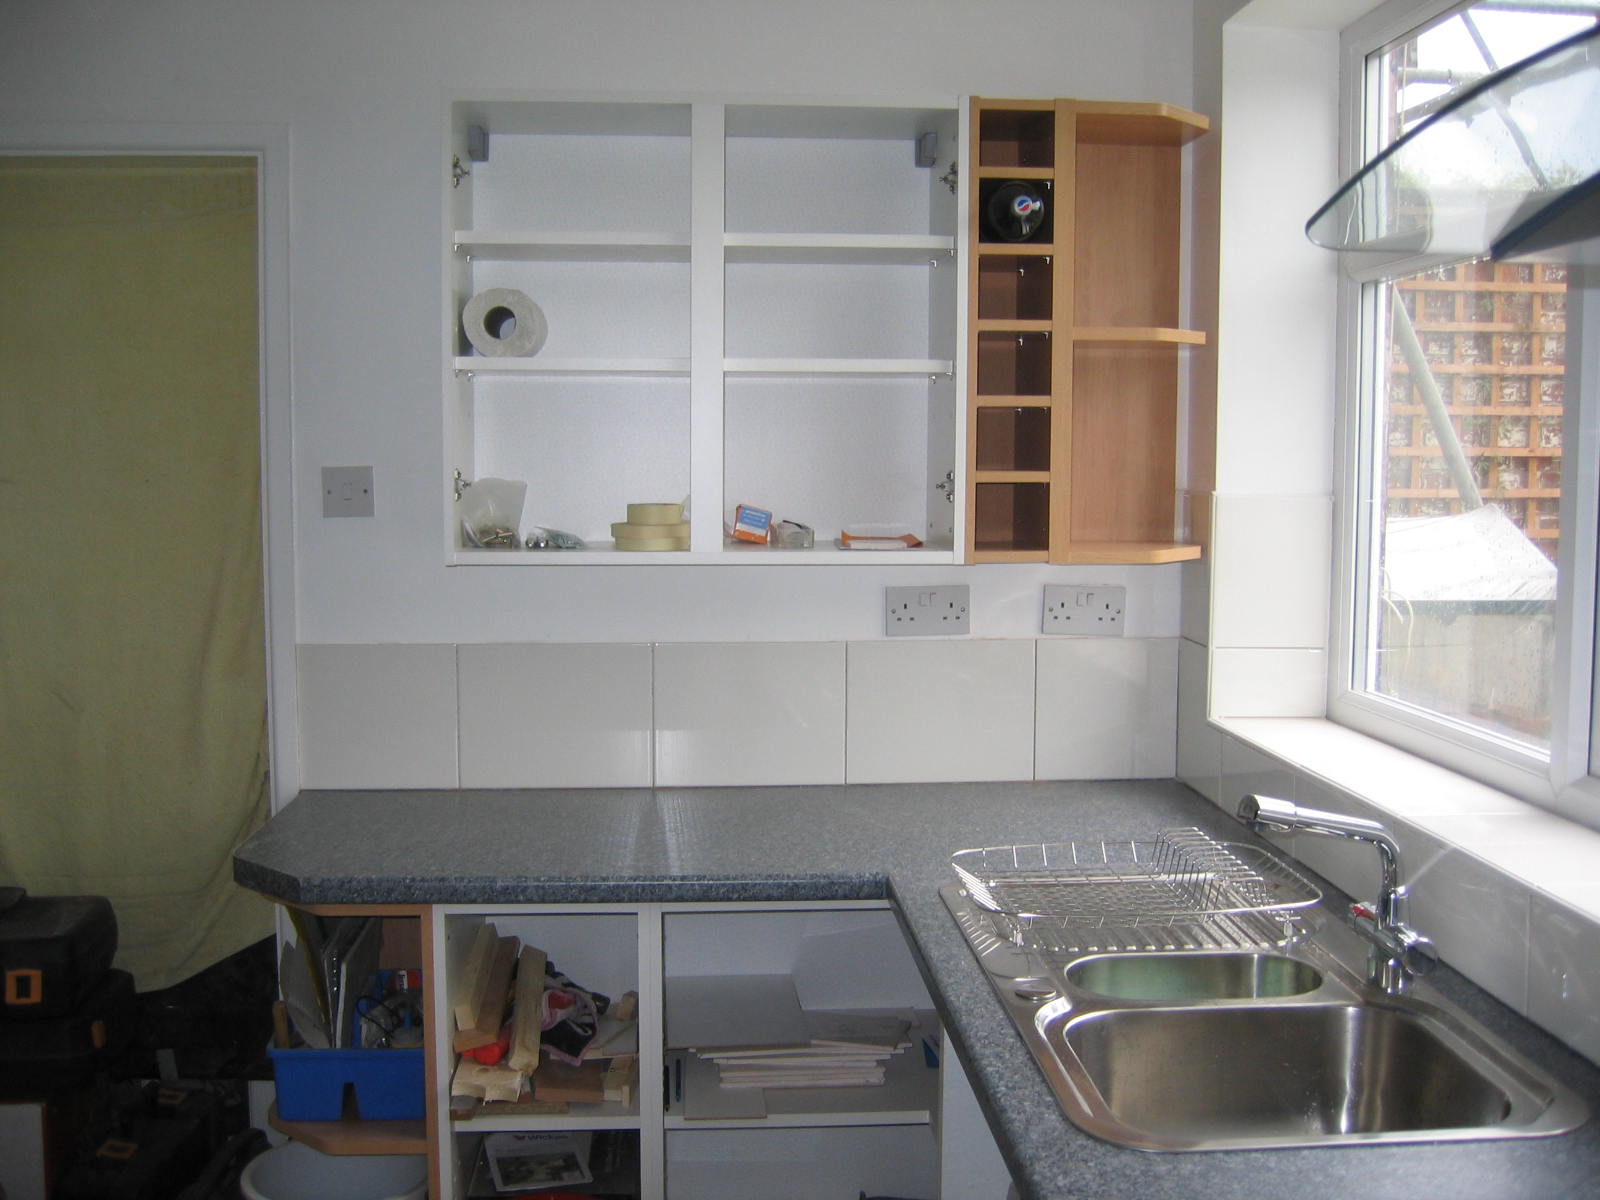
(At last - a window I will be able to open, I couldn't reach the handles on the old one.)
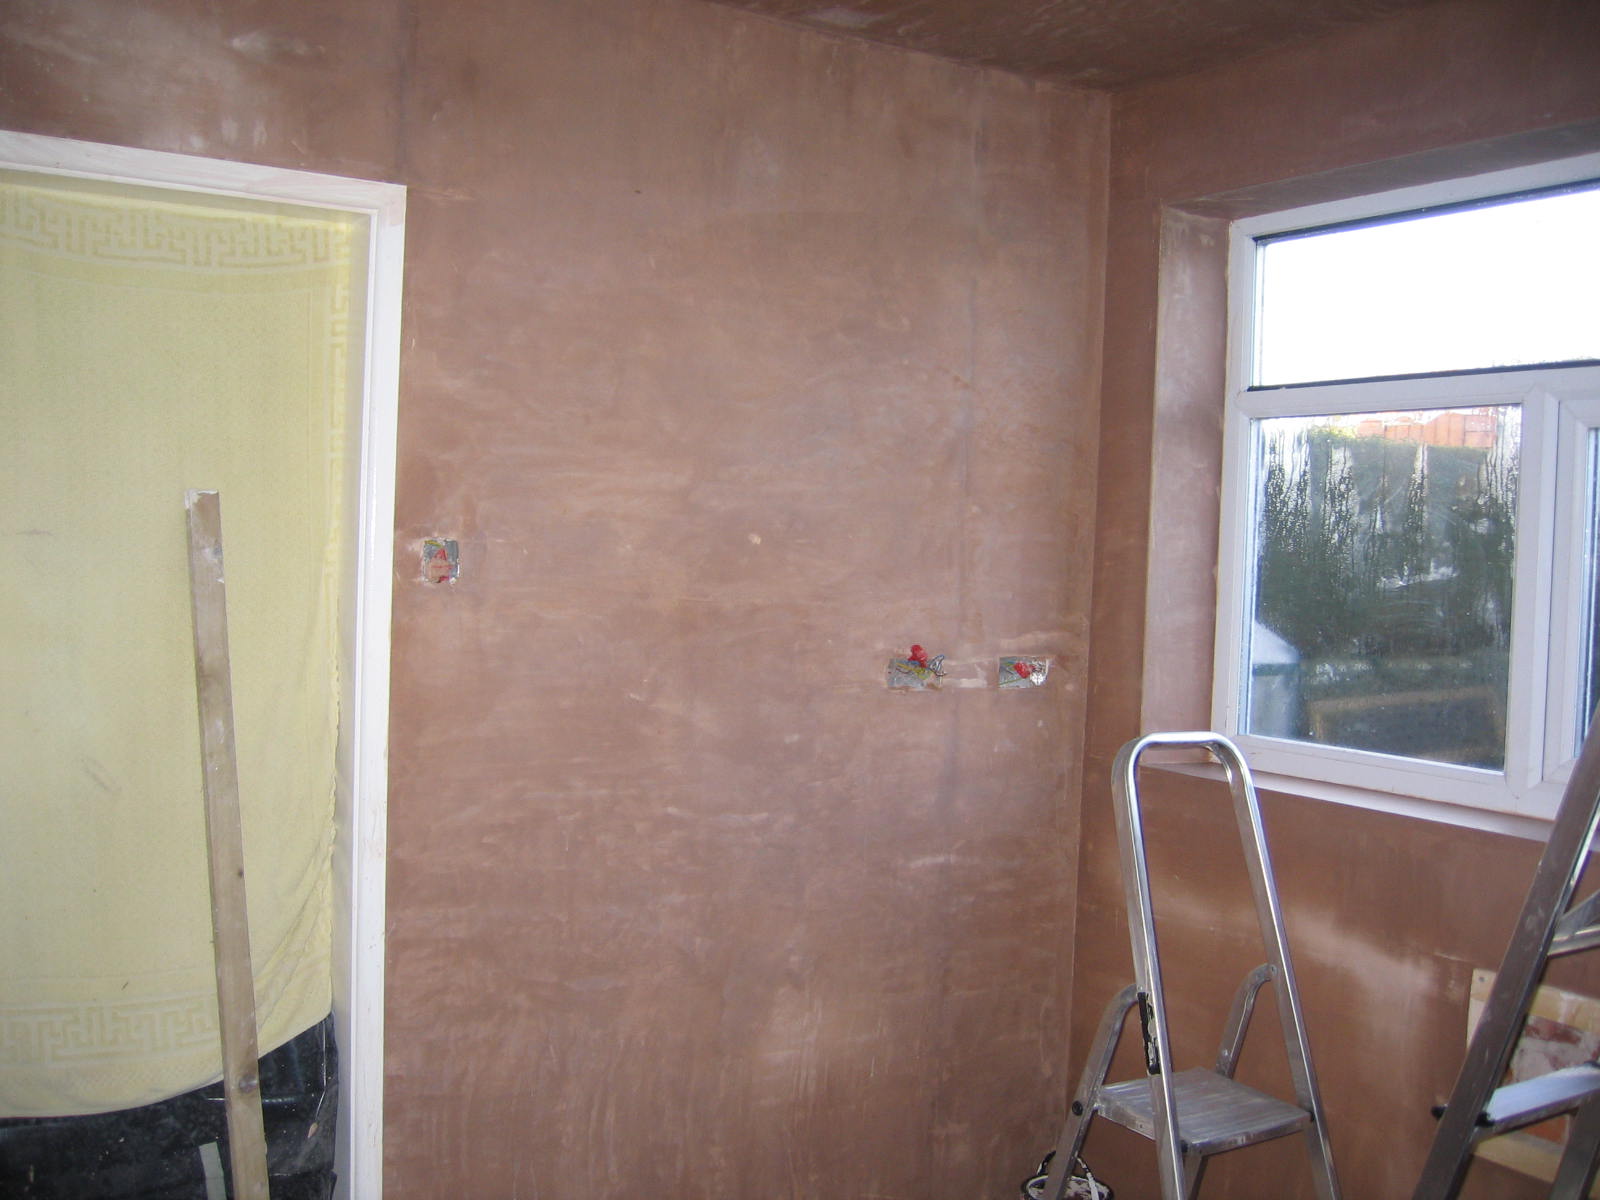
(We had a couple of days rest while the workmen were doing this, as there wasn't anything we could do except to keep the coffee coming.)
(The plasterers didn't like the way we had made it originally.)
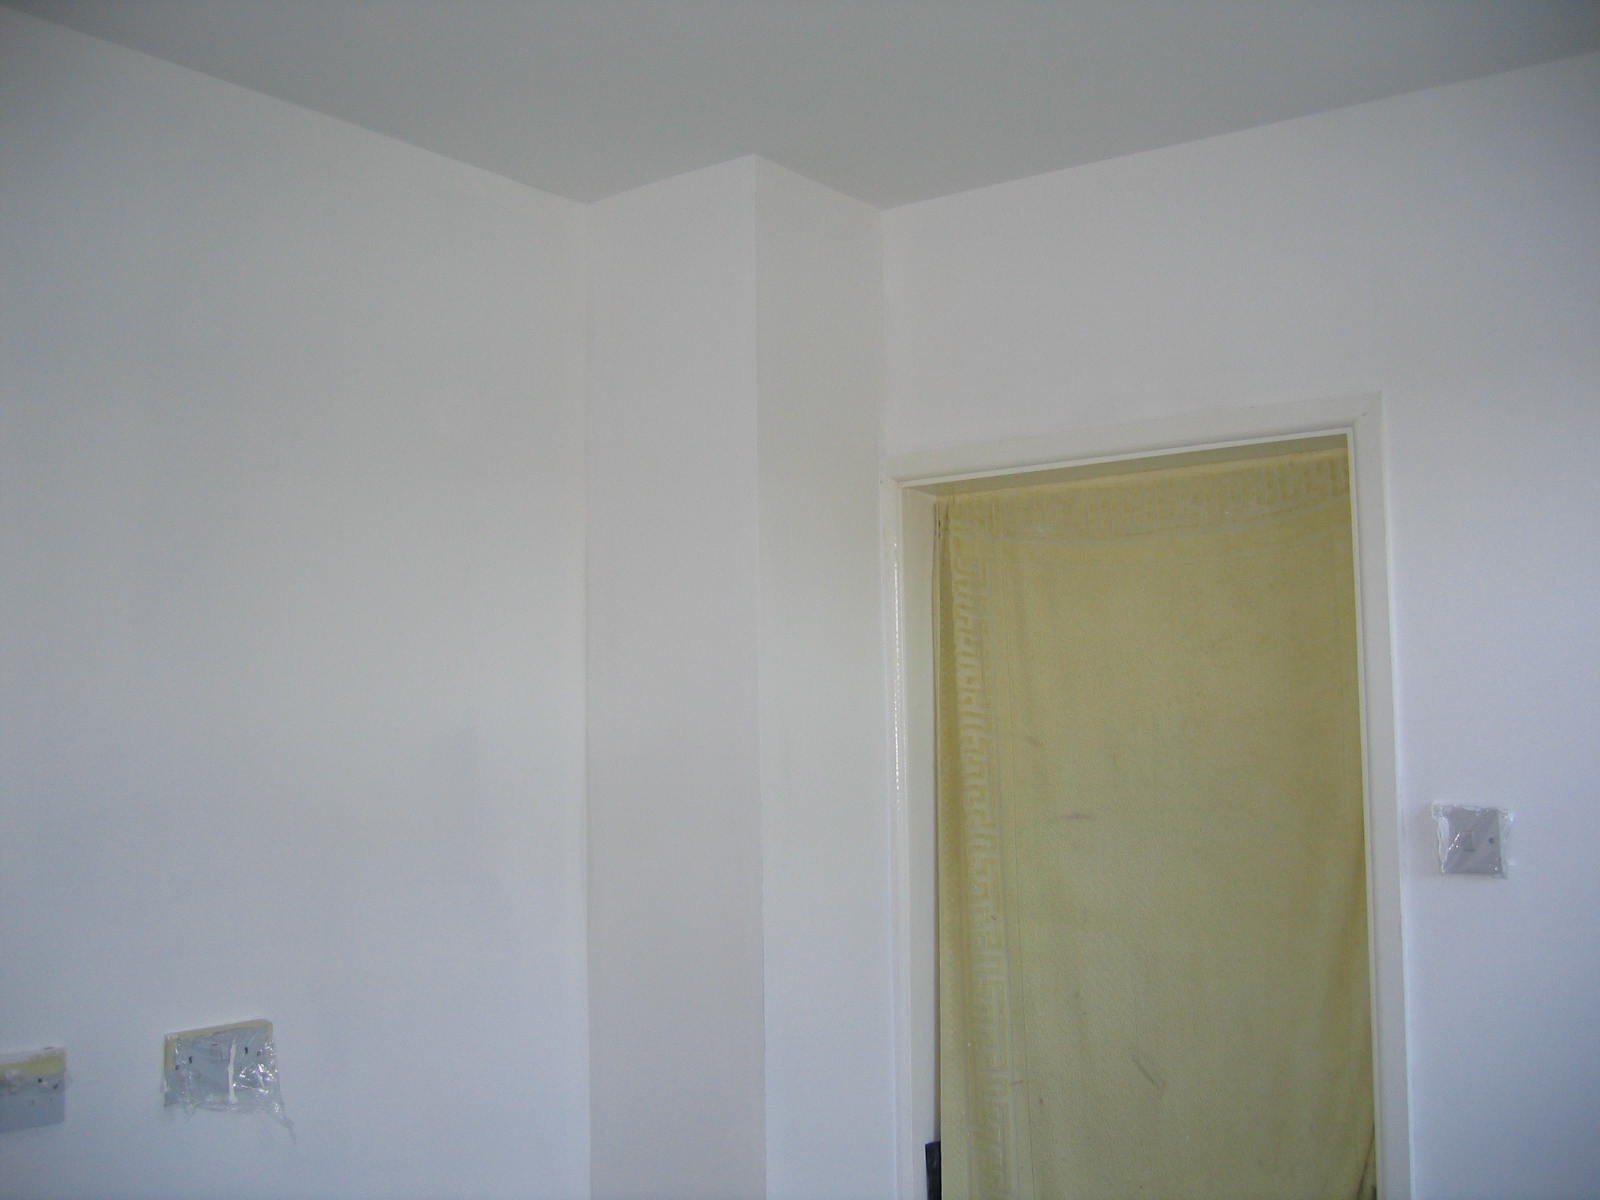
(Lovely ~ a pink room! Better than the grey boards though. )

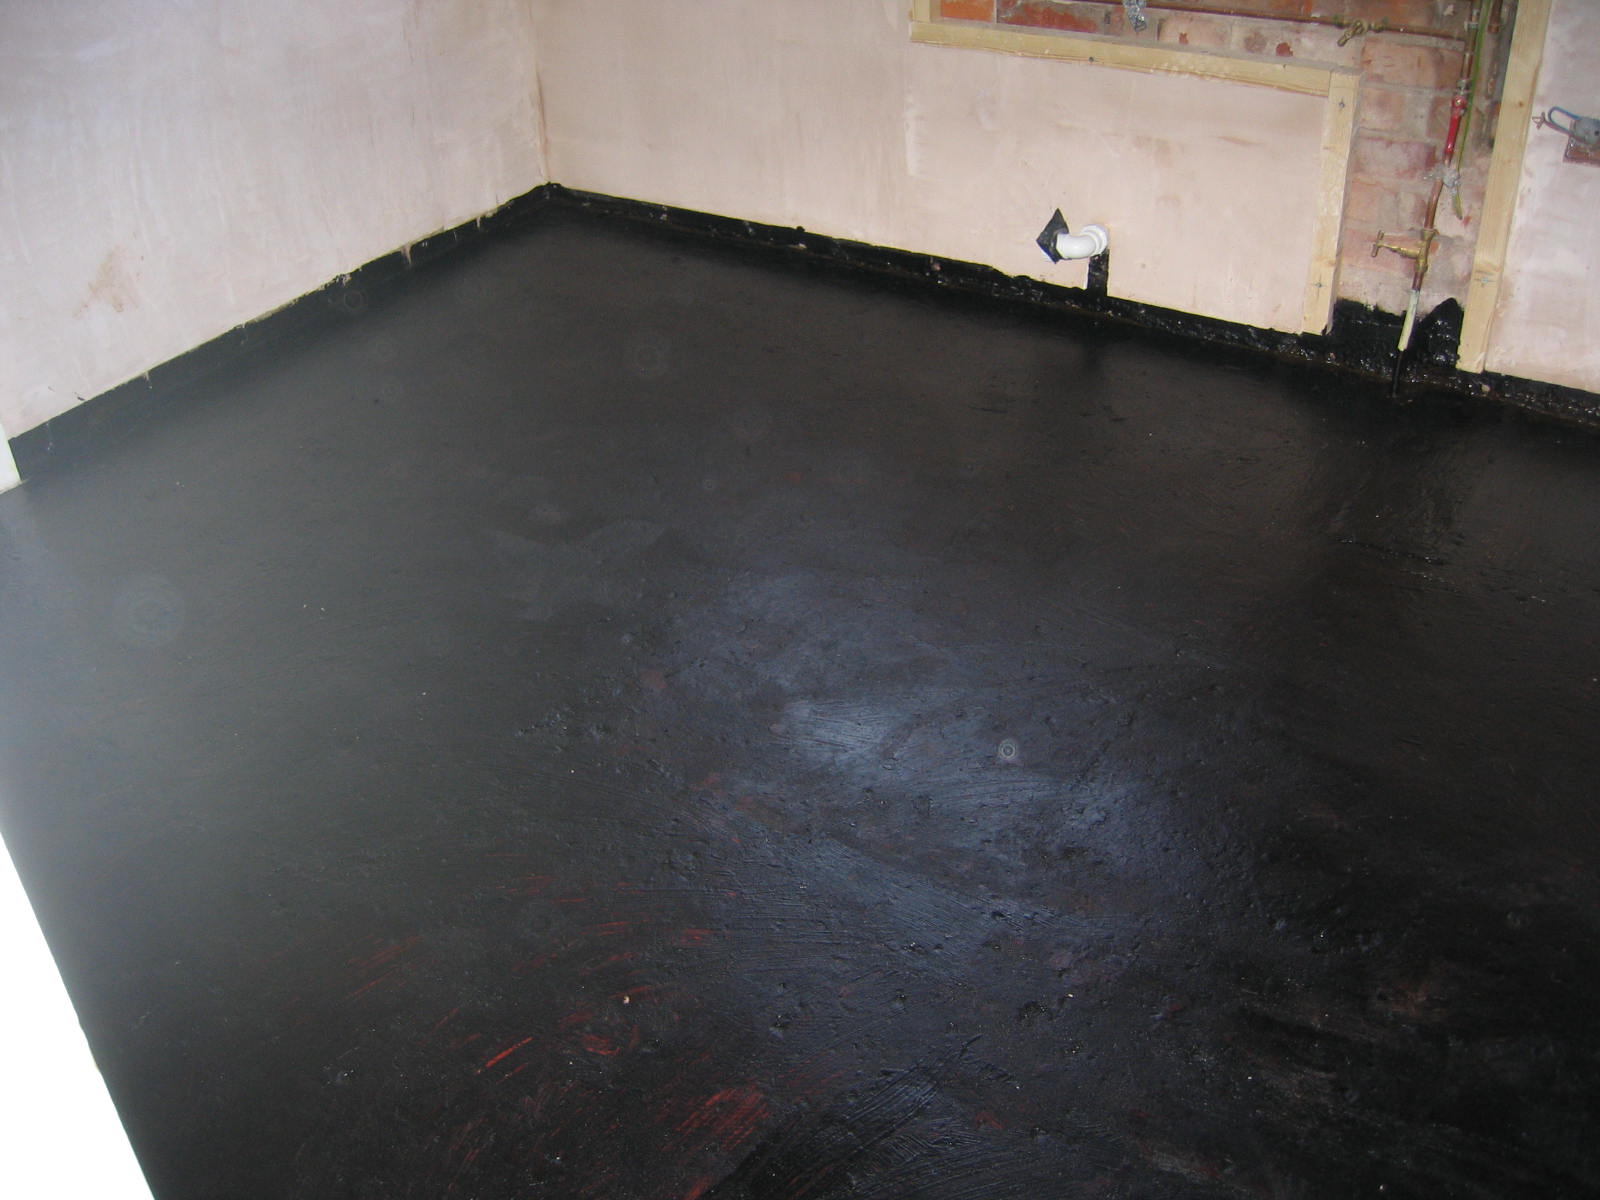
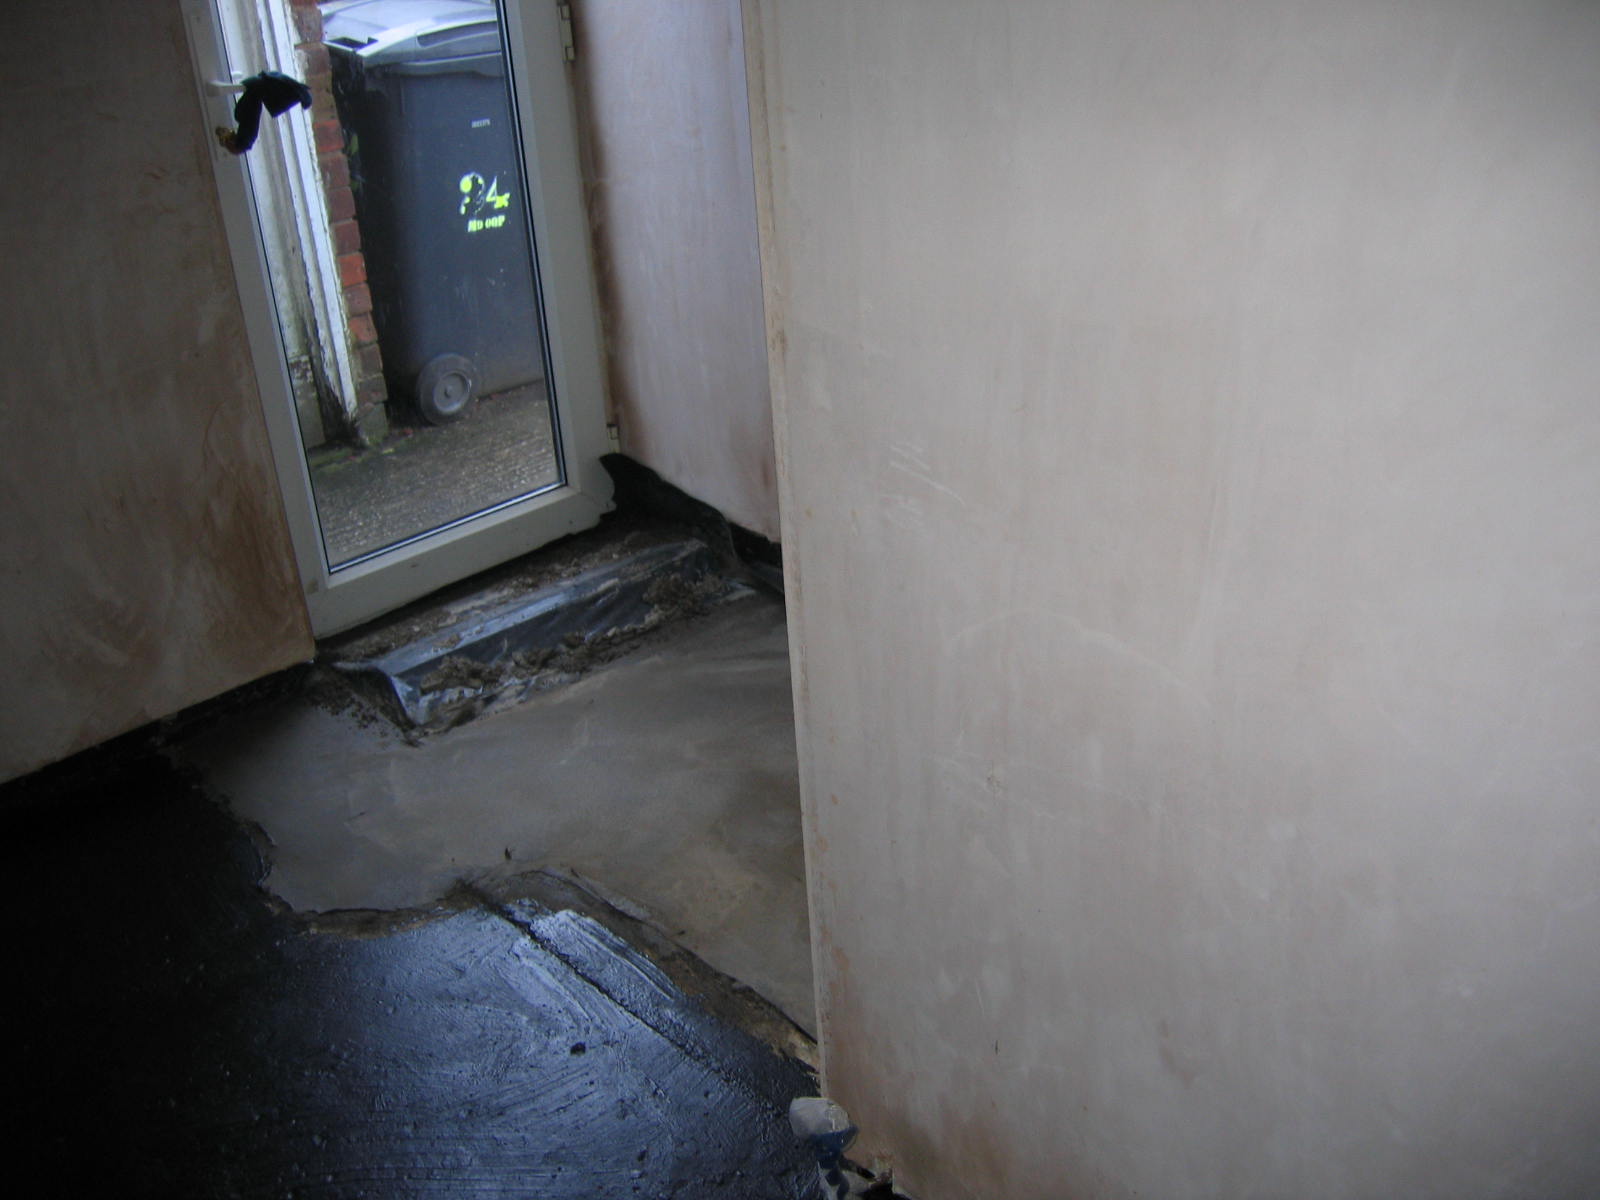
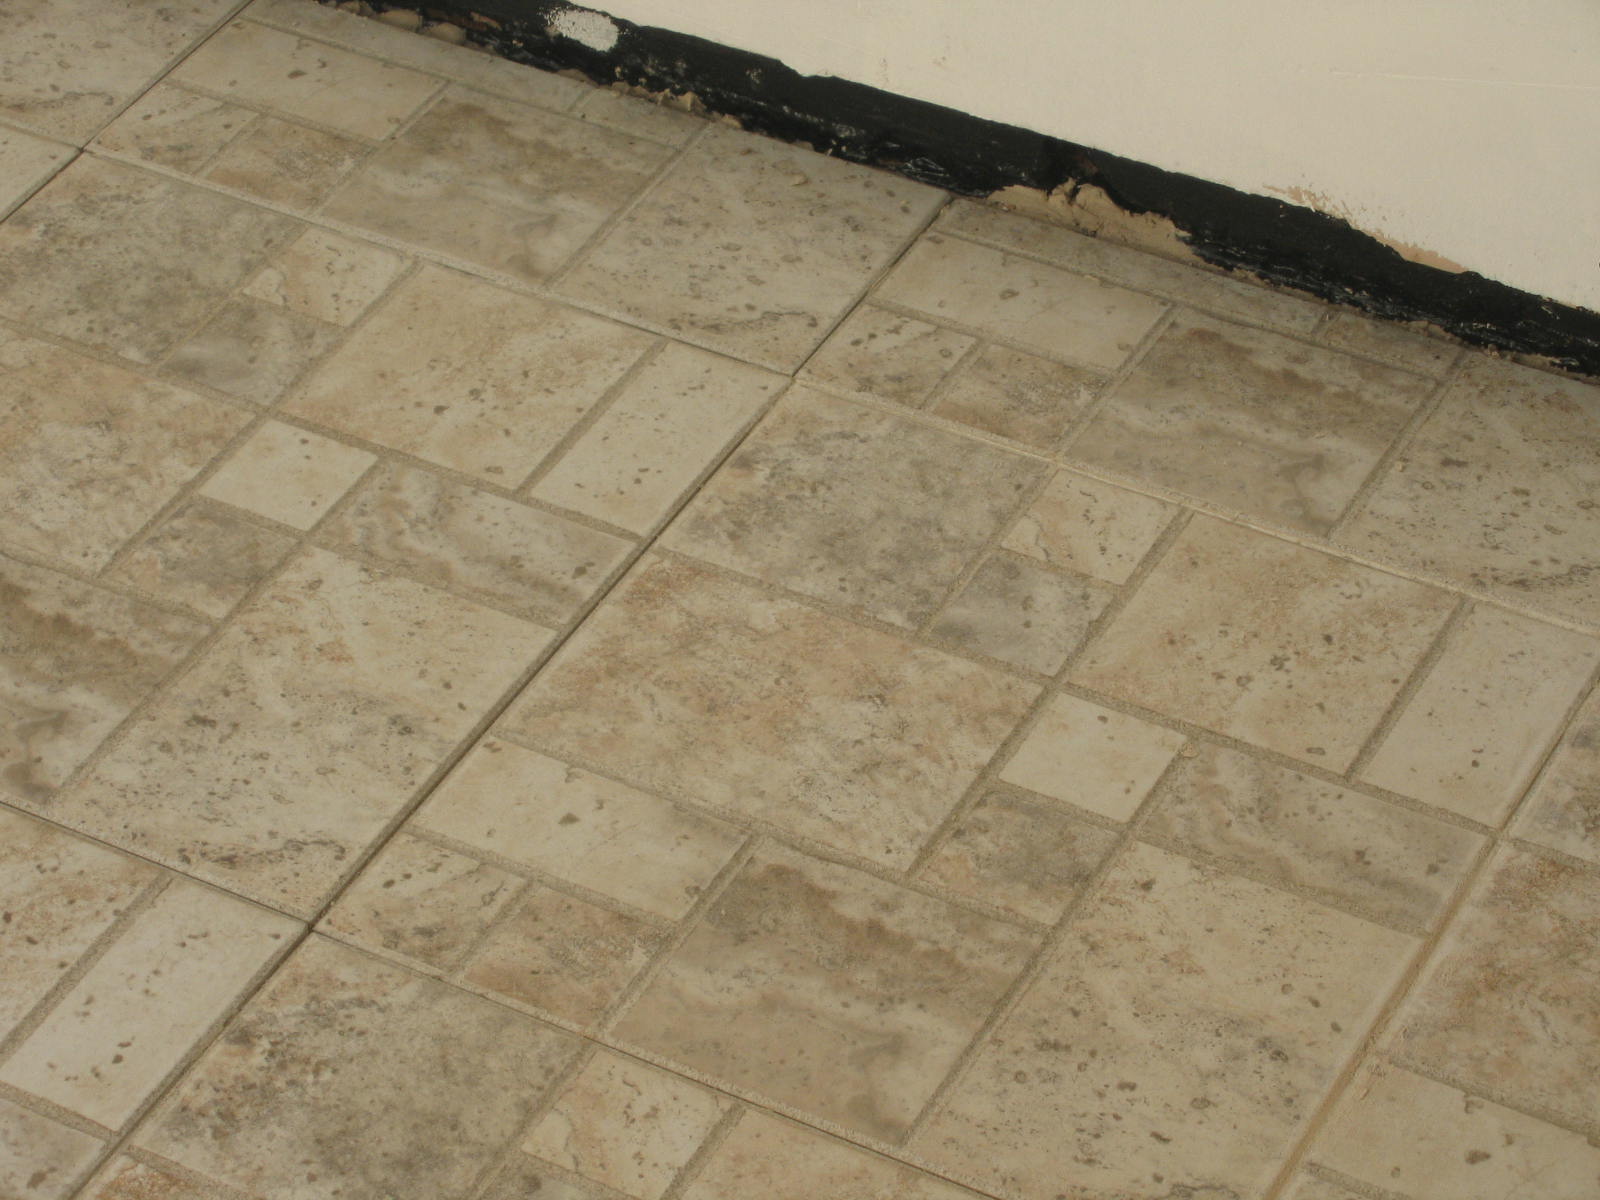
Note slab cast to level floor with form for the mat well still in place
(This was a sticky and smelly job, and very hard to do.)
(We're getting really good with the paint rollers by now!)
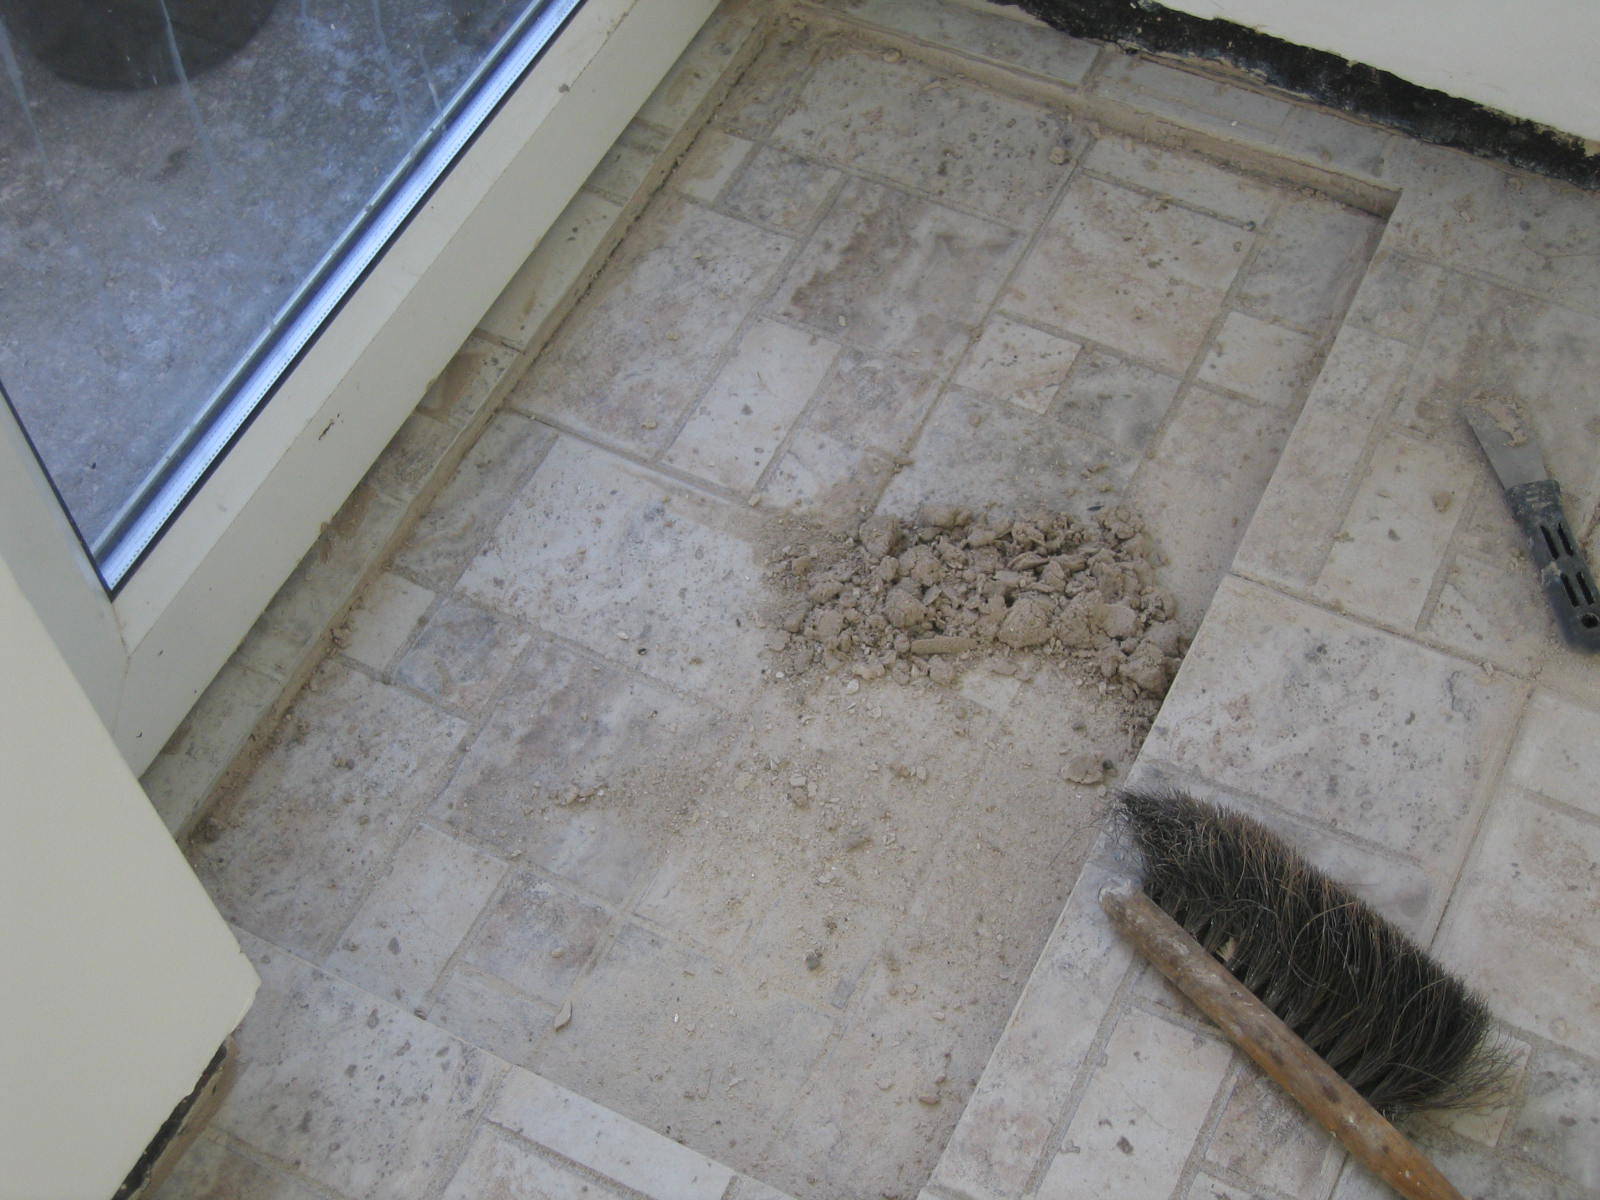
(I wish I'd swept the rubbish out of the doormat-well before I took the picture!)
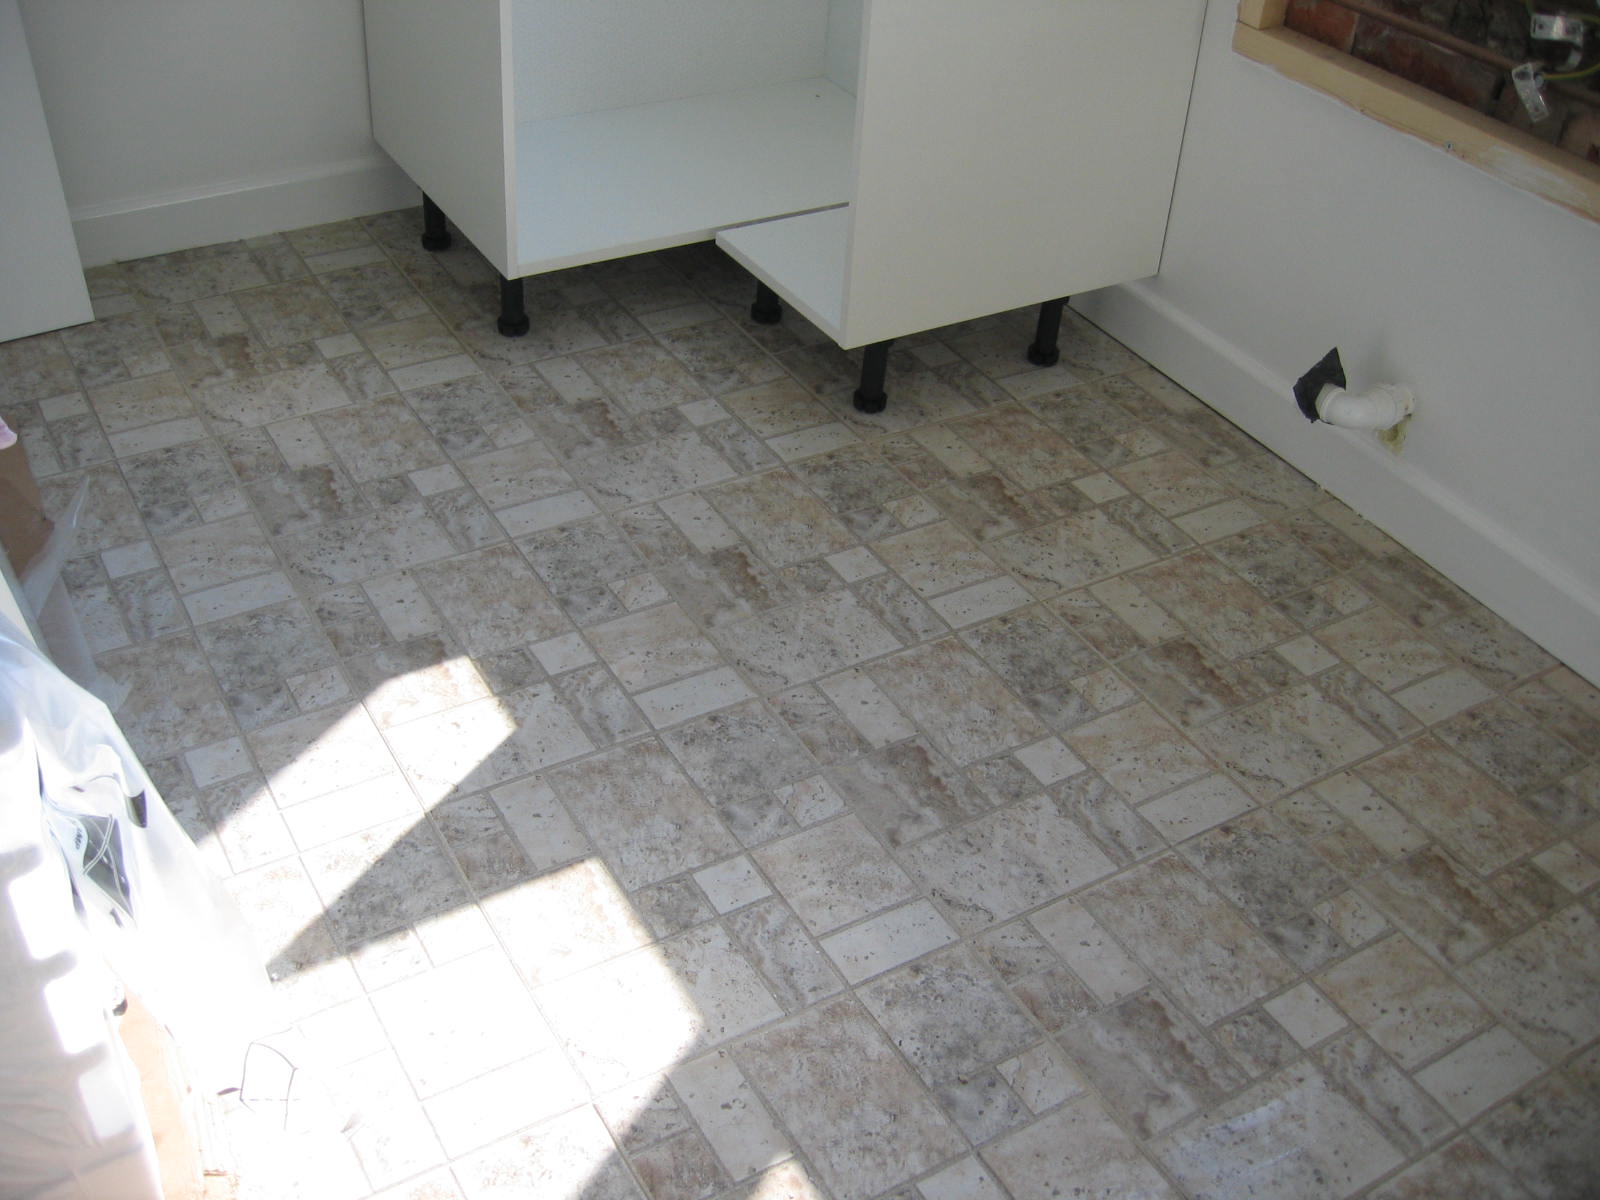
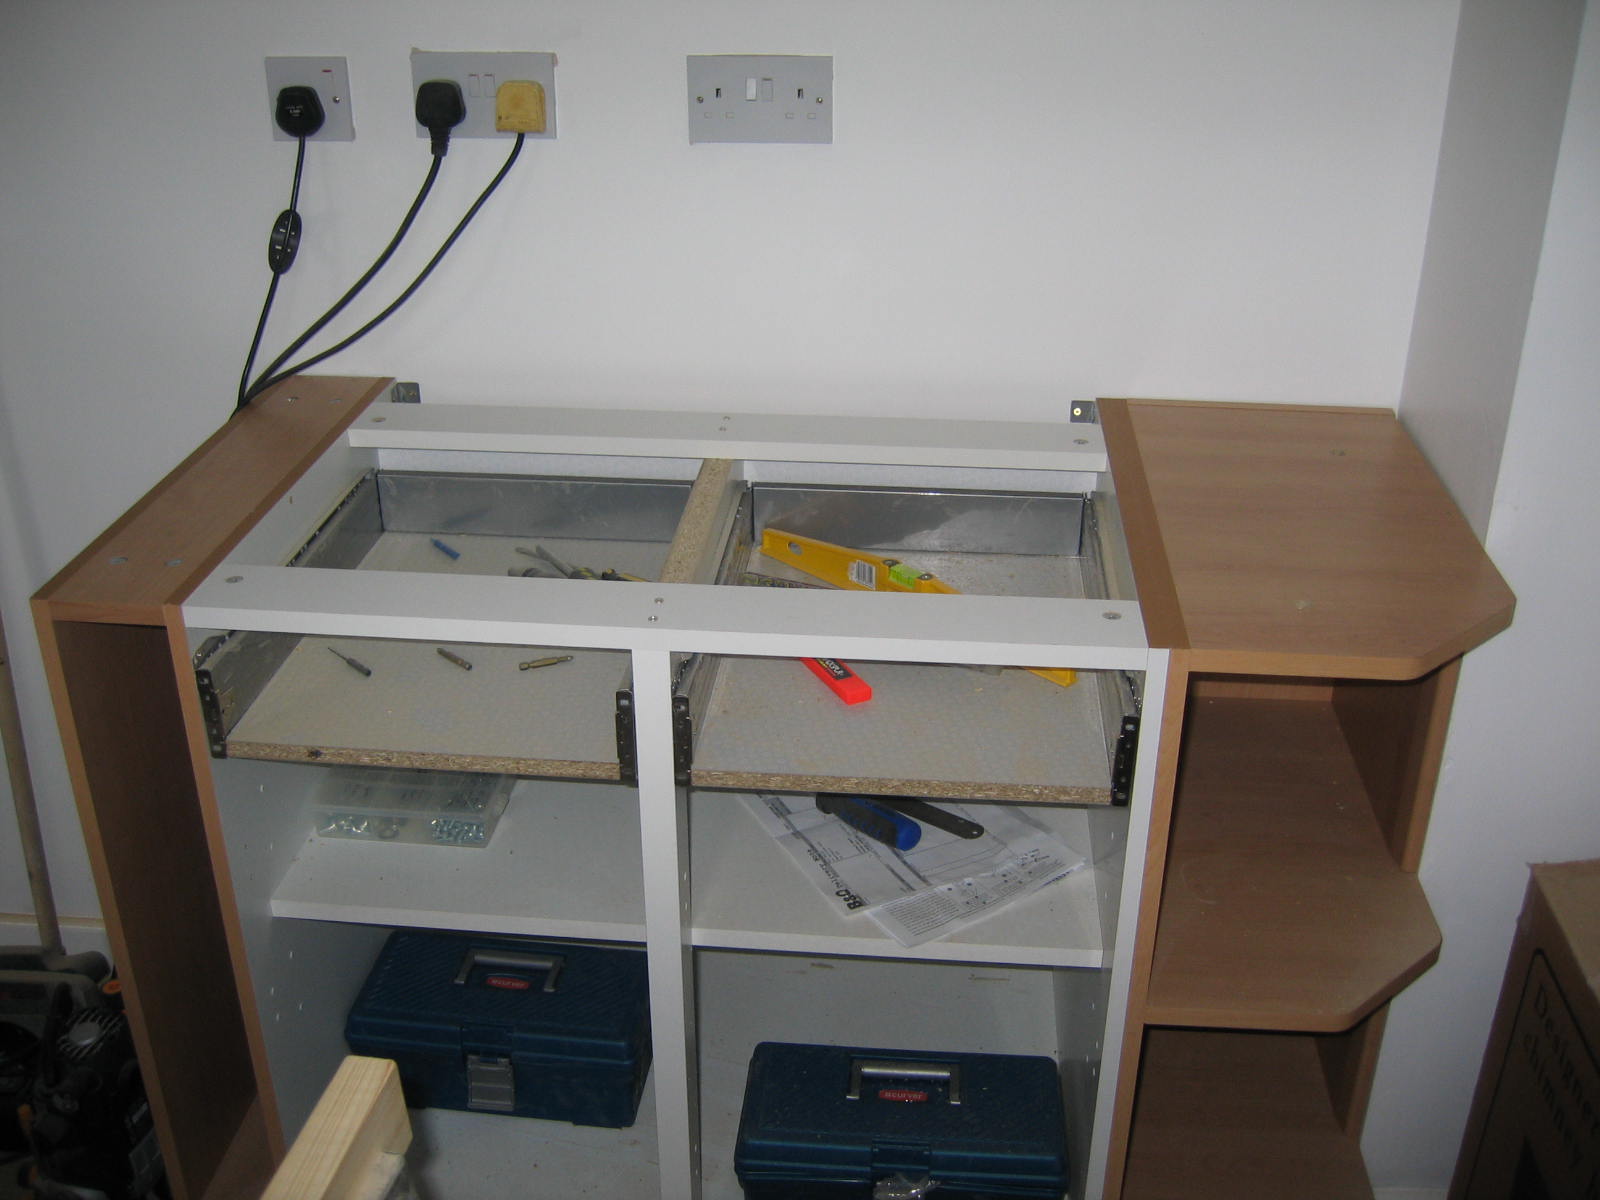
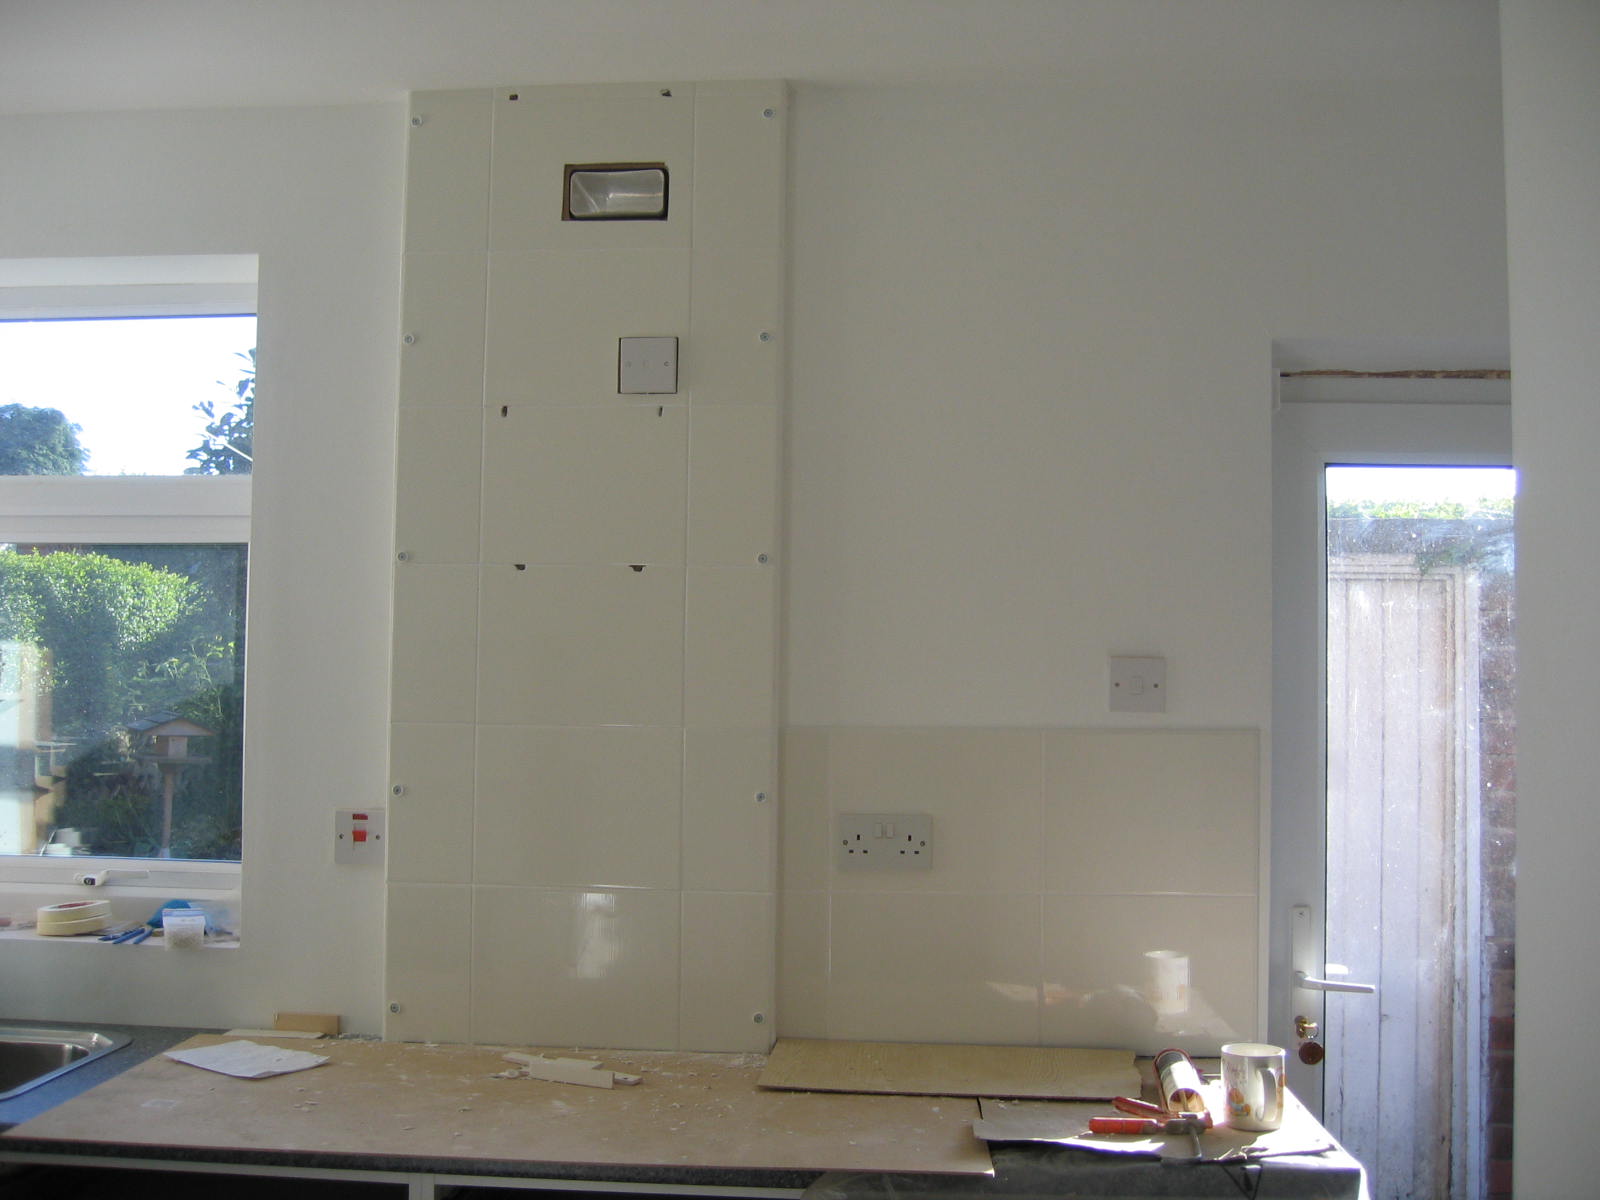
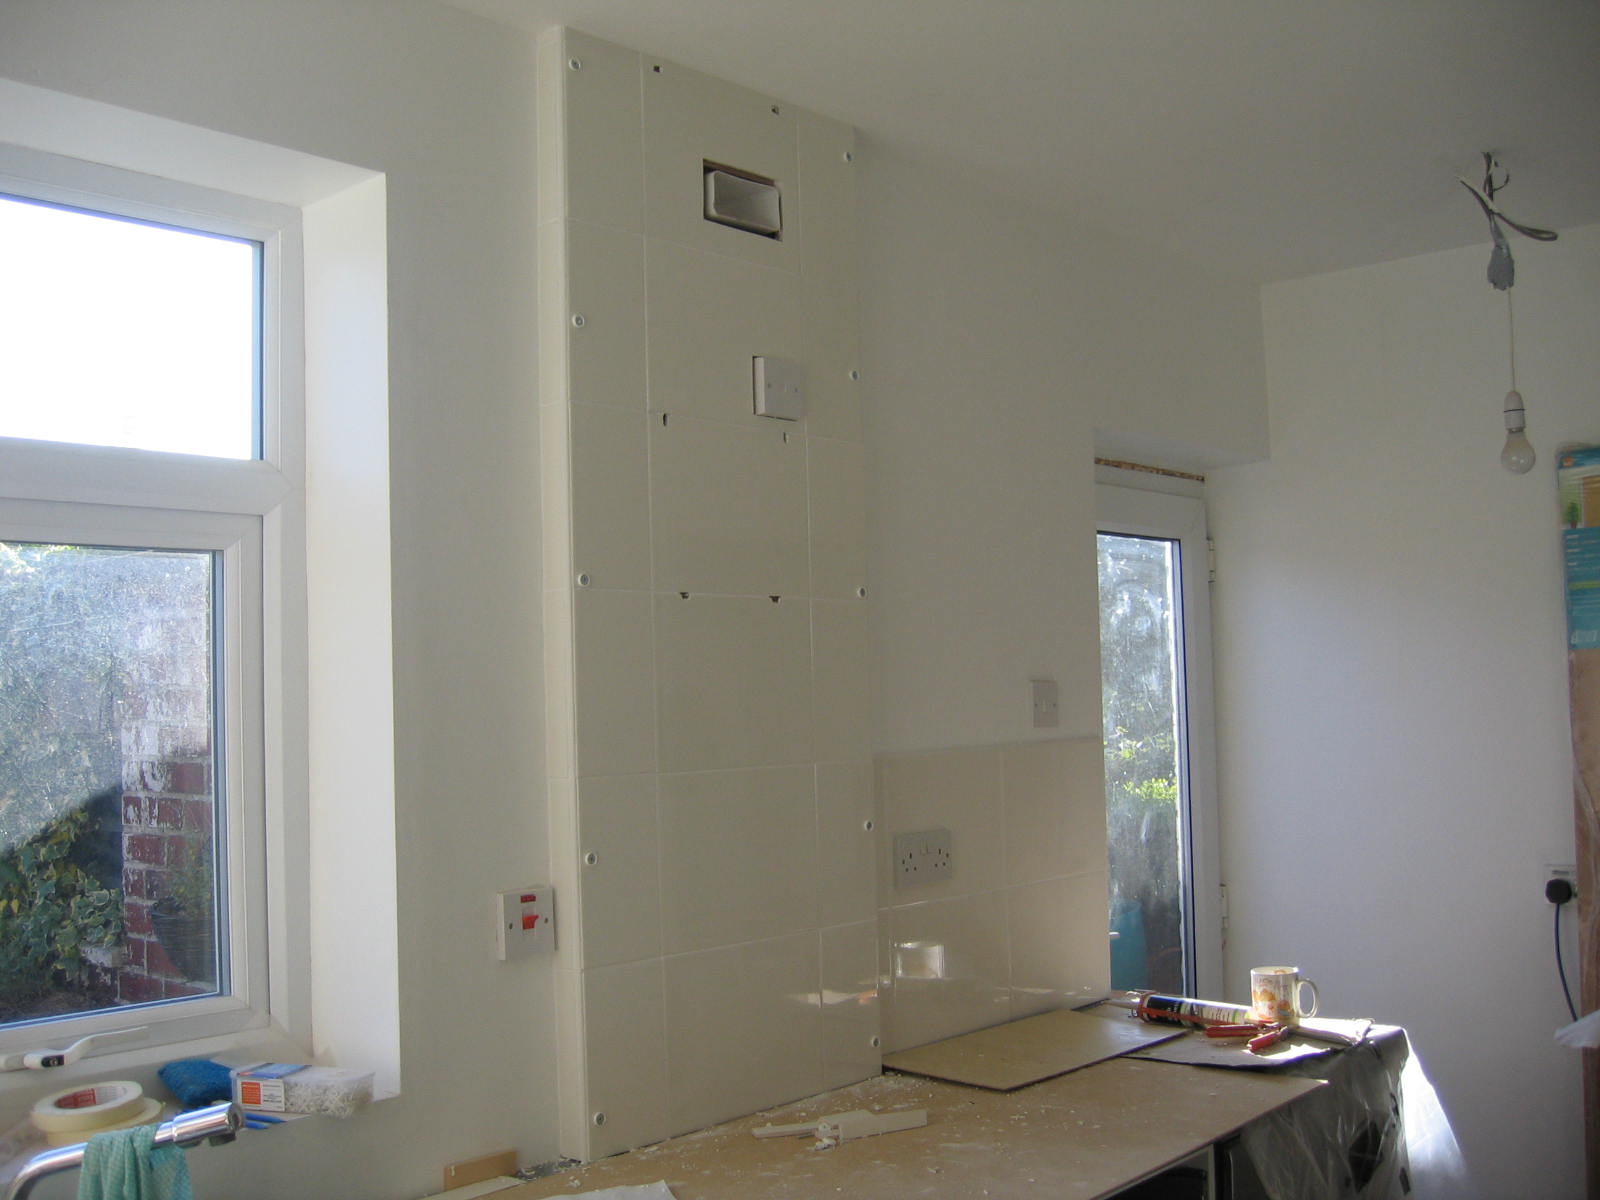
(Skirting boards fitted and painted, as well as architraves fitted and painted, and then the units start to go in, reducing the pile of units stacked in the living room!)
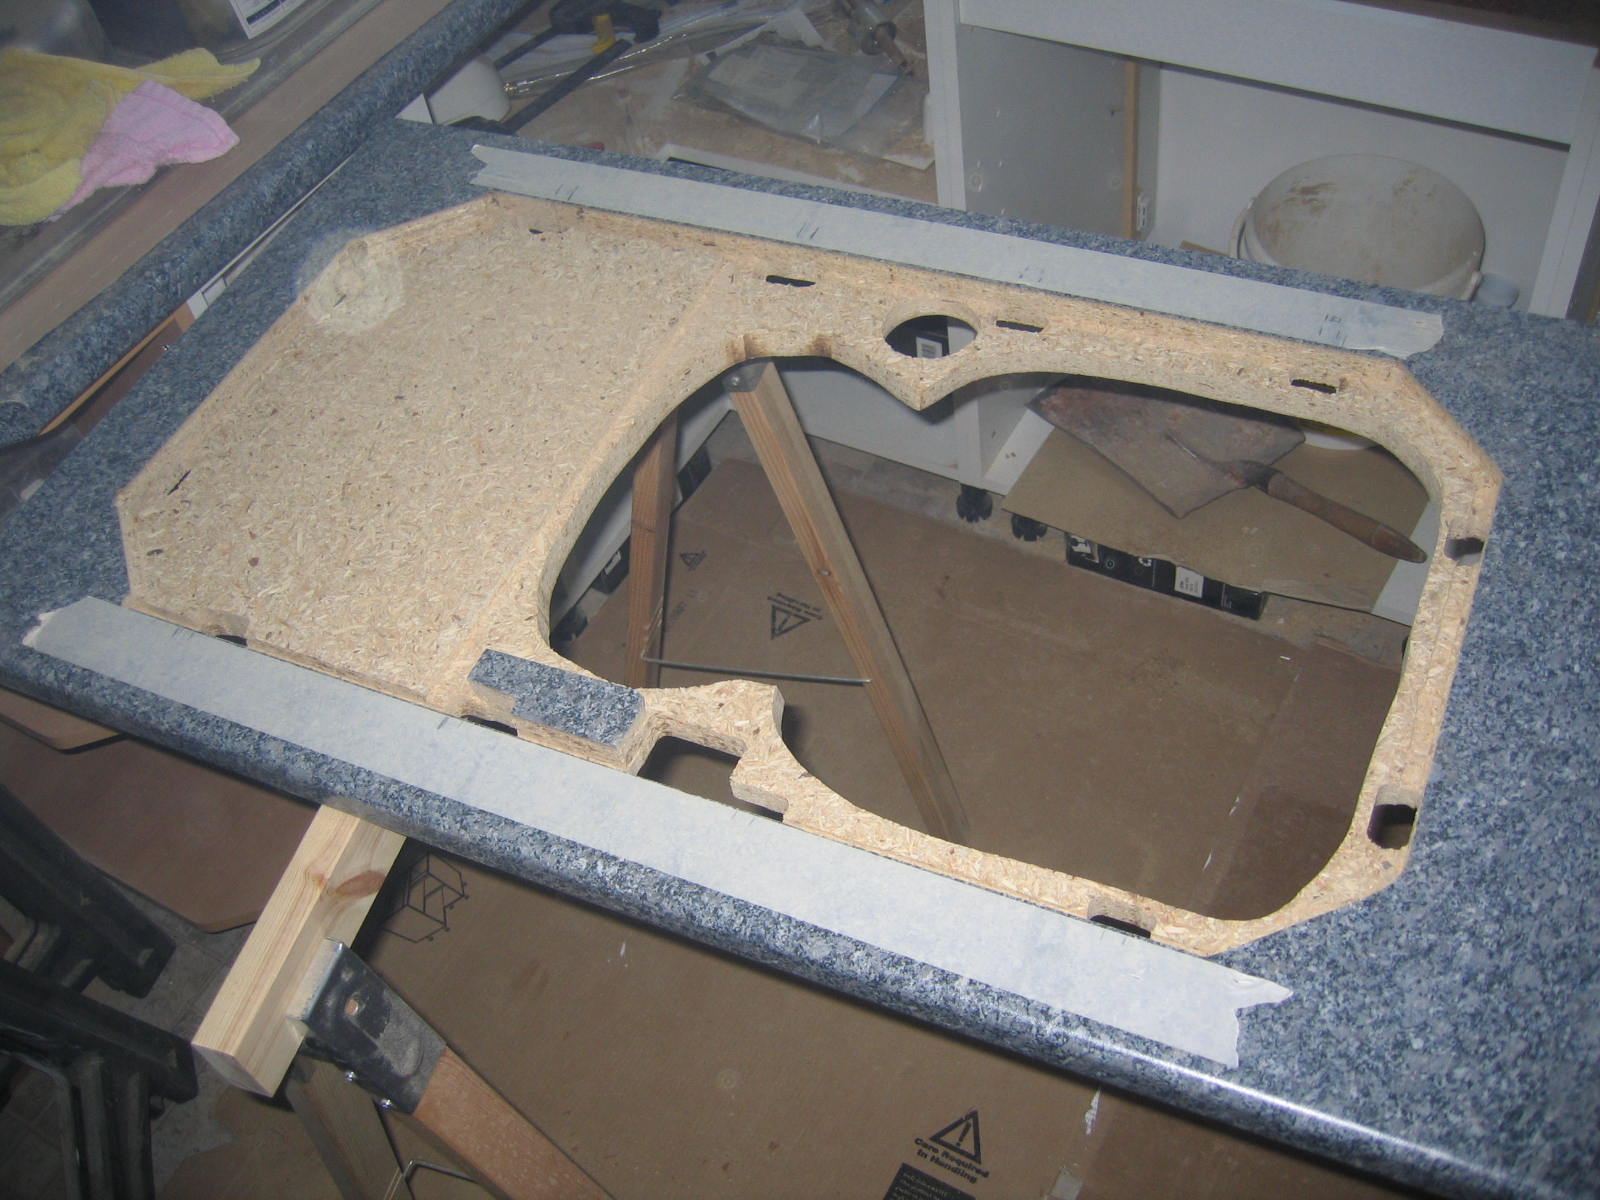
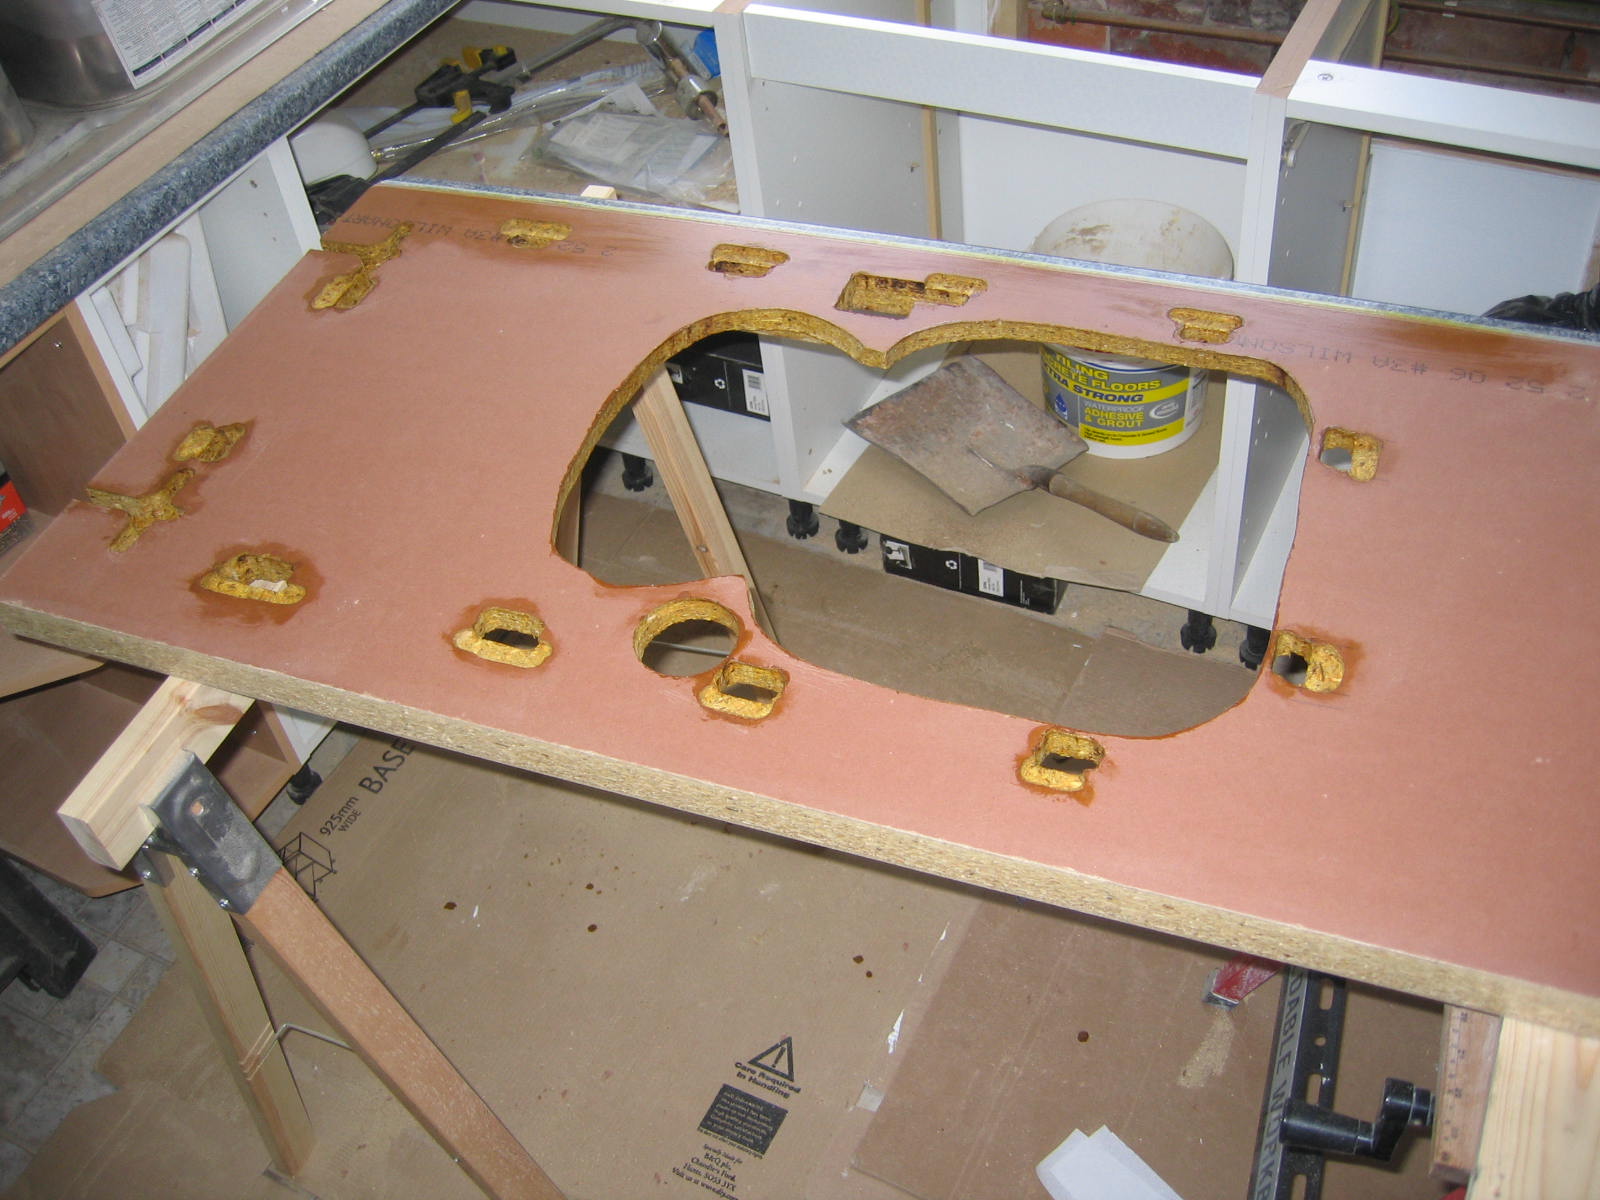
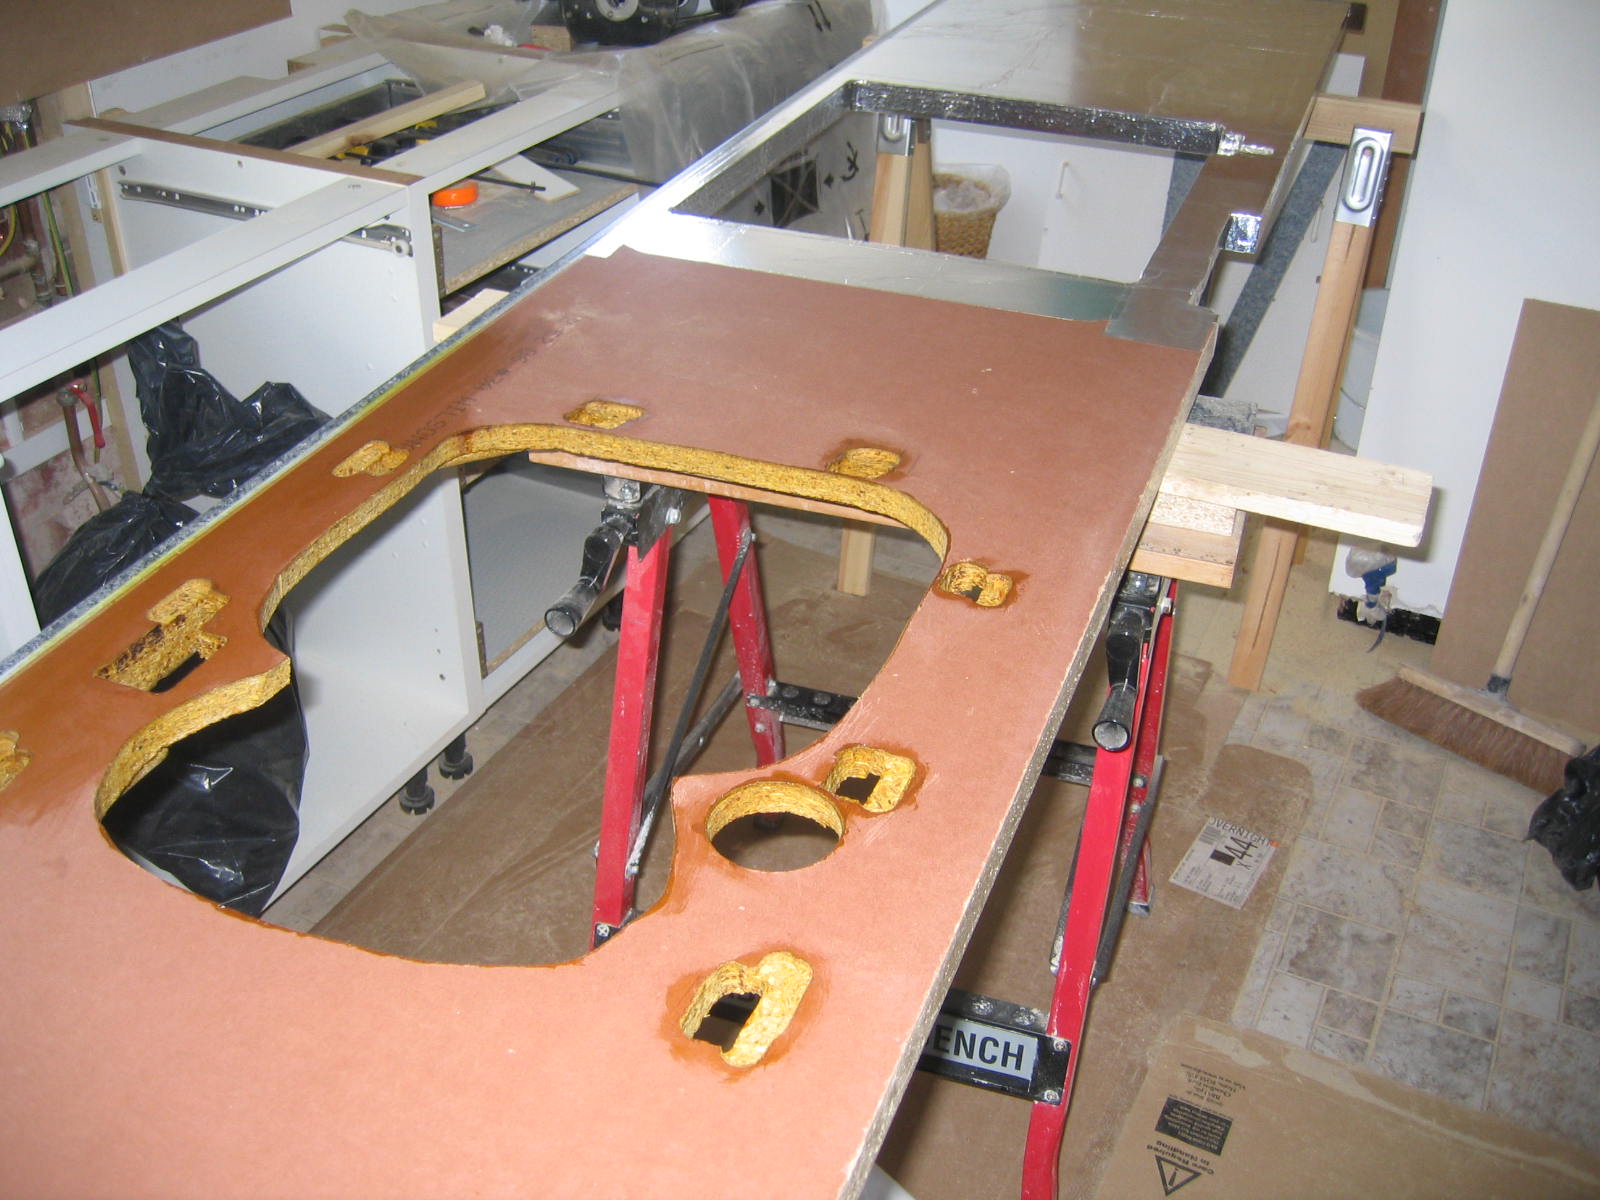
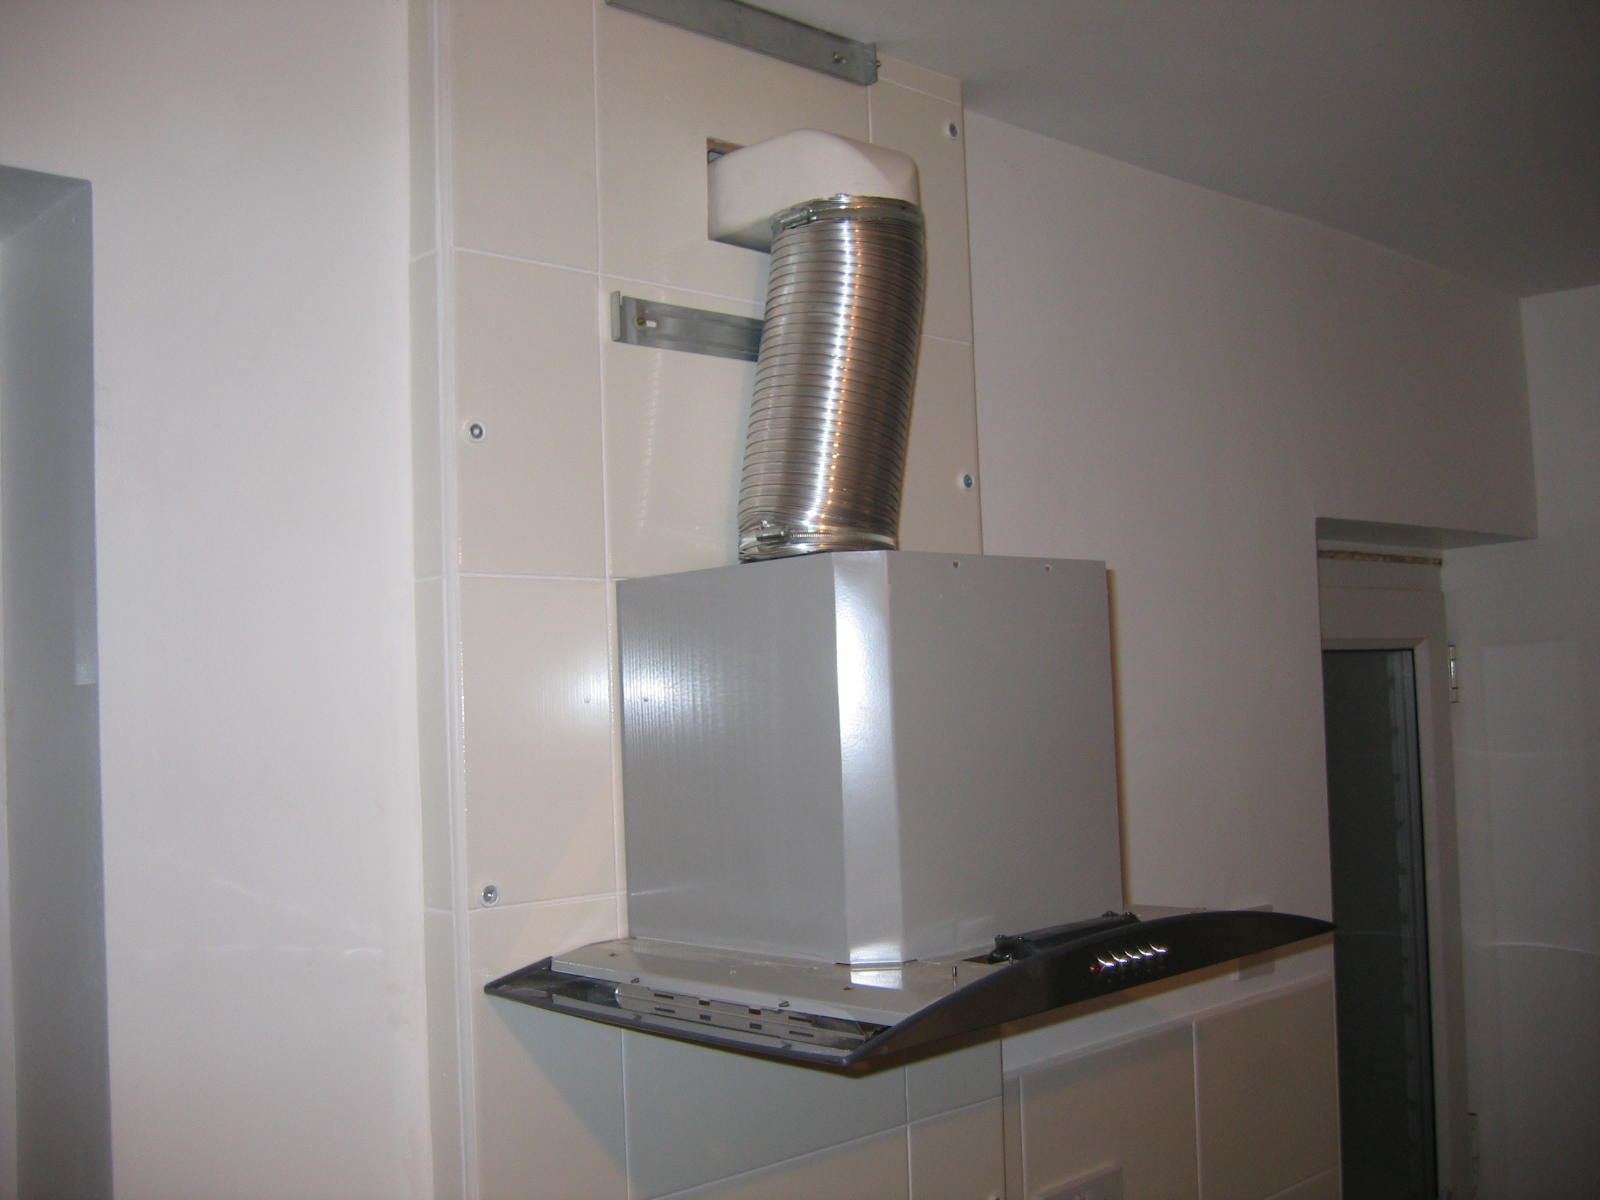
Chopping the vent for the extractor hood
(Also, drawing a template for the extractor hood on the front of the duct cover, from instructions that may as well have been written in Chinese for a non-Chinese reading person.)
(Shoka does like getting the most out of his new tools.)

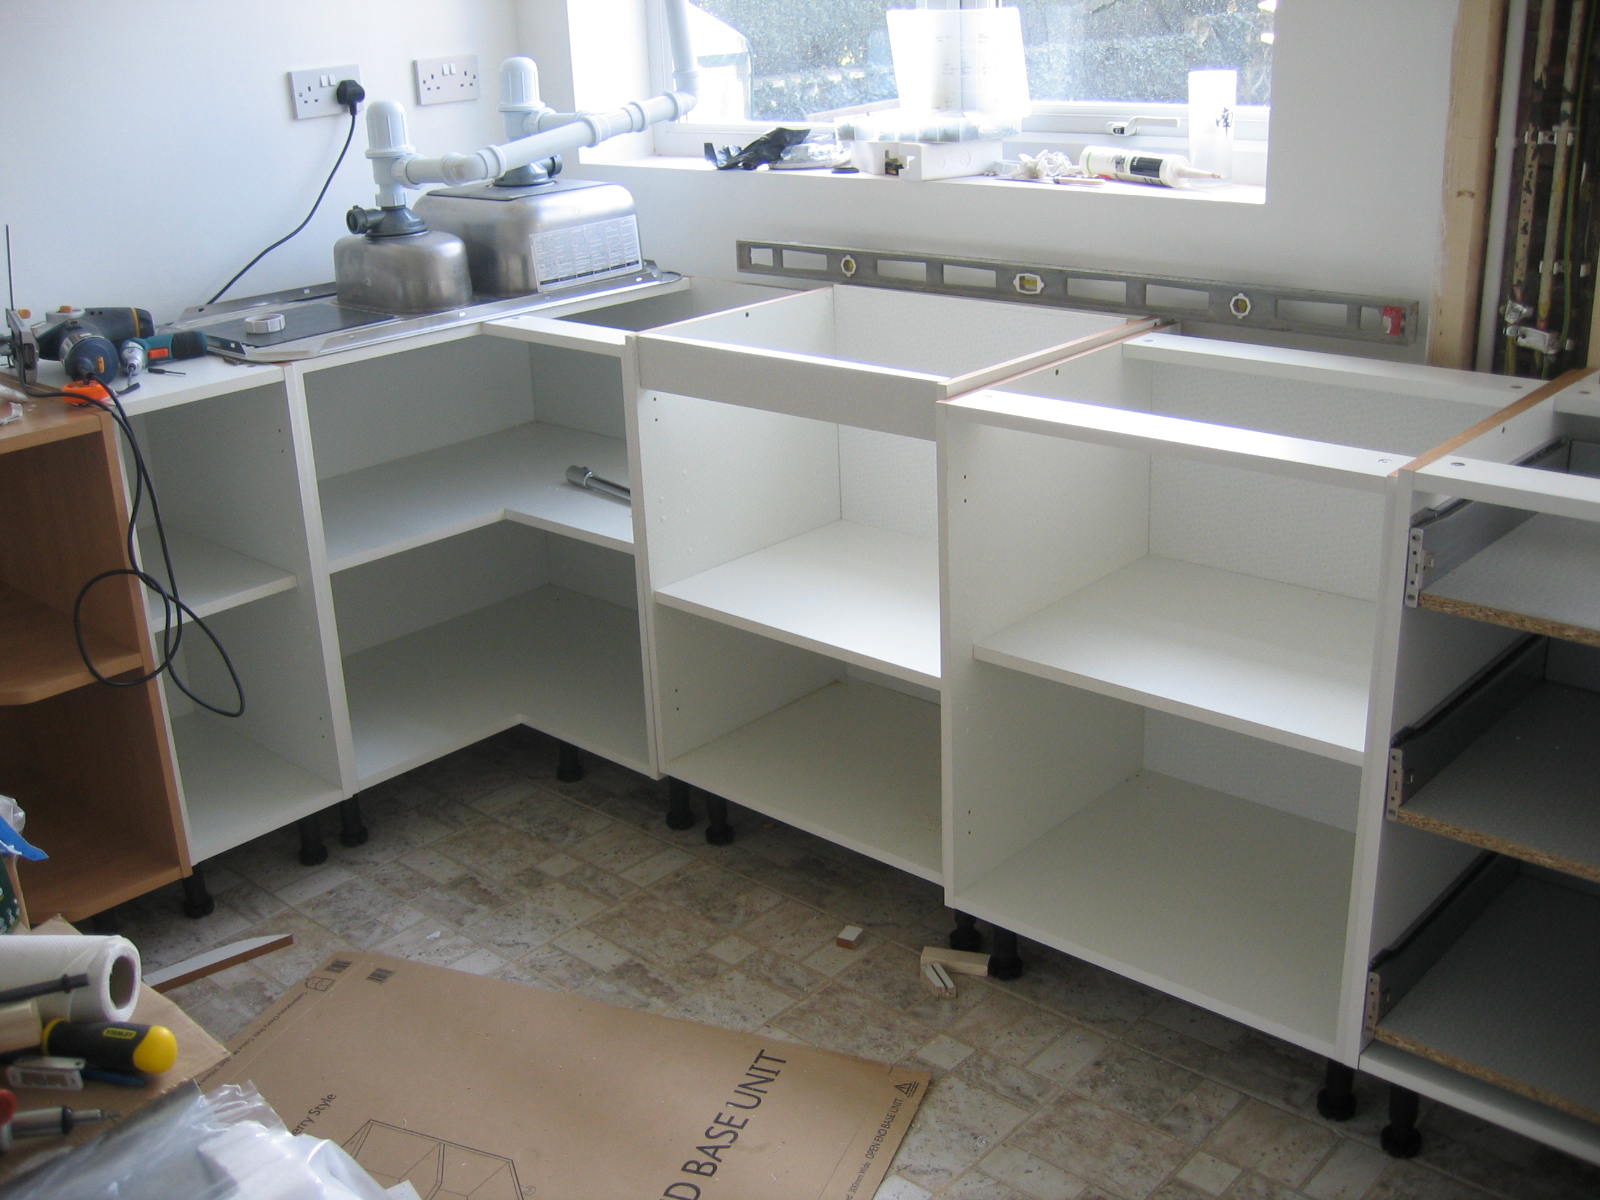
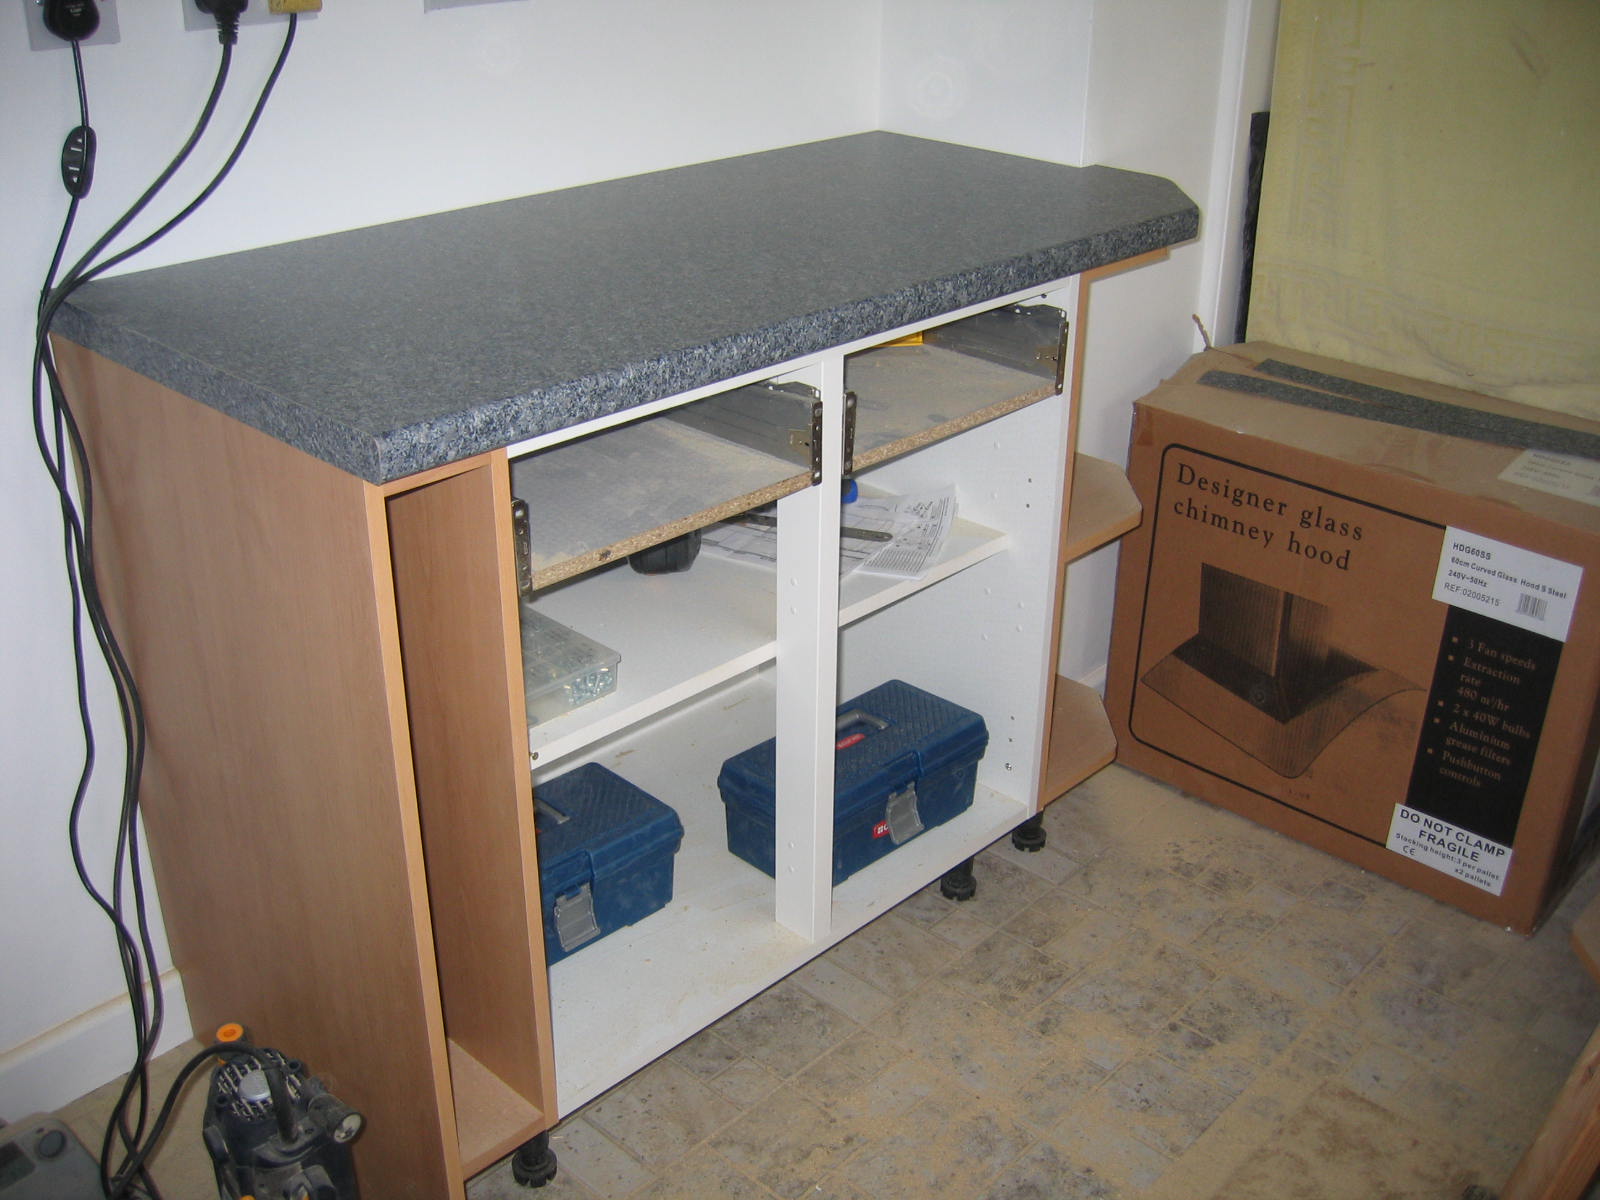
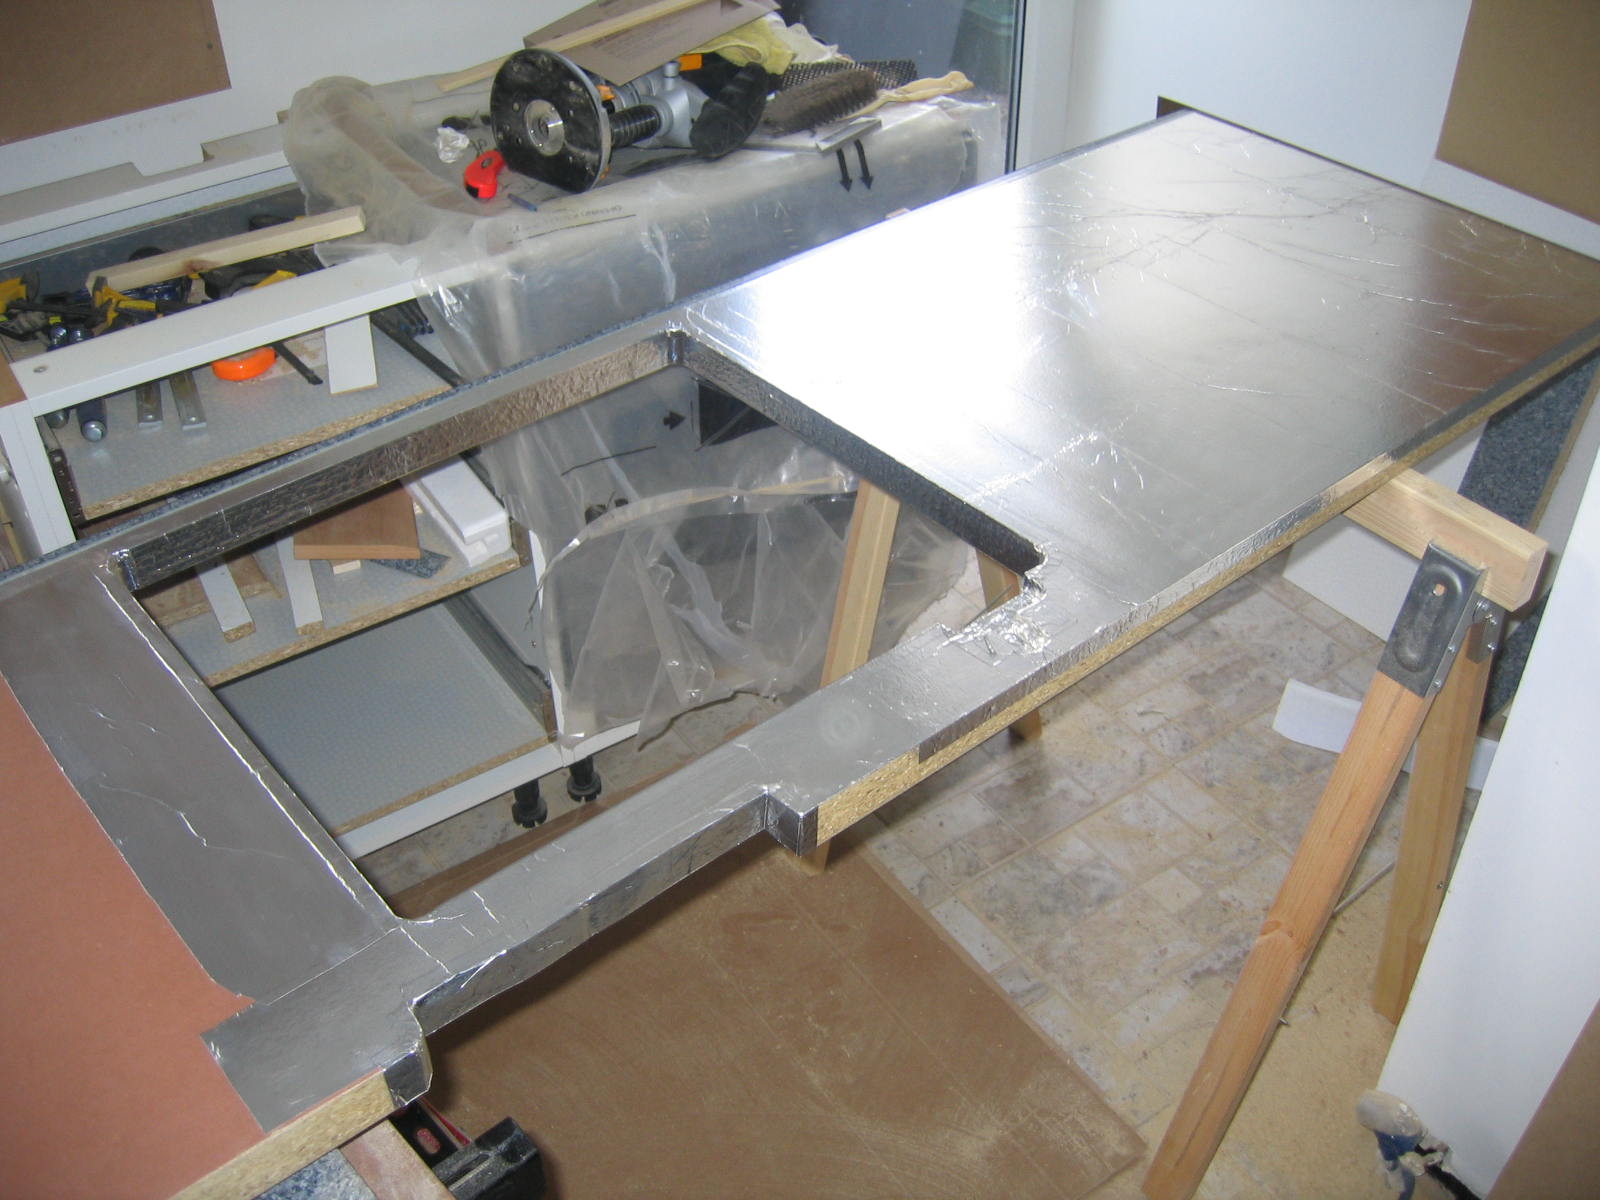
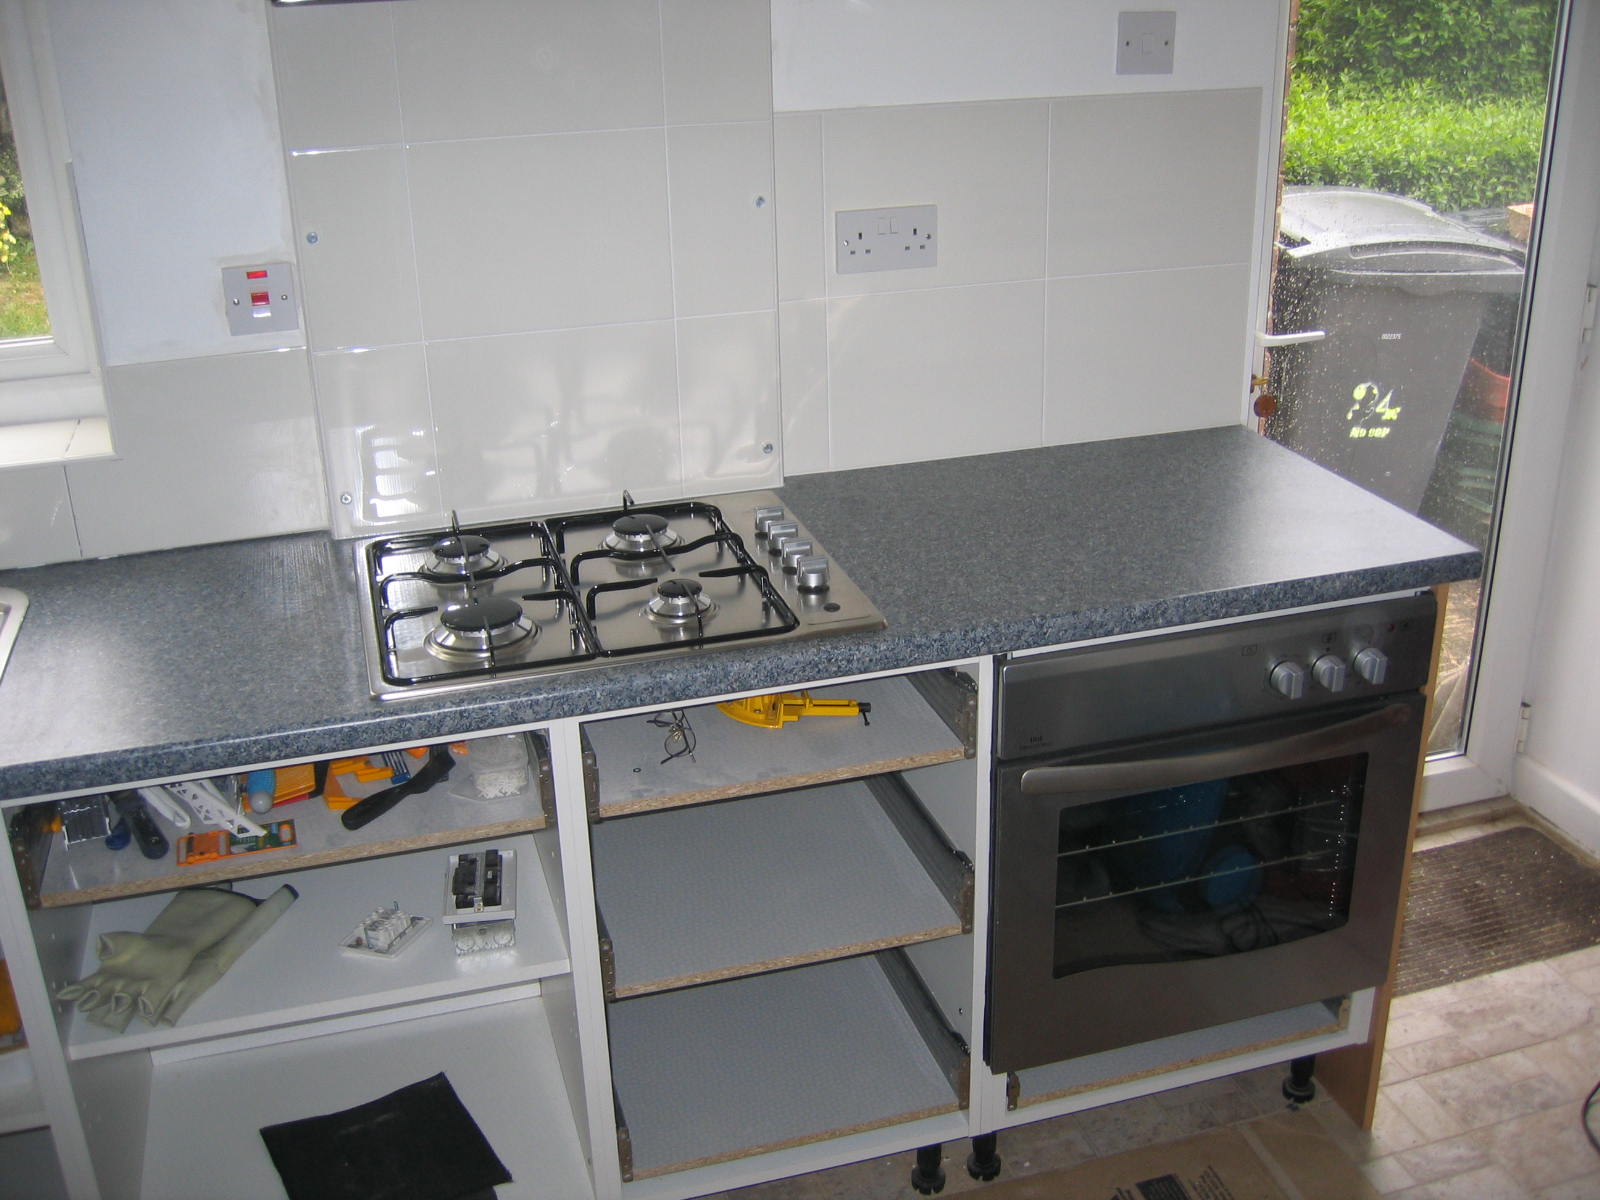
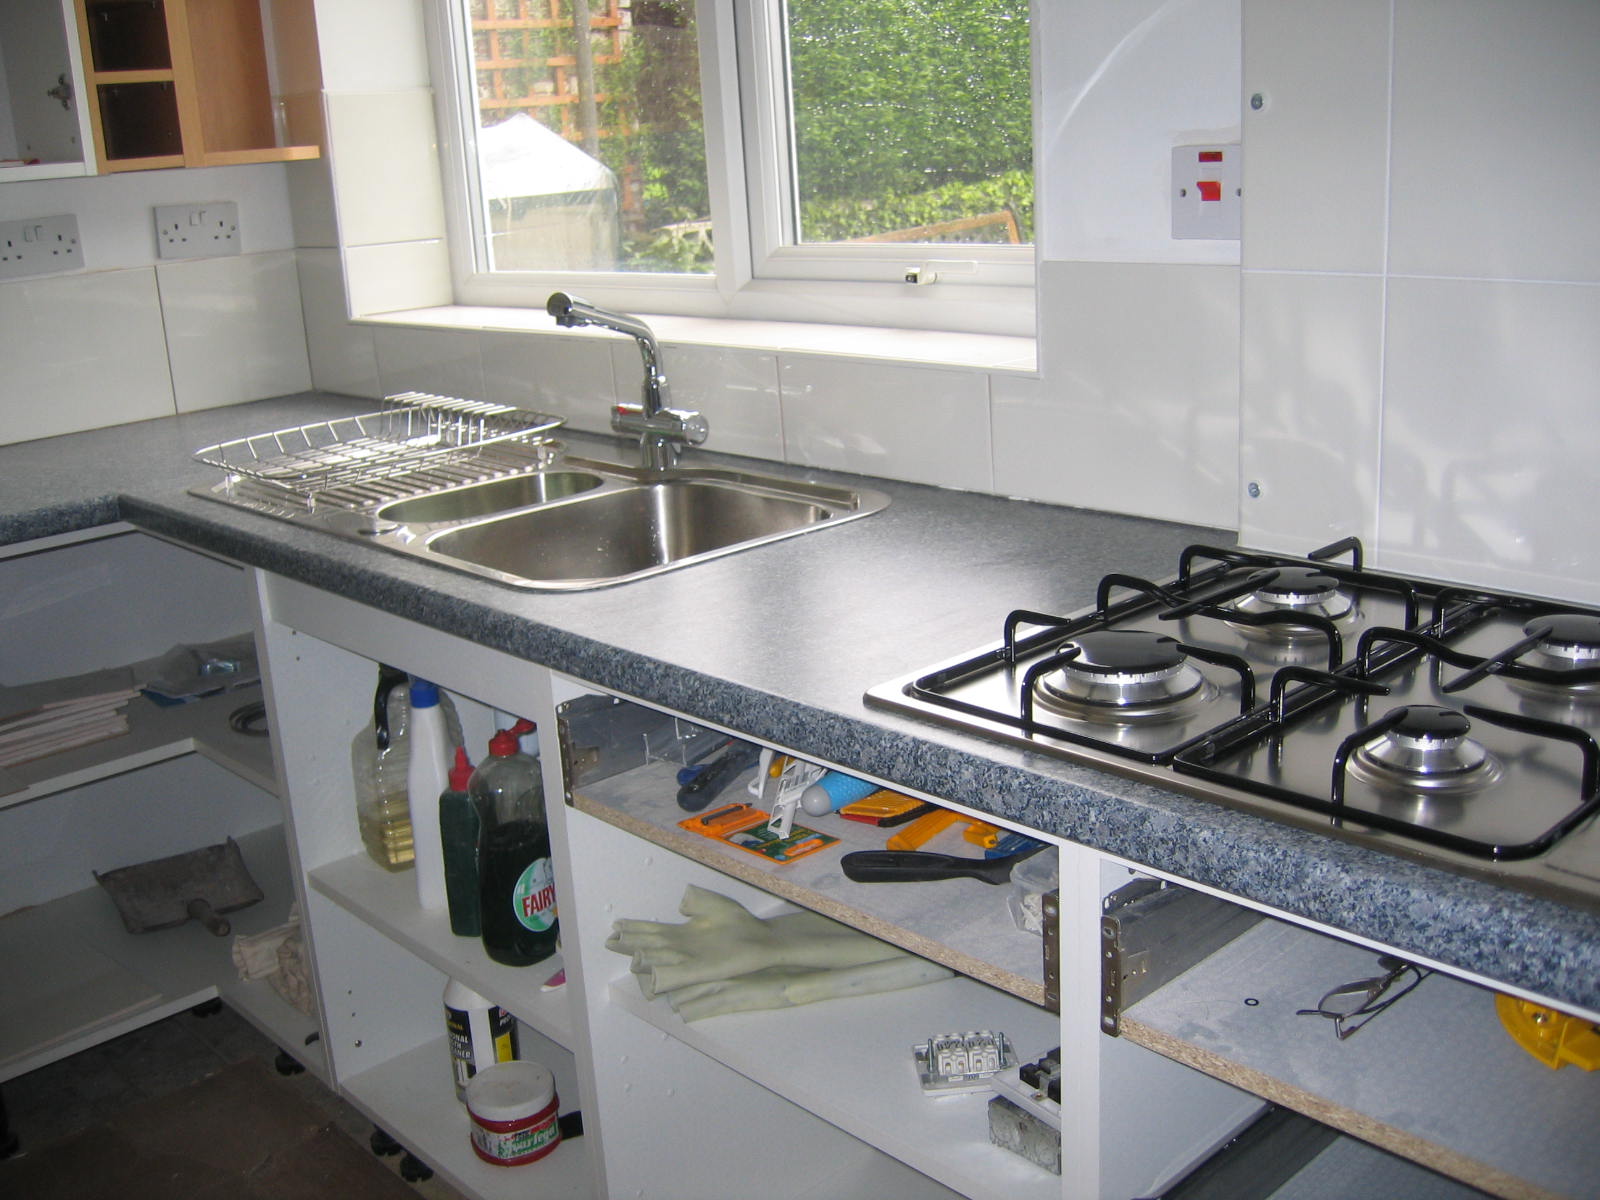
(One of the trial fits.)
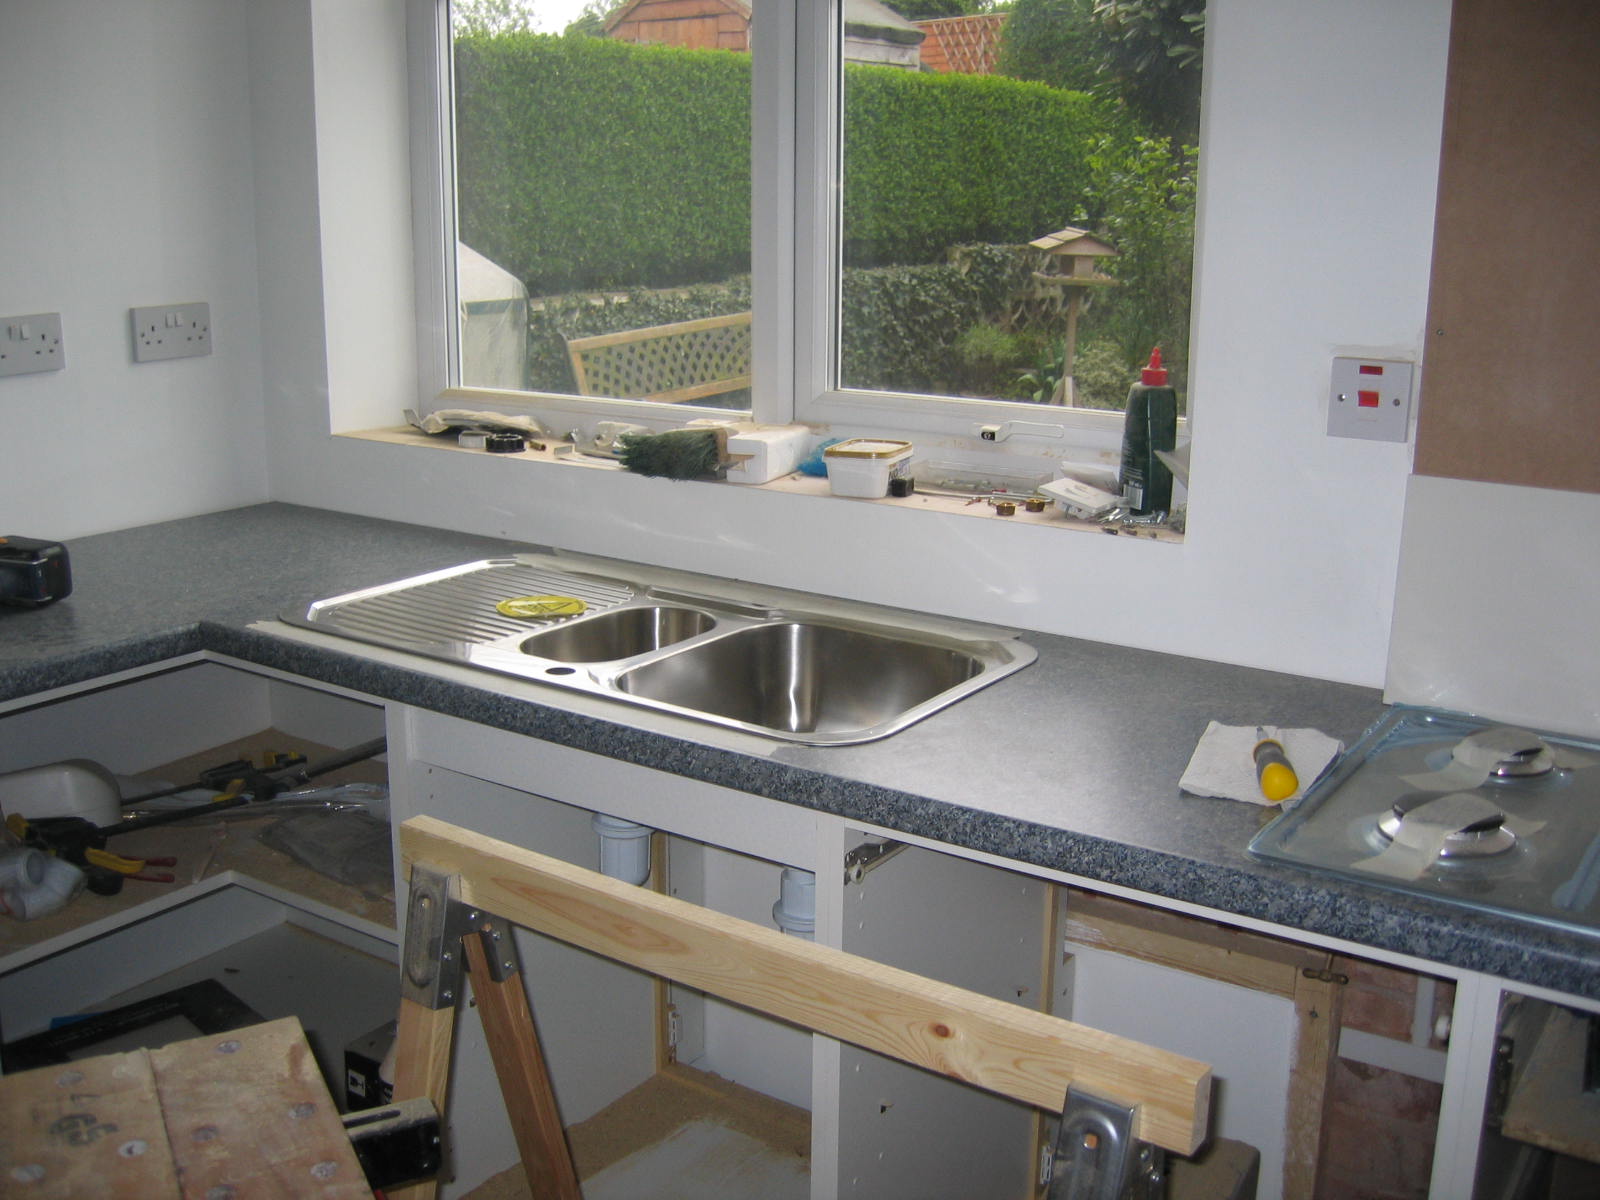
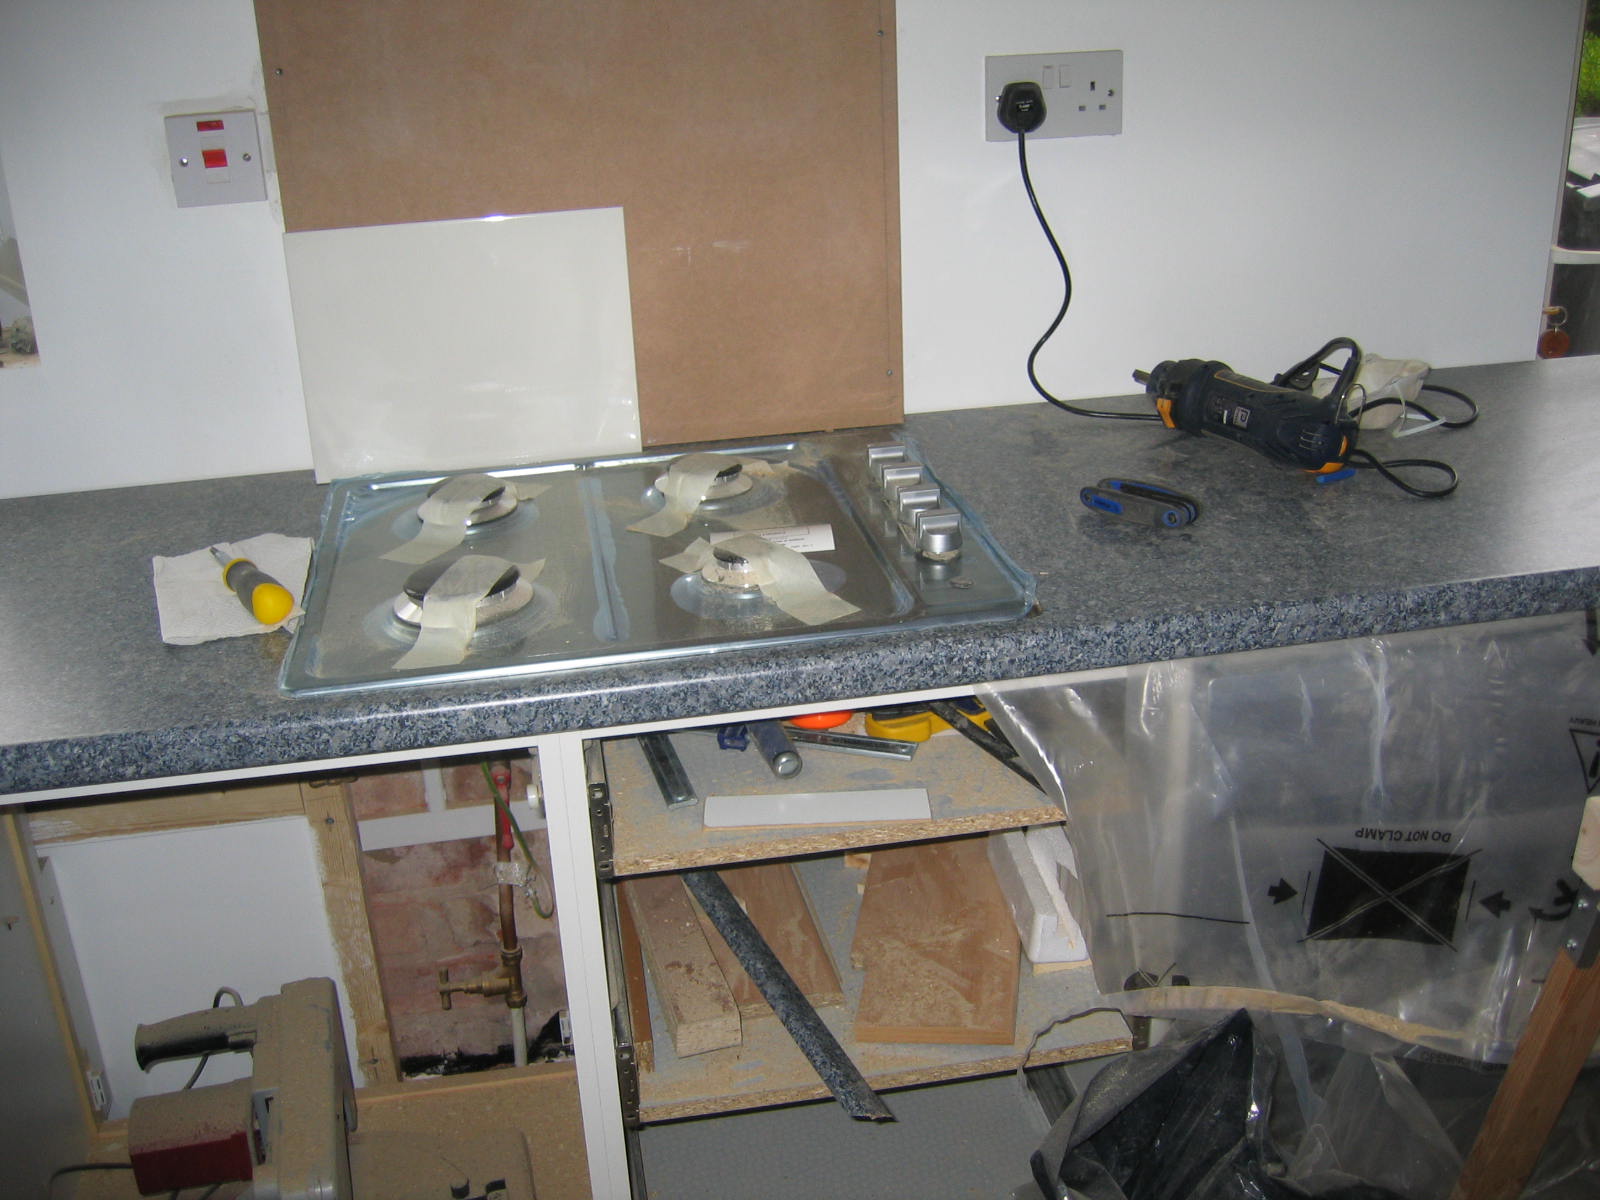
(If any water finds its way into that worktop, it will deserve a medal!)
(We have a usable sink after six weeks of washing up in a bowl in the bath.)
(It worked.)
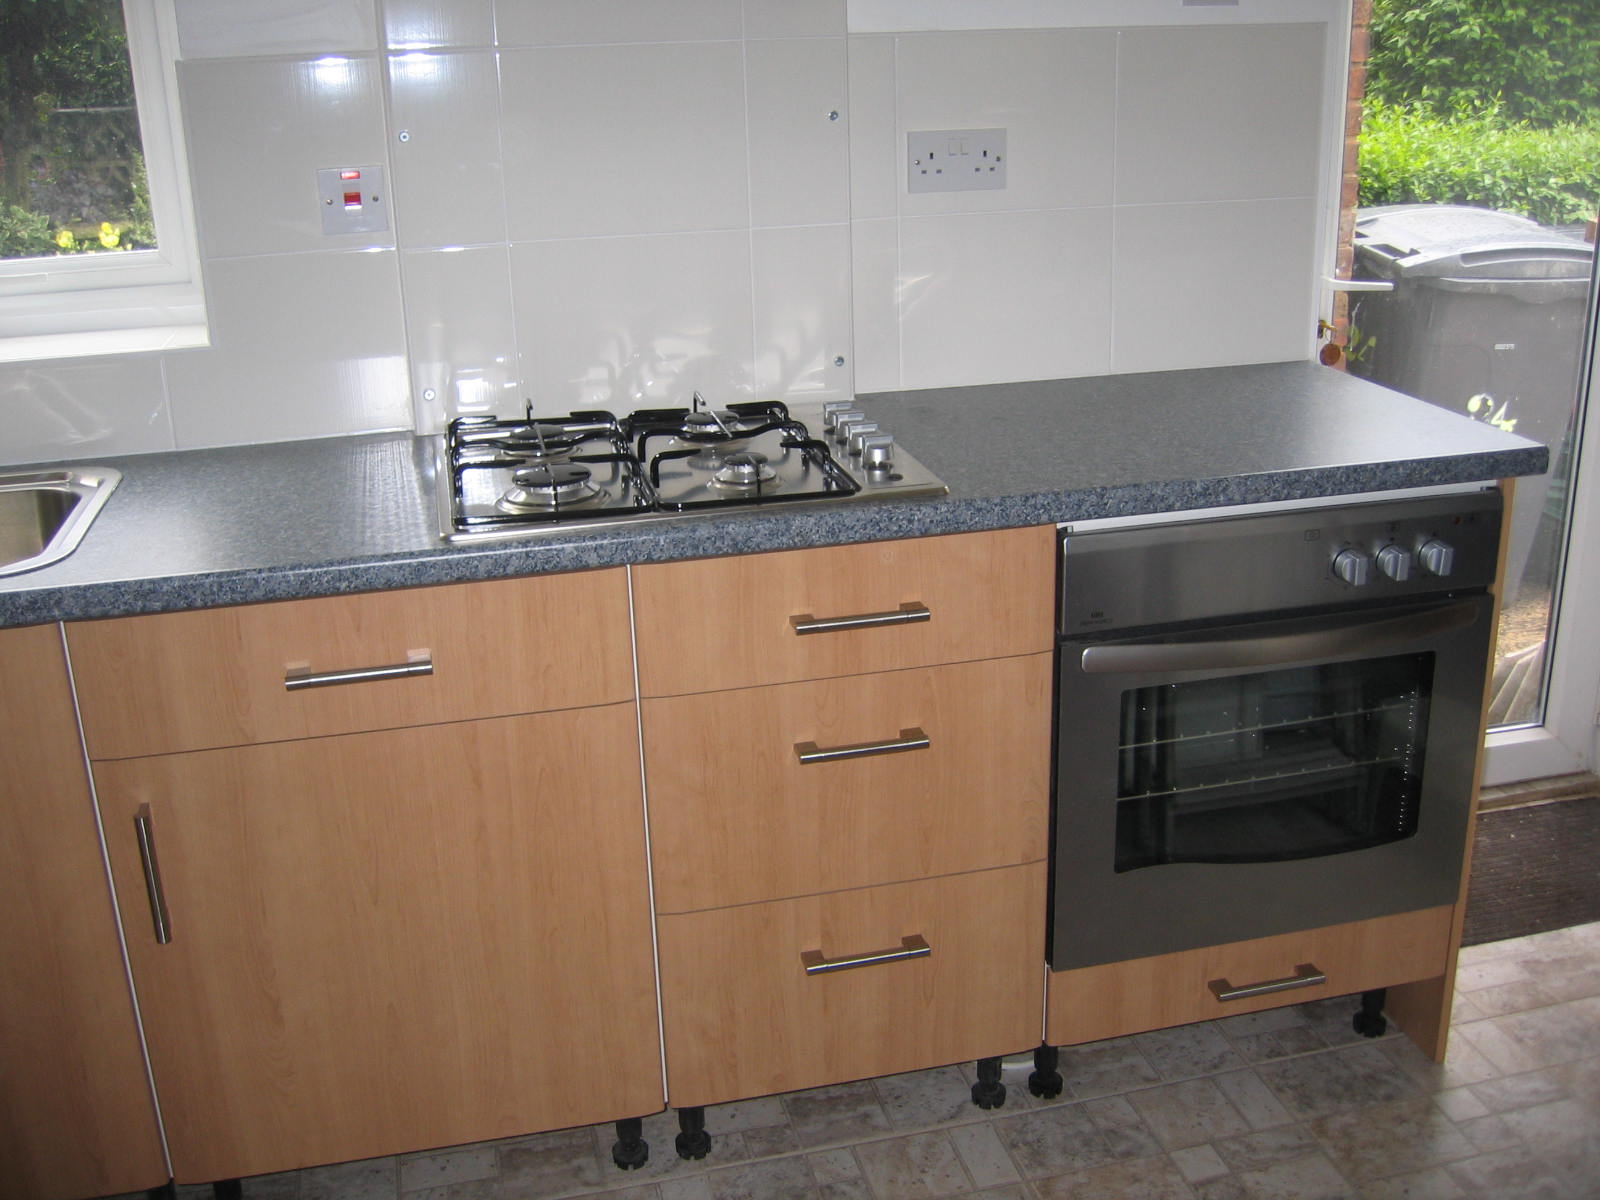
(We're getting there now.)
(More space to pile tools.)
(We can hide the tools!)
(The tools have all been removed to the hall. Ready to fill up with kitchen stuff, which has been stashed all around the house, in the dining room, the living room, the hall, the stairs, and the spare bedroom!)